 Save
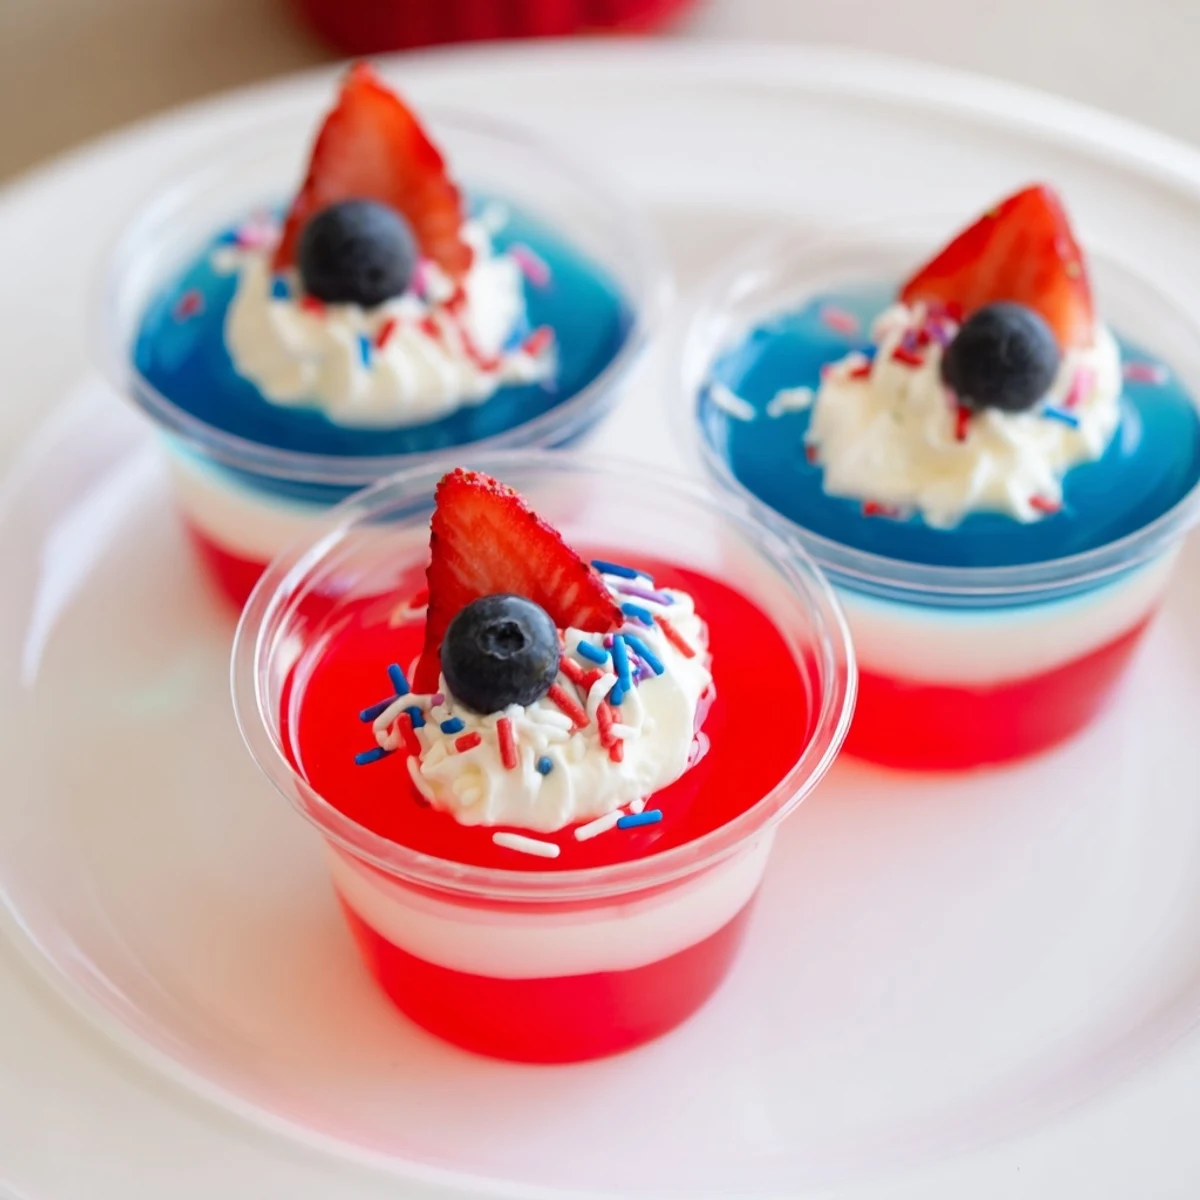
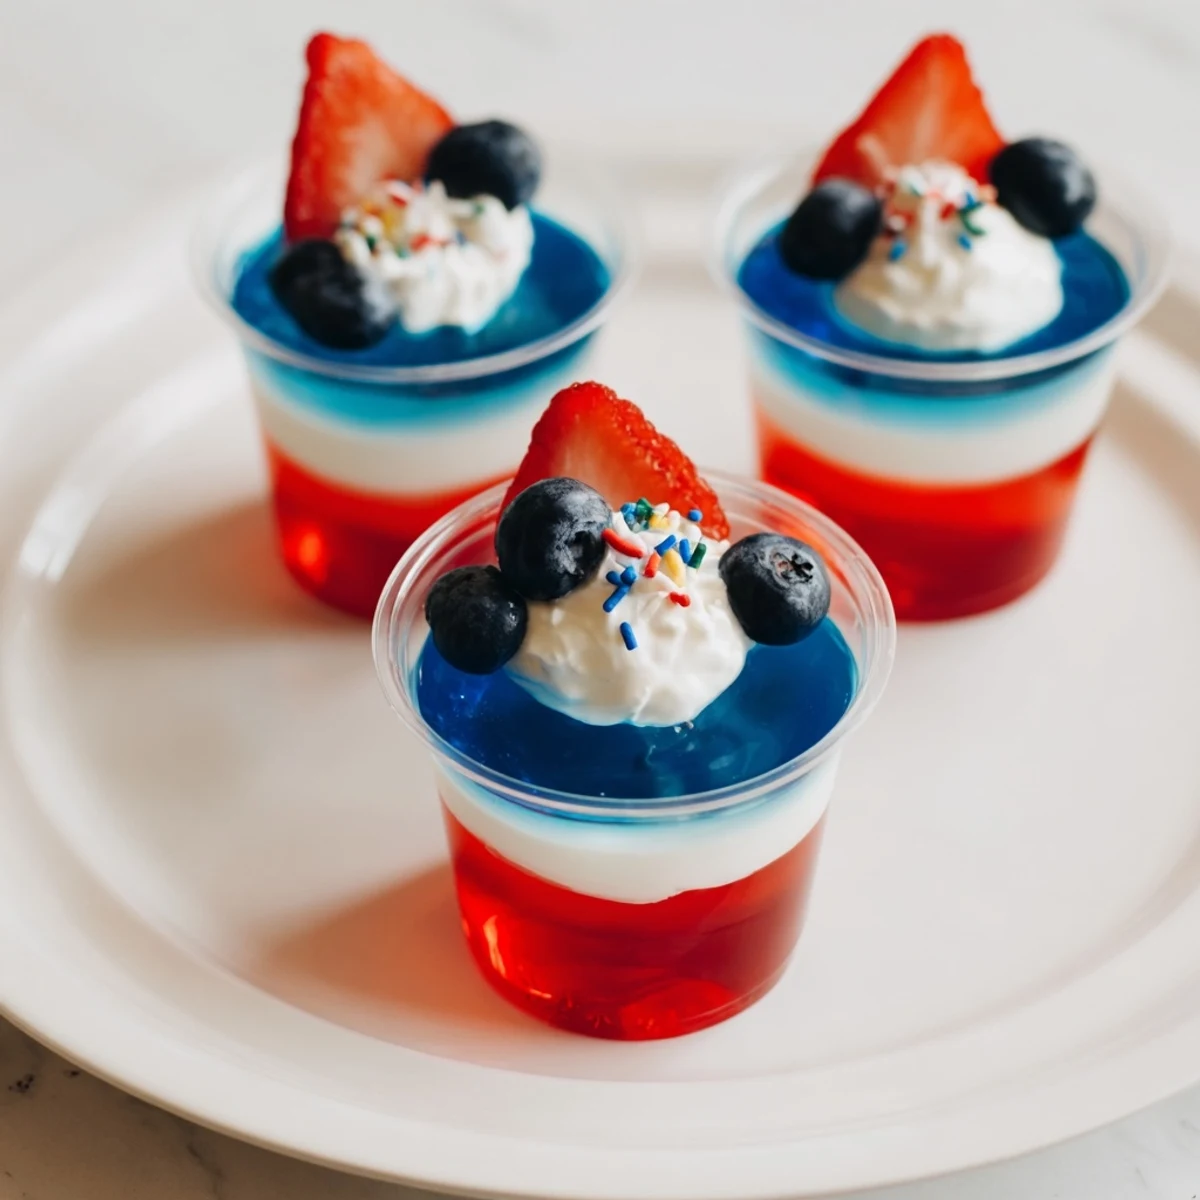
Save Layered red, white and blue jello cups assemble quickly: dissolve red gelatin, pour into clear cups and chill until set. Whisk instant vanilla pudding with milk, fold in whipped topping for the creamy middle, then add the blue gelatin on top. Refrigerate 2–4 hours until fully set. Garnish with extra whipped topping and fresh berries. Use dairy-free substitutes or make ahead one day for easy service.
Red, white, and blue Jello cups always remind me of sticky fingers and laughter echoing through the backyard during neighborhood summers. I can still hear the fizz and ping of the kettle as the gelatin dissolved, a sign that someone was concocting something sweet and celebratory. There’s a certain giddiness in layering each color, almost like assembling edible fireworks in a cup. No matter how precise I tried to be, a little wobble made its way in, and that’s half the fun.
One Fourth of July, my uncle and I lined up the cups on his rickety patio table, heads bent close to ensure each stripe was straight. We’d sneak berries before topping the cups, leaving evidence on our lips. There was playful rivalry over who could get the jello layers the most even, but in the end, no one cared once the spoons started digging in.
Ingredients
- Strawberry or cherry-flavored gelatin: The red layer gives the most dramatic pop and works best if fully dissolved—stir until you can’t hear grainy sugar scraping the bowl.
- Boiling and cold water: Vital for achieving that bouncy, glassy texture—never skip the precise measurements or your layers may slouch.
- Instant vanilla pudding mix: Acts as the surprise creamy center; I learned it sets up quickly, so work it soon after mixing for smoothest results.
- Cold milk: Blends seamlessly into the pudding, and using very cold milk helps everything thicken in minutes without lumps.
- Whipped topping: Makes the white layer fluffy and cloudlike—extra for garnish never hurts, as it adds a festive finish.
- Berry blue-flavored gelatin: Brings the cool blue finale; it’s usually the most fun for kids to help with since the vivid color appears almost instantly.
- Fresh berries, more whipped topping, sprinkles: Optional, but scatter a few berries or sprinkles on top and watch everyone’s face light up.
Instructions
- Start with the red:
- In a mixing bowl, empty the red gelatin and slowly pour in 1 cup of boiling water—steam will rise, and the color will swirl quickly. Stir until every last granule disappears, add 12 cup cold water, then gently divide this ruby liquid among 8 clear cups; let them chill for at least an hour until wobbly but solid.
- Make the white layer:
- Whisk together the instant pudding mix and 1 14 cups cold milk in a fresh bowl, savoring the soft hiss it makes. As it thickens, fold in 1 cup whipped topping to create a pale, pillowy mixture, then spoon it patiently over the red layers—slide the cups back into the fridge for 30 minutes so nothing slumps.
- Layer on the blue:
- In a separate bowl, dissolve the blue gelatin in 1 cup boiling water until it looks like sapphire glass, then stir in 12 cup cold water. Gently pour or spoon it atop the white layer, aiming for a clean line; carefully chill uncovered for 2–3 hours so it all comes together.
- Final chill and garnish:
- Once the cups are set and jiggling when nudged, top with swirls of whipped topping, a scattering of fresh berries, and a dash of sprinkles if you like. Serve cold for best effect.
 Save
Save At my last summer BBQ, these cups became the unofficial centerpiece—by the end of the night, the adults were giggling about stolen sprinkles, while the kids posed with their patriotic sweets for silly photos.
Getting the Best Layers Every Time
I once tried to set the cups in my warm kitchen and learned the hard way that a cool fridge is non-negotiable—the secret is consistent temperature. Pouring each layer gently over the back of a spoon can also help keep lines clean, like a painter working on their canvas.
Easy Swaps for Dietary Needs
If there’s a dairy allergy at the table, non-dairy milk and coconut whipped topping make this a treat anyone can enjoy. I like to check that all gelatin and pudding mixes are gluten-free too, since labels change often and sneaky additives pop up.
Time Saving Tricks I’ve Learned
Prepping each layer in advance means you can have a dozen cups ready for a party with only a few minutes’ work here and there. I’ve even run a fan outside my fridge to help them set faster (not my proudest but it worked!).
- Never fill the cups to the brim—the whipped topping and berries need room.
- If you’re short on cups, jars work just as well.
- Remember: don’t forget to check the layers for jiggle before pouring the next.
 Save
Save However these are decorated, they’re always gone before you know it—the best sign a recipe is more about smiles than rules. I hope your table is as full of color and happy sharing as mine.
Questions & Answers
- → How long does each layer need to set before adding the next?
-
Let the red gelatin chill until firm, about 45–60 minutes. After adding the white pudding layer, chill about 30 minutes to help it support the final gelatin. The blue layer will firm best if the previous layer is fully set.
- → How can I prevent the white layer from sinking into the red layer?
-
Wait until the red layer is completely firm and cool. Spoon the white mixture gently or use a small offset spatula to distribute it without disturbing the red layer. Chilling between layers helps maintain clean lines.
- → What dairy-free substitutions work for the white layer?
-
Use plant-based milk (almond, oat, or soy) and a dairy-free instant pudding mix, plus nondairy whipped topping. Whisk until thickened and fold in the topping as with the standard version.
- → Can I prepare these cups ahead of time?
-
Yes. Assemble up to one day in advance, cover individually or in a container, and keep refrigerated. Add fresh berry garnishes just before serving to preserve color and texture.
- → What serving vessels give the best presentation?
-
Use small clear cups or glasses to showcase the layers. Uniform-size serving cups help portion evenly and create an attractive striped appearance.
- → How can I make the layers more stable for transport?
-
Chill until fully set (at least 2–3 hours) and keep cups upright in a flat, secure container. Consider slightly reducing the water in gelatin instructions for a firmer set if transport is required.
