 Save
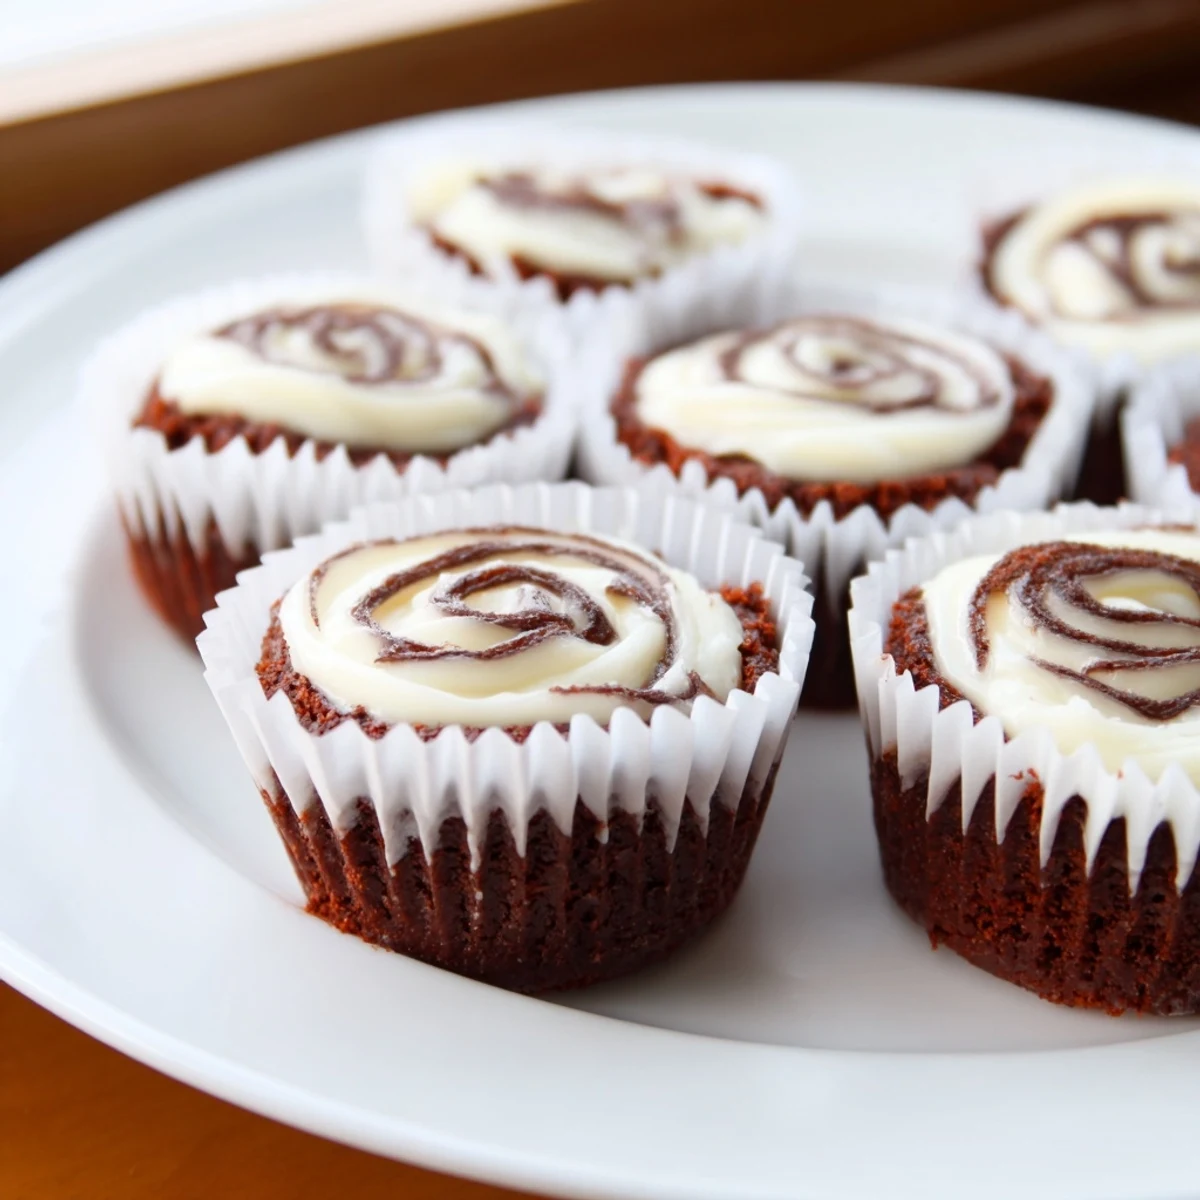
Save These delightful red velvet brownie bites combine the classic appeal of red velvet with a fudgy brownie texture. The cream cheese swirl adds a tangy, creamy contrast that balances the rich chocolate base. Perfect portioned in mini muffin tins, these treats bake in just 25 minutes and yield 24 handheld bites.
The marbled effect creates visual appeal while the combination of cocoa and red food coloring delivers the signature red velvet appearance. The cream cheese topping stays creamy and slightly tangy, complementing the dense, chocolatey base.
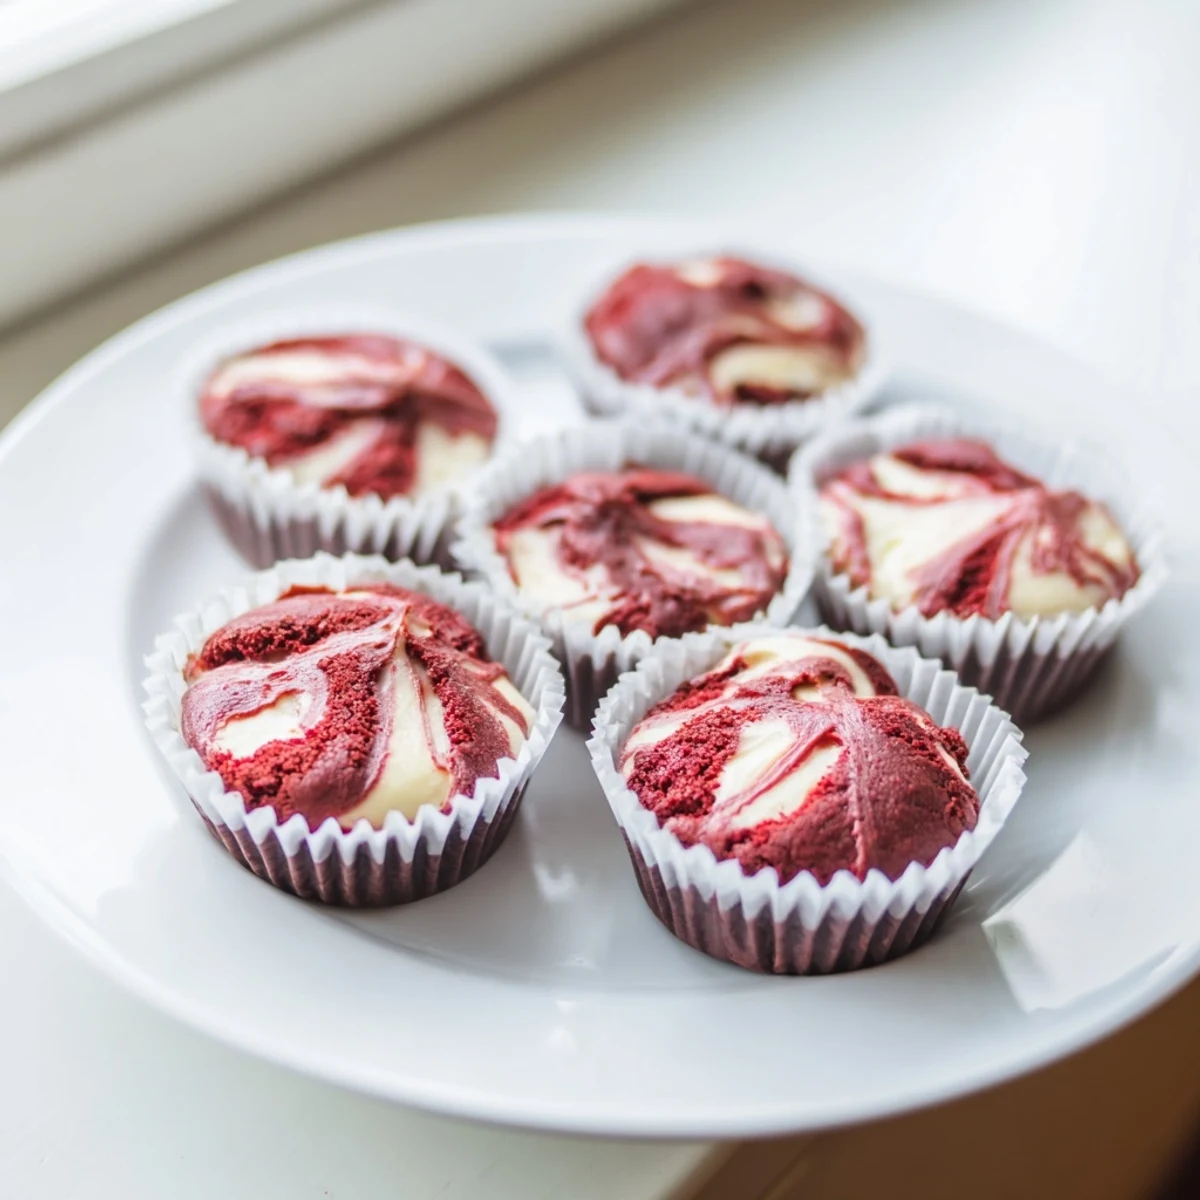
The first time I made these for my sister's birthday, she actually accused me of buying them from a bakery. That vibrant red against the creamy white swirl looks impossibly professional, but the truth is they come together in about twenty minutes flat. I've since learned that the secret isn't technique—it's having the patience to swirl just enough without mixing the layers completely together. Now they're my go-to when I need something that looks fancy but lets me actually enjoy the party instead of being stuck in the kitchen.
Last Christmas, I set up a decorating station at our family gathering and let everyone create their own swirl patterns. Some made hearts, some went wild with abstract designs, and my nephew just kept adding more cream cheese until his brownie bites were practically cheesecakes. Watching people get creative with something so simple reminded me why I love hosting to begin with. Those imperfect, swirly bites disappeared faster than any perfectly uniform dessert I've ever made.
Ingredients
- Unsalted butter: Melted completely so it incorporates seamlessly into the batter without leaving any pockets of pure butter
- Granulated sugar: Creamed thoroughly with the butter to create that signature fudgy brownie texture
- Large egg: Room temperature eggs blend better and help create a smooth, uniform batter
- Vanilla extract: Pure vanilla makes a noticeable difference in the overall flavor depth
- Red food coloring: Gel coloring gives a more vibrant hue without adding extra liquid to the batter
- All purpose flour: Sifted beforehand to prevent any clumps and ensure even distribution
- Unsweetened cocoa powder: The base of our chocolate flavor, so use good quality cocoa
- Salt: Just enough to brighten the chocolate and balance the sweetness
- Cream cheese: Truly softened to room temperature or it will leave lumps in your swirl
- Extra sugar: For sweetening the cream cheese layer just enough to contrast the brownie
- Egg yolk: Adds richness and helps bind the cream cheese mixture
Instructions
- Prepare your baking station:
- Preheat your oven to 350°F and line a 24 cup mini muffin tin with paper liners for easy removal later.
- Mix the brownie batter:
- Whisk melted butter and sugar in a medium bowl until smooth, then add egg, vanilla, and red food coloring until combined.
- Add the dry ingredients:
- Sift in flour, cocoa powder, and salt, then stir until just incorporated without overworking the batter.
- Make the cream cheese swirl:
- Beat softened cream cheese with sugar, egg yolk, and vanilla until completely smooth in a separate small bowl.
- Layer the batters:
- Spoon about one tablespoon of brownie batter into each muffin cup, then add one teaspoon of cream cheese mixture on top.
- Create the marble effect:
- Use a toothpick to gently swirl the cream cheese into the brownie batter, taking care not to overmix the layers.
- Bake to perfection:
- Bake for 23 to 25 minutes until centers are set and a toothpick comes out with just a few moist crumbs.
- Cool completely:
- Let them rest in the pan for 10 minutes before transferring to a wire rack to finish cooling.
 Save
Save These have become my signature contribution to office potlucks and book club meetings. There's something delightful about watching people hesitate before taking that first bite, then immediately reach for a second one. The combination of rich chocolate and tangy cream cheese creates this sophisticated flavor profile that nobody expects from something so cute and colorful.
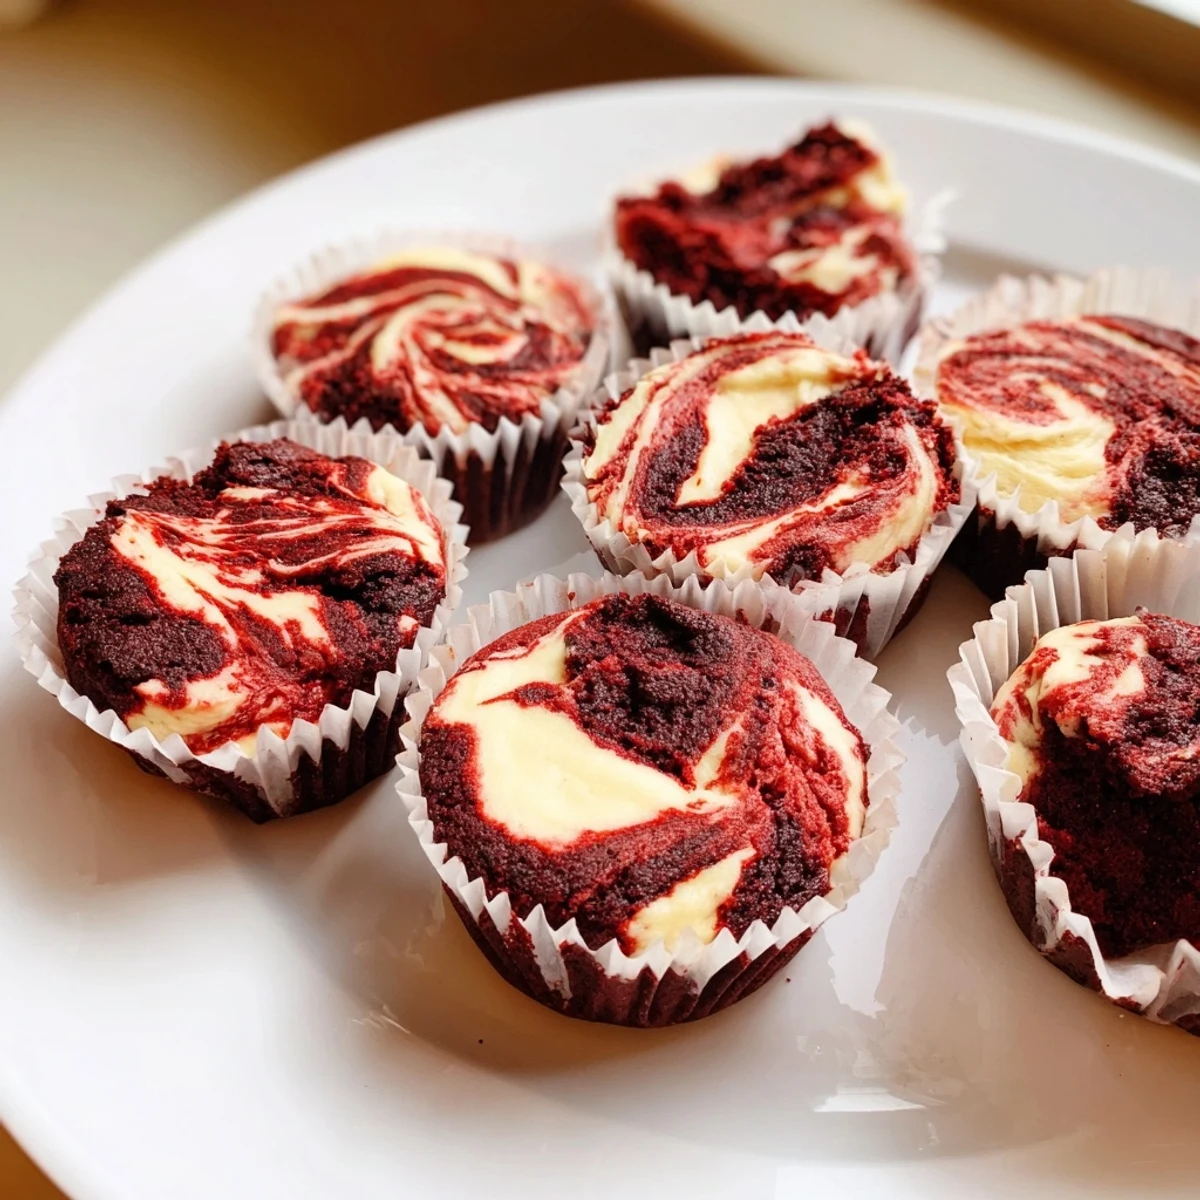
Getting the Perfect Swirl
The key is using just one gentle circular motion with your toothpick rather than repeatedly dragging it through the batter. Think of it as giving each brownie a single flourish instead of mixing the two layers together completely.
Making Them Ahead
These actually taste better after chilling in the refrigerator overnight, which makes them perfect for preparing a day before your event. The flavors meld together and the texture becomes even more fudgy and dense.
Customization Ideas
Sometimes I fold a handful of white chocolate chips into the brownie batter for extra pockets of sweetness. The white chocolate complements the red velvet flavor beautifully and adds another textural element.
- Try adding a touch of almond extract instead of vanilla for a nutty undertone
- Sprinkle crushed graham crackers over the cream cheese layer before swirling
- For extra decadence, drizzle with melted white chocolate after cooling
 Save
Save These little bites have a way of making any gathering feel special, whether it is a holiday party or just a Tuesday night craving. The red color makes them festive year round, and that cream cheese swirl ensures nobody forgets them.
Questions & Answers
- → How do I know when the brownie bites are done baking?
-
Insert a toothpick into the center of a brownie bite. It should come out with a few moist crumbs but not wet batter. The tops should appear set, and the cream cheese swirl should be slightly golden.
- → Can I make these ahead of time?
-
Yes, these brownie bites store beautifully in an airtight container in the refrigerator for up to 4 days. Bring to room temperature before serving for the best texture and flavor.
- → What's the best way to achieve the marbled swirl effect?
-
Use a toothpick or skewer to gently circle through the cream cheese mixture and red velvet batter just once or twice. Avoid over-swirling, which will blend the colors together instead of creating distinct marbling.
- → Can I freeze these brownie bites?
-
Absolutely. Place cooled brownie bites in a single layer on a baking sheet, freeze until firm, then transfer to a freezer-safe container. They'll keep for up to 3 months. Thaw in the refrigerator overnight.
- → Why did my cream cheese swirl sink into the batter?
-
This can happen if the cream cheese mixture is too thin or the batter is overly warm. Ensure cream cheese is softened but not melted, and add the swirl just before baking. The thicker the cream cheese layer, the less it will sink.
- → Can I use natural red food coloring?
-
Natural red coloring from beet juice or strawberry powder works but may yield a more muted burgundy shade rather than bright red. Gel food coloring provides the most vibrant color with less liquid.
