 Save
Save Press a graham cracker crust into a 9-inch springform and pre-bake. Beat cream cheese with sugar and vanilla, add eggs one at a time, then fold in sour cream and flour until smooth. Divide batter into three portions, tint two with red and blue gel colors, and alternate spoonfuls onto the cooled crust. Gently swirl with a skewer for a marbled effect without overmixing. Bake until the center is just set, cool in the oven with the door ajar, then chill thoroughly before slicing and serving with whipped cream and berries.
There’s a certain thrill to watching bold ribbons of color swirl through creamy cheesecake batter. The first time I tackled this patriotic swirl cheesecake, I had a playlist of summer anthems blasting and a counter scattered with dye-splattered spoons—an apt scene for a dessert that’s as playful as it is impressive. Just the scent of warm, toasty graham crackers started the anticipation. It’s been my go-to for any gathering that calls for a little edible fanfare and big smiles.
I remember the first time I made this cheesecake on a humid July afternoon, humming along to the sound of fireworks prepping outside. My cousin hovered nearby, eagerly passing me the food coloring and quietly hoping for extra swirls in her slice. The kitchen felt equal parts laboratory and celebration, spatulas clinking and the anticipation of slicing into the dramatic marbled top keeping us busy while it cooled. That cheesecake disappeared before the outdoor sparklers ever came out.
Ingredients
- Graham cracker crumbs: Nothing beats the toasted, honey-like crunch these bring. I crush them by hand for uneven bits that catch the butter better.
- Granulated sugar: It sweetens both the crust and the creamy middle—don’t skimp on quality here.
- Unsalted butter: Melted to bind the crumbs and add that irresistible richness.
- Pinch of salt: Just enough to balance the sweetness and intensify flavors.
- Cream cheese: Let it soften fully; lumps are the enemy of silky cheesecake.
- Vanilla extract: Rounds out each bite with a cozy warmth.
- Eggs: Add them one at a time or your filling could split—that’s a lesson learned.
- Sour cream: This is the secret to an ultra-creamy, gently tangy texture.
- All-purpose flour: Just a little lends stability without making things dense.
- Red & blue gel food coloring: Gel is the only way if you want those bold, distinct hues—liquid just dilutes the fun.
Instructions
- Prep and pan:
- Set your oven to 325°F and line your 9-inch springform with parchment—the quiet ritual before the real magic.
- Mix the crust:
- Combine cracker crumbs, sugar, salt, and butter by hand until it smells like the start of something wonderful, then press into the pan and bake for a golden base.
- Start the filling:
- With your mixer humming, blend cream cheese until satiny, then add sugar and vanilla so the batter sings with sweetness.
- Eggs and cream:
- Crack eggs in one by one, mixing gently, then fold in sour cream and flour for a cloudlike batter.
- Color divide:
- Split batter in three bowls—leave one plain, tint others red and blue, and watch color bloom with every stir. Don’t worry if your hands get streaked!
- Swirl and layer:
- Dollop spoonfuls over the cooled crust, alternating colors. Drag a skewer gently for dramatic swirls but resist overdoing it—less is more.
- Bake and cool:
- Slide into the oven for about an hour, checking for that signature jiggle. Let it rest in the open oven, then chill patiently—it’s worth every minute.
- Serve and slice:
- Once cold, release from the pan, clean your knife between cuts, and marvel at every slice’s fireworks swirl.
 Save
Save One Fourth of July, after the sparklers fizzled and the plates piled high with crumbs, my nephew licked his fork clean and solemnly asked if I could make 'firework cake' for every family birthday. That was the moment this cheesecake turned from a holiday experiment into an expected tradition, and something tells me it’ll be gracing our table for years to come.
Discovering the Best Swirl Technique
The most brilliant swirls happen when you alternate large spoonfuls of each color and swirl with a light, confident hand. If the tool drags too deep, the colors muddy, but a gentle flick of the wrist leaves crisp, dramatic ribbons. The first time I got it right, I stood back in awe for a moment, a tiny triumph in marbleized artistry.
Making Cleanup a Breeze
Using parchment in the pan not only stops sticking but means cleaner edges and less time wrestling with stuck-on crust later. Gel dye can be stubborn—wash up quickly and you’ll save your spatulas from unintended art projects. Keeping bowls big and giving yourself room to mix also helps keep the mess contained.
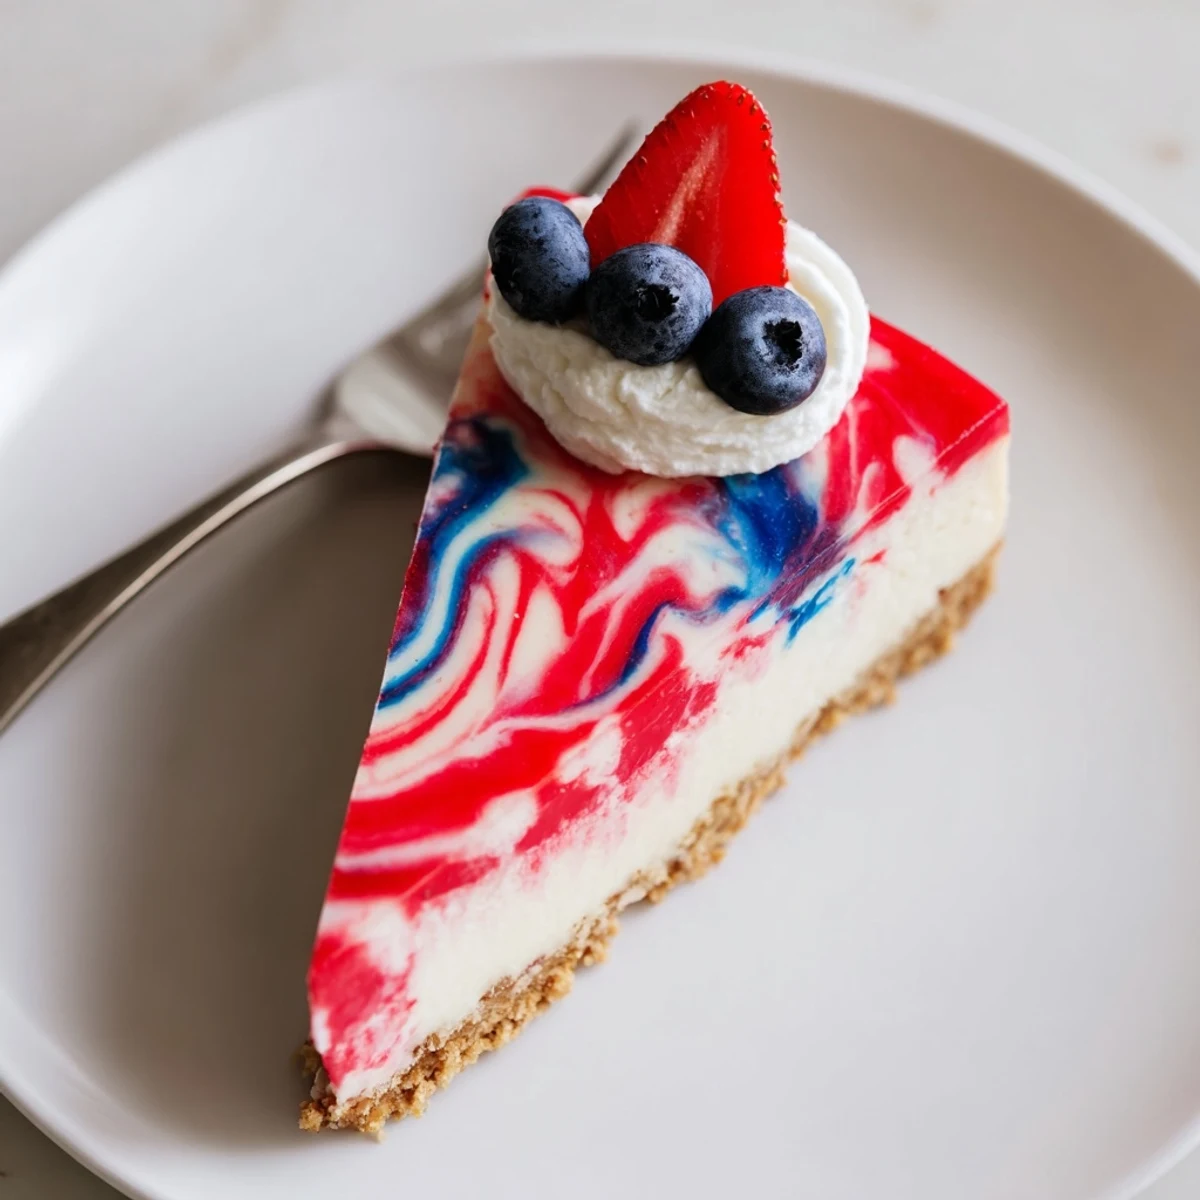
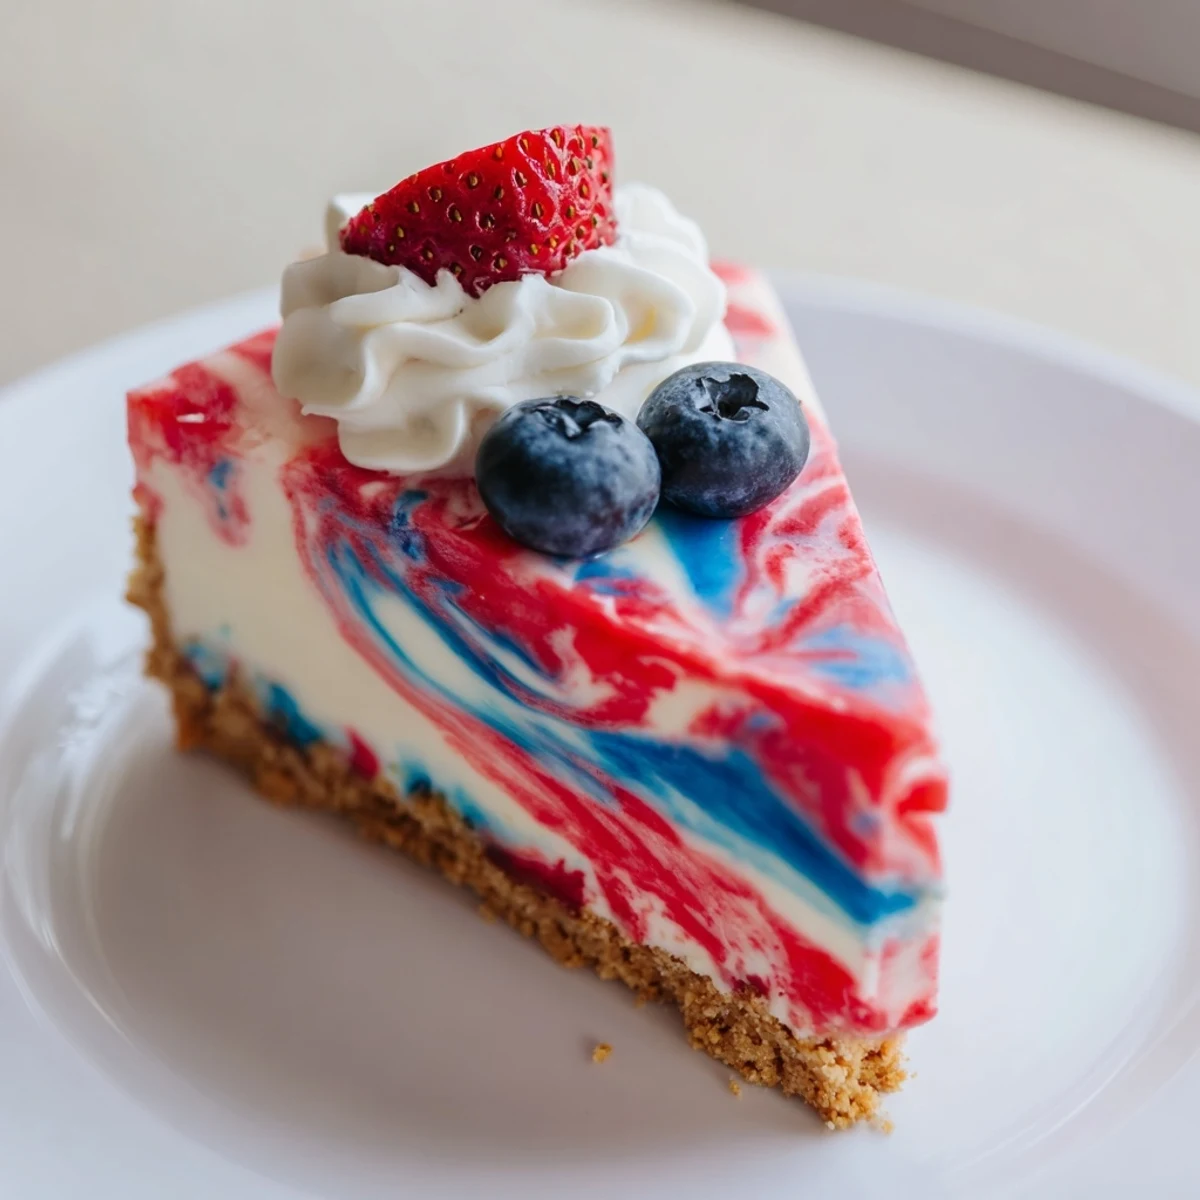
Showstopping Finishes for Serving
Once chilled, a crown of whipped cream and a sprinkle of fresh berries take this cheesecake over the top. I like to arrange strawberries and blueberries for a nod to the swirling inside, but any bright berry will do. If you want truly clean slices, dip your knife in hot water and wipe between cuts, and each piece will look as dazzling as the whole.
- If the swirl isn’t perfect, just call it “abstract art”—no one minds.
- Serve cold for the best texture and flavor pop.
- Remember, the vivid colors will intensify as the cheesecake sets, so don’t go overboard at first.
 Save
Save May your celebrations be as bright and memorable as each vibrant slice. This cheesecake is all about color, comfort, and the joy of sharing something a little extraordinary.
Questions & Answers
- → How do I keep the swirls distinct?
-
Use gel food coloring for concentrated color that won’t thin the batter. Layer spoonfuls rather than mixing, then make only a few gentle swirls with a skewer to preserve defined patches of color.
- → What’s the best way to prevent cracks?
-
Avoid overbeating the batter and add eggs one at a time. Bake until the center is just set—slightly jiggly—and cool inside the turned-off oven with the door ajar for an hour before chilling to reduce temperature shock.
- → How can I test for doneness?
-
The edges should be set and the center slightly jiggly when you gently shake the pan. The cheesecake will continue to set as it cools and chills, so avoid overbaking.
- → Can I use liquid food coloring instead of gel?
-
Liquid dyes can thin the batter and mute colors. If you must use them, add very small amounts and expect less vibrant swirls; gel color is recommended for bold shades.
- → How long should it chill before slicing?
-
Chill at least three hours, preferably longer or overnight. Thorough chilling firms the texture and makes cleaner slices.
- → Any tips for serving and garnishes?
-
Top with lightly sweetened whipped cream and fresh berries for contrast and extra color. Let slices sit a few minutes at room temperature for creamier mouthfeel.
