 Save
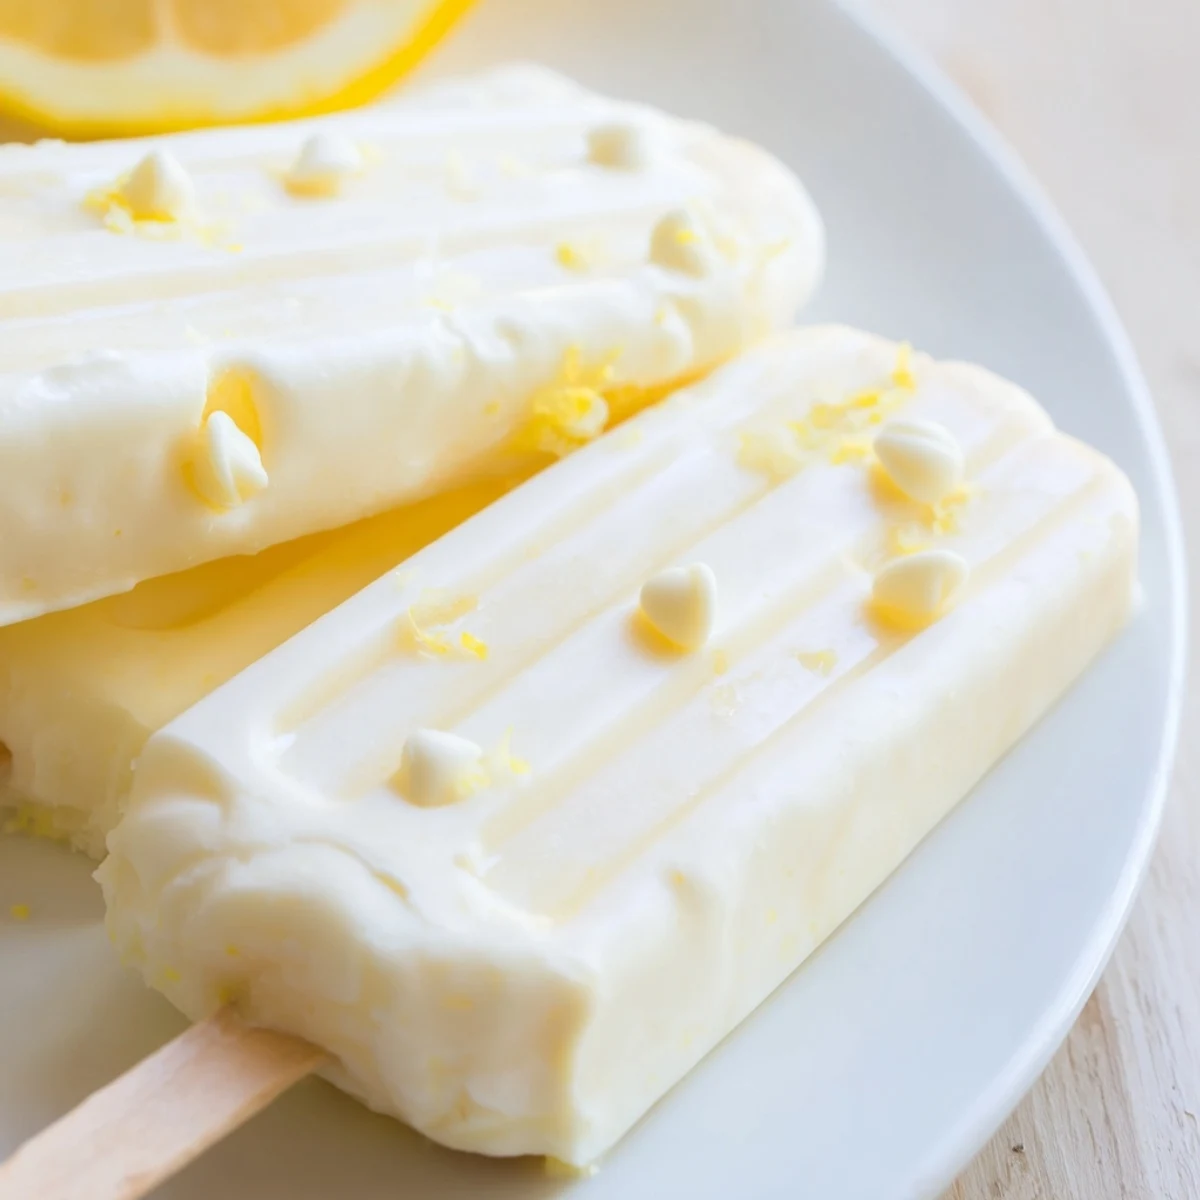
Save These zesty frozen lemon yogurt popsicles combine creamy Greek yogurt with fresh lemon juice and zest for a refreshing summer treat. The mixture comes together in just 10 minutes, then freezes into perfectly portioned handheld desserts. With only 85 calories each, these frozen delights offer a lighter alternative to ice cream while still delivering satisfying creaminess.
The base uses plain Greek yogurt blended with honey for natural sweetness, vanilla extract for depth, and a pinch of sea salt to enhance the citrus notes. Fresh lemon zest provides bright aromatic oils while lemon juice adds the signature tangy punch that makes these popsicles so refreshing.
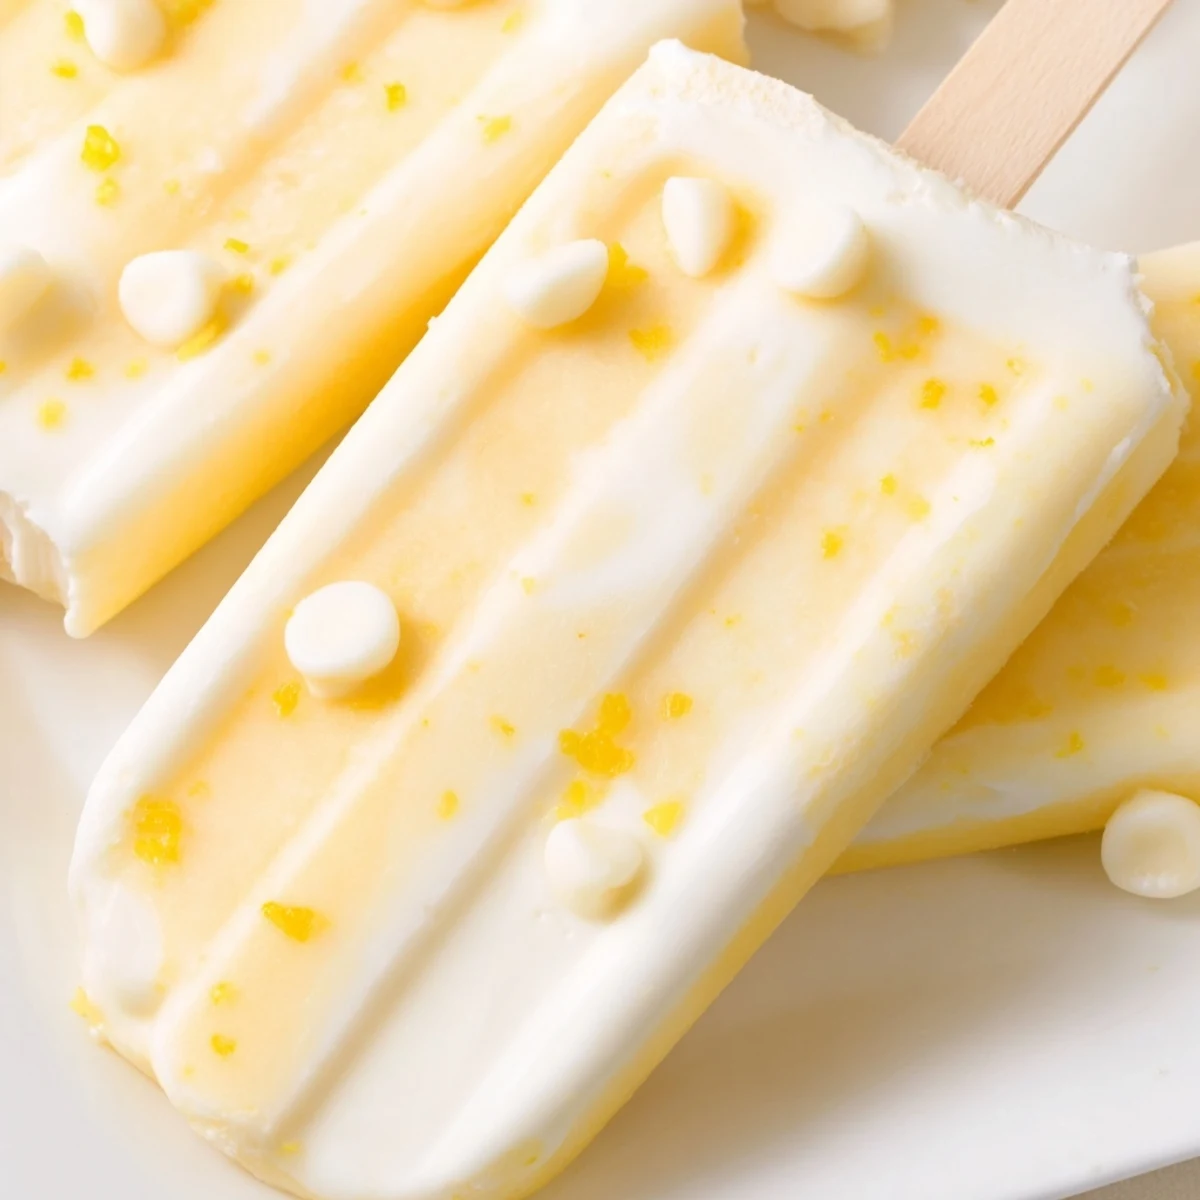
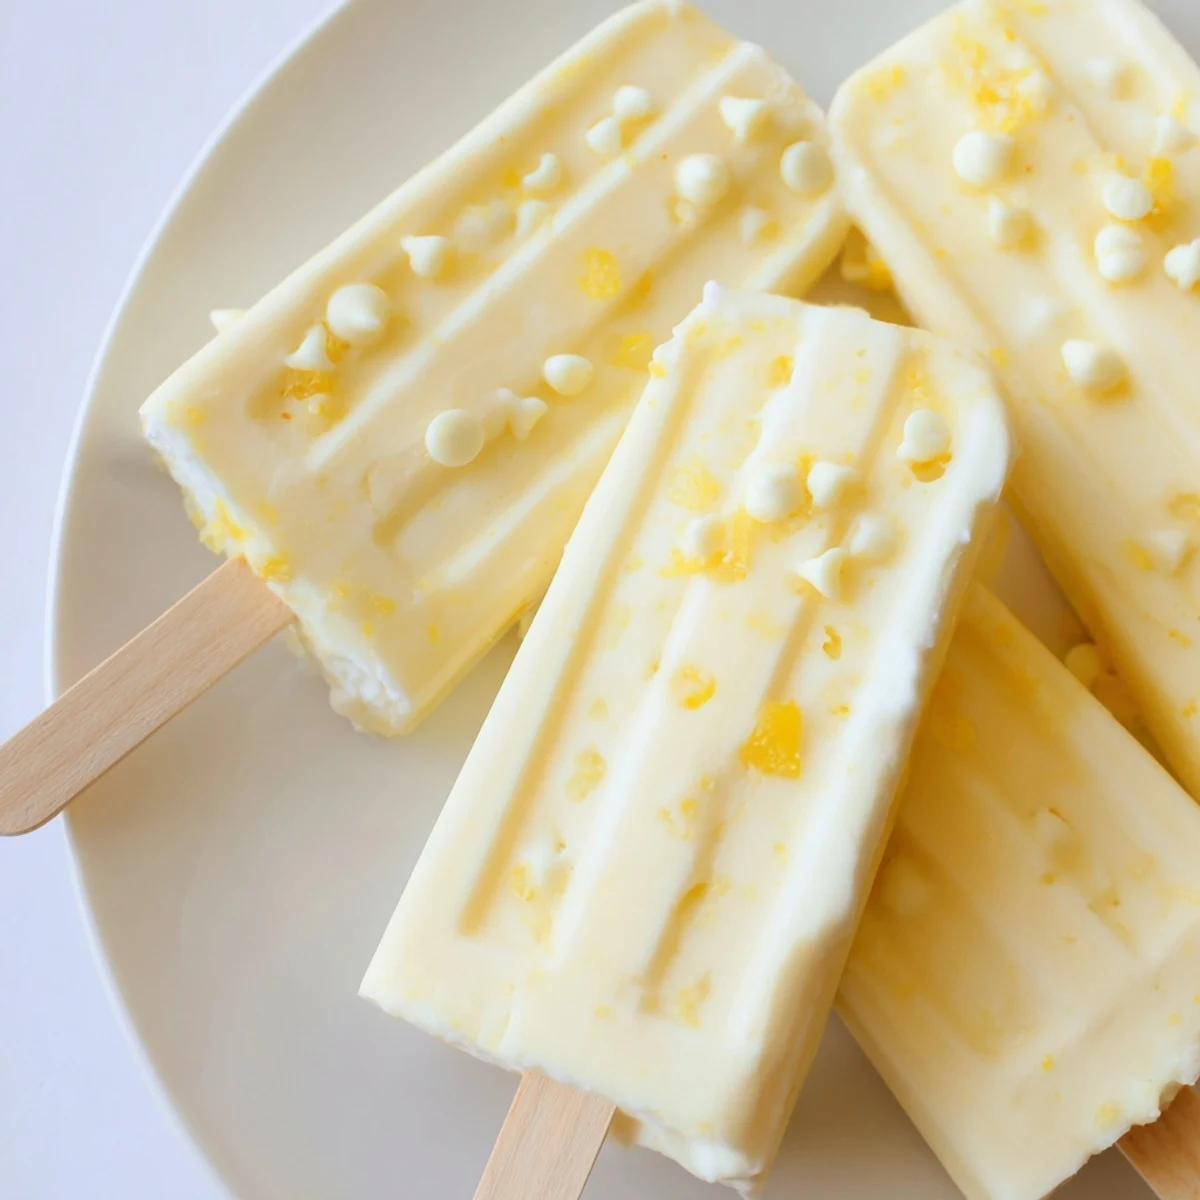
Customizing is simple—fold in chopped mint for an herbal twist, add mini white chocolate chips for creamy texture contrasts, or swap the lemon for lime to create a tropical variation. The vegan-friendly version uses dairy-free yogurt and maple syrup instead of honey.
The summer I discovered frozen yogurt popsicles was the summer my air conditioner died in July, and honestly those icy little lemon sticks saved my sanity more than once.
My neighbor walked over one afternoon while I was zesting lemons on the porch and ended up staying to help me pour the mixture into molds, though mostly she just licked the bowl.
Ingredients
- 2 cups plain Greek yogurt: The thick, full fat kind gives these popsicles their luxurious mouthfeel, so dont reach for the watery stuff.
- 1/2 cup fresh lemon juice (about 2 to 3 lemons): Bottled juice tastes flat and metallic here, squeeze it fresh and your tastebuds will thank you.
- 1 tablespoon lemon zest: This is where all the fragrant oils live, so zest before you juice and really lean into it.
- 1/2 cup honey (or maple syrup for vegan): Honey rounds out the sourness beautifully, and a darker honey adds a lovely floral note.
- 1 teaspoon vanilla extract: Just a whisper of vanilla makes the lemon flavor taste more rounded and complex.
- Pinch of sea salt: Salt makes sweet things sing, never skip it even in desserts.
- 2 tablespoons finely chopped fresh mint (optional): Mint and lemon are old friends, and the little green flecks look gorgeous in the molds.
- 1/4 cup mini white chocolate chips (optional): They freeze into tiny sweet surprises throughout each pop.
- Lemon slices for decoration (optional): Tuck a thin slice against the side of each mold before pouring for a professional look.
Instructions
- Whisk everything smooth:
- Plop the yogurt into a large mixing bowl, then add the lemon juice, zest, honey, vanilla, and salt, whisking until the mixture is silky with no streaks of honey hiding at the bottom.
- Fold in any extras:
- If you are using mint or white chocolate chips, gently fold them in now with a spatula so they stay evenly distributed.
- Fill the molds:
- Pour the pale yellow mixture into your popsicle molds, tapping the sides firmly to coax stubborn air bubbles up to the surface, then insert the sticks.
- Freeze until solid:
- Slide the molds into the freezer and walk away for at least four hours, though overnight is even better if you can stand the wait.
- Release and serve:
- Run warm water over the outside of each mold for about ten seconds, then gently wiggle and pull the popsicle free and eat it immediately before it starts weeping.
 Save
Save I handed one to my neighbor still half frozen and she stood on my lawn eating it without saying a word for two full minutes, which is honestly the highest compliment I have ever received.
What If You Want to Play Around With It
Swap the lemon for lime and suddenly you have something that tastes like a key lime pie on a stick, or try half lemon and half grapefruit juice for a grown up bitter edge.
Storage That Actually Works
Once unmolded, wrap each popsicle tightly in plastic wrap and tuck them into a freezer bag, where they will stay happy for up to three weeks.
Tools Worth Mentioning
You truly only need a bowl, a whisk, and some molds, but a microplane zester makes quick work of the lemon peel and saves your knuckles.
- Cheap plastic molds work fine, but silicone ones release the popsicles with less drama.
- If your molds did not come with sticks, wooden craft sticks from any craft store do the job.
- Always zest your lemons before cutting and juicing them, not after.
 Save
Save Keep a batch tucked in your freezer all summer long and you will never be caught without something cold and wonderful to offer unexpected guests.
Questions & Answers
- → How long do these popsicles need to freeze?
-
Freeze the popsicles for at least 4 hours until completely solid. For best results, leave them overnight to ensure they're fully set throughout before removing from the molds.
- → Can I make these without a popsicle mold?
-
Yes! Use small paper cups, ice cube trays for bite-sized versions, or even muffin tins. Insert wooden sticks or small spoons as handles and freeze until solid.
- → How should I store leftover popsicles?
-
Remove frozen popsicles from molds and wrap individually in plastic wrap or parchment paper. Store in an airtight container in the freezer for up to 2 weeks.
- → What's the best way to remove stuck popsicles from molds?
-
Run the mold under warm water for 15-30 seconds, then gently wiggle the stick to release. Avoid hot water which can melt the outer layer too quickly.
- → Can I use regular yogurt instead of Greek yogurt?
-
Greek yogurt works best because its thicker texture creates creamier popsicles. Regular yogurt contains more water, resulting in icier textures. If using regular yogurt, strain it through cheesecloth first to remove excess liquid.
- → How can I make these more kid-friendly?
-
Increase honey to 2/3 cup for a sweeter treat. Add colorful layers by mixing in fruit purees like strawberry or mango, or fold in sprinkles instead of mint for fun confetti popsicles.
