 Save
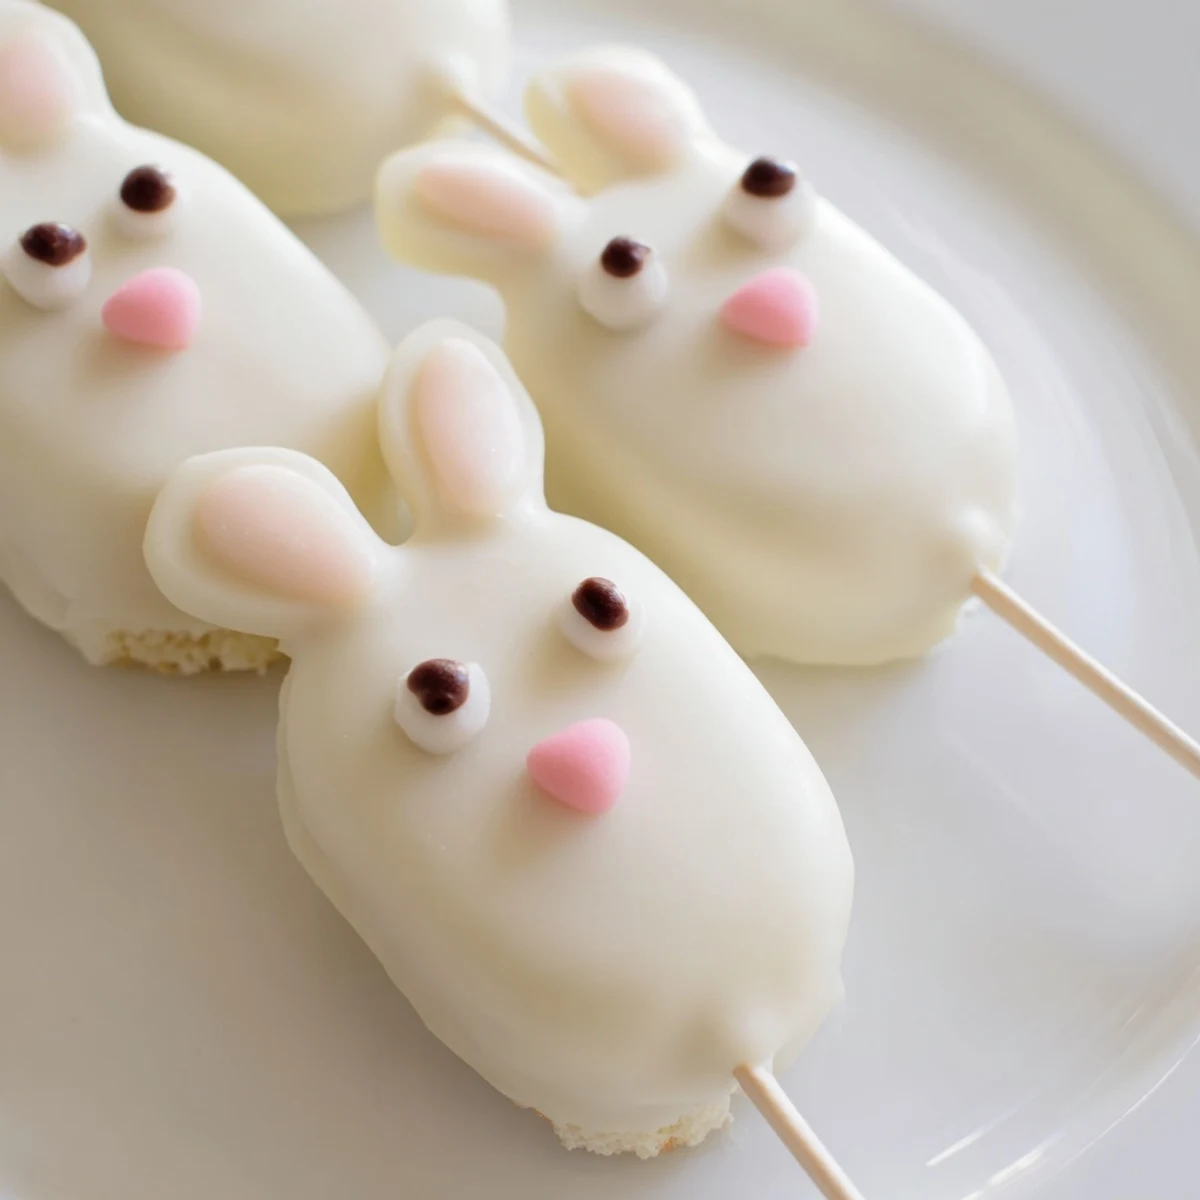
Save These charming bunny-shaped cakesicles combine moist vanilla cake with creamy white chocolate for an irresistible Easter treat. The handheld format makes them perfect for parties, basket fillers, or festive platters.
Simply mix cake crumbs with cream cheese and butter, shape into bunny faces, insert sticks, then dip in melted white chocolate. Decorate with candy eyes, sprinkles, or fondant ears to bring your bunnies to life.
The process takes just an hour from start to finish, yielding eight adorable treats. Kids love helping decorate these festive desserts, making them a wonderful family activity before your Easter gathering.
The first time I attempted these bunny cakesicles, my kitchen looked like a pastel explosion had gone off. White chocolate dripped everywhere, and my toddler kept stealing the cake crumbs before I could even form them into shapes. But watching her eyes light up when she saw the first finished bunny hop out of the fridge made every sticky moment worth it.
Last Easter, I made a batch for my niece's egg hunt and watched the kids gravitate toward the dessert table before they even touched the dyed eggs. Something about food on a stick makes everything more exciting, especially when it looks like an adorable bunny face staring back at you.
Ingredients
- Vanilla cake crumbs: The foundation of your cakesicles. I have learned that slightly stale cake actually works better than fresh because it absorbs the binding ingredients without becoming mushy
- Cream cheese: This is the secret that transforms dry crumbs into a moldable dough. Make sure it is truly soft to avoid those pesky lumps that ruin the smooth texture
- Unsalted butter: Room temperature is non negotiable here. Cold butter creates pockets that make shaping nearly impossible
- Powdered sugar: Just enough to sweeten the dough without overpowering the white chocolate coating later
- Vanilla extract: Pure vanilla makes a noticeable difference in the final flavor profile
- White chocolate: High quality melts produce the smoothest coating. Cheap white chocolate can seize and turn grainy, which nobody wants on their bunny
- Edible gel food coloring: Gel colors work better than liquid for the tiny details on bunny faces and will not cause your chocolate to seize
- Cakesicle sticks: Insert these before chilling, or you will find yourself trying to poke holes through hardened chocolate and creating cracks
Instructions
- Mix your cake dough:
- Combine cake crumbs, cream cheese, butter, powdered sugar, and vanilla in a medium bowl. The mixture should hold together when squeezed but not feel sticky or wet. If it crumbles apart, add another teaspoon of cream cheese.
- Shape your bunnies:
- Divide the dough into 8 equal portions and gently form each into a flattened oval shape with slightly pointed tops for ears. Do not overwork the dough or it will become greasy.
- Add the sticks:
- Press a cakesicle stick about halfway into each bunny shape, then place them on a parchment lined baking sheet. Chill for 20 to 30 minutes until firm to the touch.
- Melt the white chocolate:
- Microwave the chocolate in 30 second intervals, stirring thoroughly between each burst. Stop when just a few lumps remain and stir until completely smooth.
- Coat the cakesicles:
- Dip each chilled cake pop into the melted chocolate, tapping gently against the bowl edge to remove excess. Work quickly before the cold cake causes the chocolate to thicken.
- Decorate immediately:
- Add candy eyes, sprinkles, or fondant features while the coating is still wet. Once the chocolate sets, nothing will stick to it.
- Set completely:
- Let the finished cakesicles stand at room temperature for about 30 minutes until the chocolate is firm. Refrigerate for 10 minutes if you are in a hurry.
 Save
Save My sister in law now requests these for every family gathering, regardless of the season. Something about eating dessert on a stick brings out the kid in everyone, and I have learned that adult Easter celebrations need just as much whimsy as the ones for children.
Getting Creative with Flavors
The vanilla cake base is just the beginning. Chocolate cake crumbs with white chocolate coating create an Oreo like flavor combination that disappears in minutes. Lemon cake with a hint of yellow coloring swirled into the white chocolate tastes like spring itself.
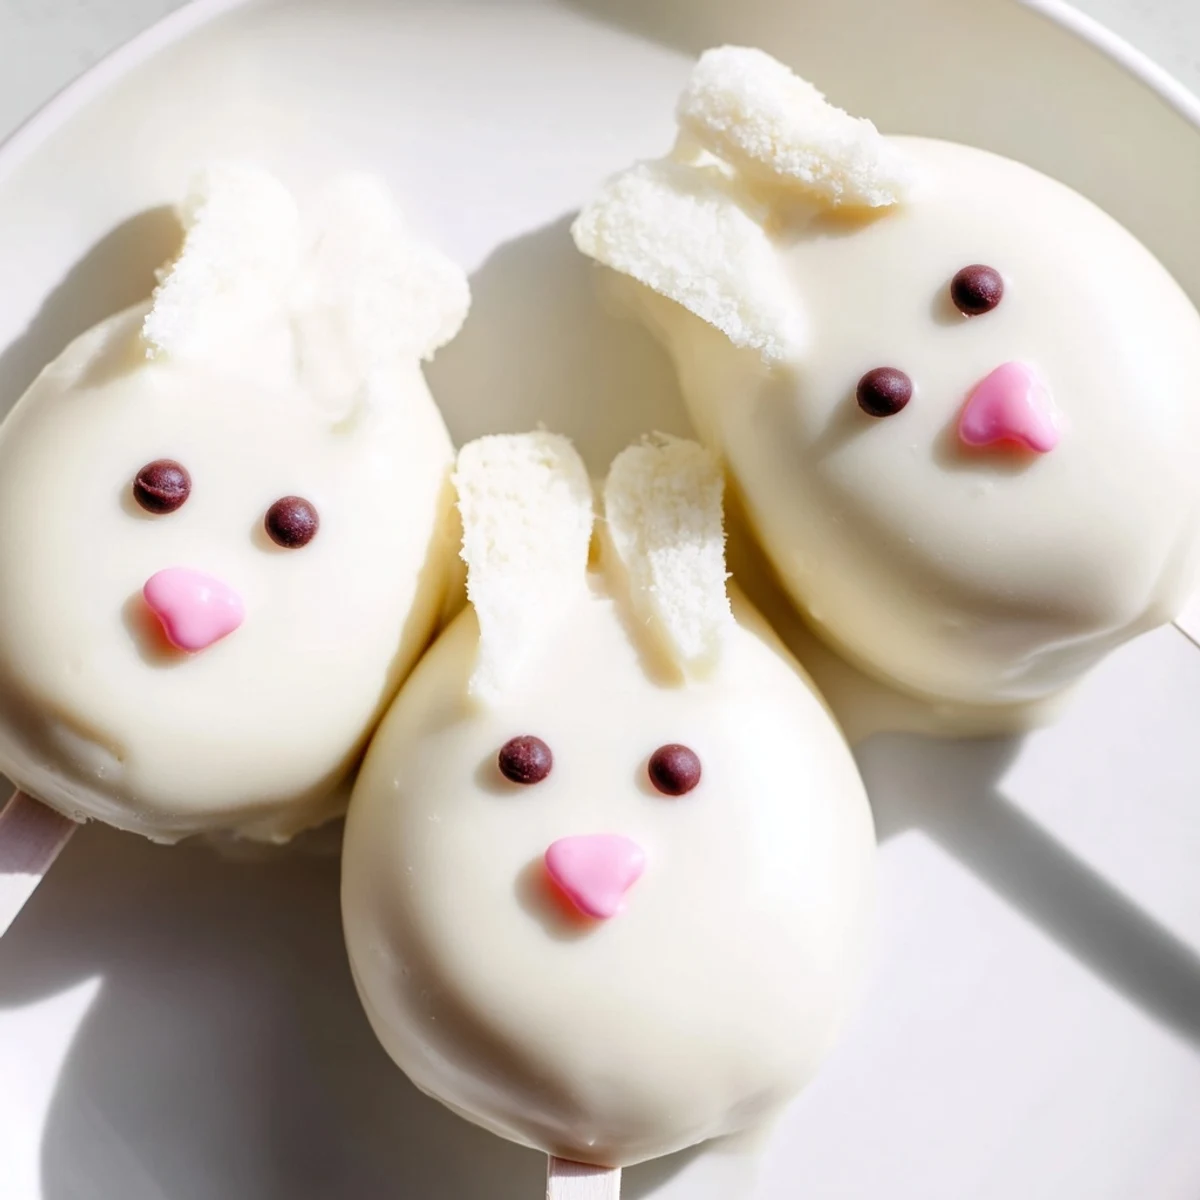
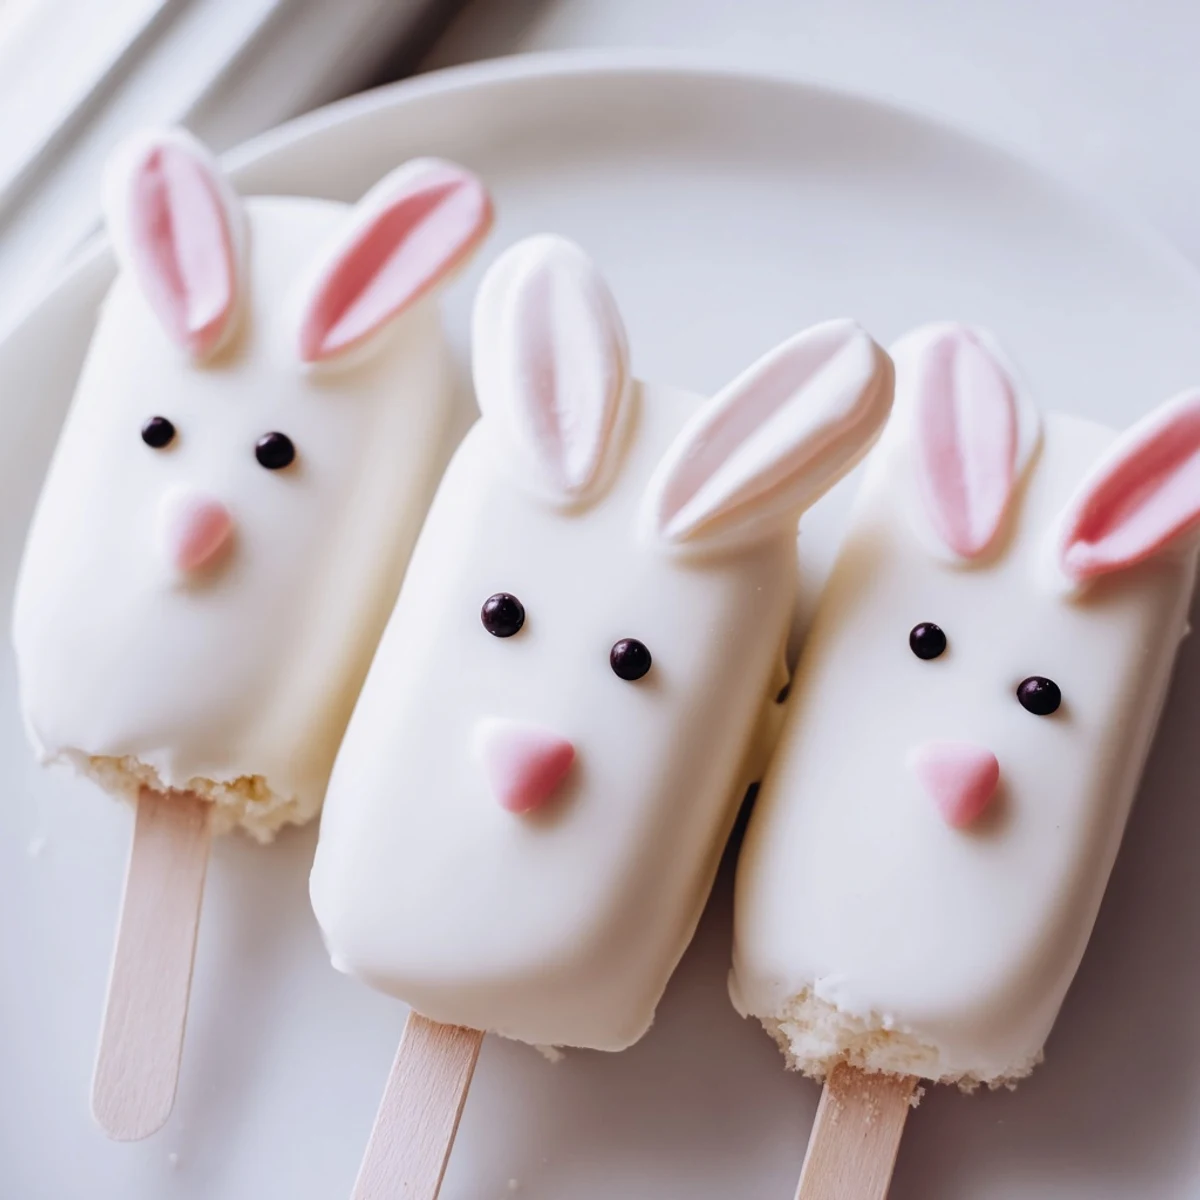
Decoration Ideas That Work
Candy eyes are cute, but do not underestimate the power of simple piped details. A tiny pink nose and whiskers drawn with food coloring gel can be even more charming than elaborate decorations. Sprinkles should be added immediately after dipping while the chocolate is still tacky.
Making These Ahead
These cakesicles actually taste better after sitting overnight in the refrigerator. The flavors meld together and the coating has time to fully set, giving you that satisfying snap when you bite into them. Just keep them away from strong odors in the fridge.
- Store in an airtight container with parchment paper between layers
- Bring to room temperature for 15 minutes before serving for the best texture
- These freeze beautifully for up to a month if you want to get a head start on holiday prep
 Save
Save These bunny cakesicles have become my signature spring dessert, and I love seeing how each person decorates theirs differently. Some go for realistic bunny faces while others create colorful spring creatures that barely resemble rabbits at all.
Questions & Answers
- → How far in advance can I make these bunny cakesicles?
-
Prepare these treats up to 3 days ahead and store them in an airtight container in the refrigerator. The coating stays fresh and the cake remains moist. Bring to room temperature 30 minutes before serving for optimal texture and flavor.
- → Can I use different cake flavors for these treats?
-
Absolutely! While vanilla creates a classic pairing with white chocolate, try chocolate, lemon, red velvet, or funfetti cake crumbs. Each variation offers a unique twist on the original while maintaining that adorable bunny presentation.
- → What's the best way to melt white chocolate for coating?
-
Melt white chocolate in a microwave-safe bowl using 30-second intervals at 50% power, stirring between each session. This gentle heating prevents seizing and ensures smooth, dippable consistency. Alternatively, use a double boiler on low heat for precise temperature control.
- → Do I need special molds to create bunny shapes?
-
Molds help achieve uniform shapes, but they're not essential. Shape the cake mixture by hand into flattened ovals or bunny faces using gentle pressure. The organic, handmade appearance adds charm to these Easter treats. Just ensure cakesicles are similar in size for even dipping.
- → How can I prevent the coating from cracking?
-
Ensure your cake shapes are thoroughly chilled before dipping—cold cake prevents the warm chocolate from seizing. Avoid over-tapping to remove excess coating, as thin layers crack more easily. Work in a cool room and let treats set at room temperature rather than rushing with refrigeration.
