 Save
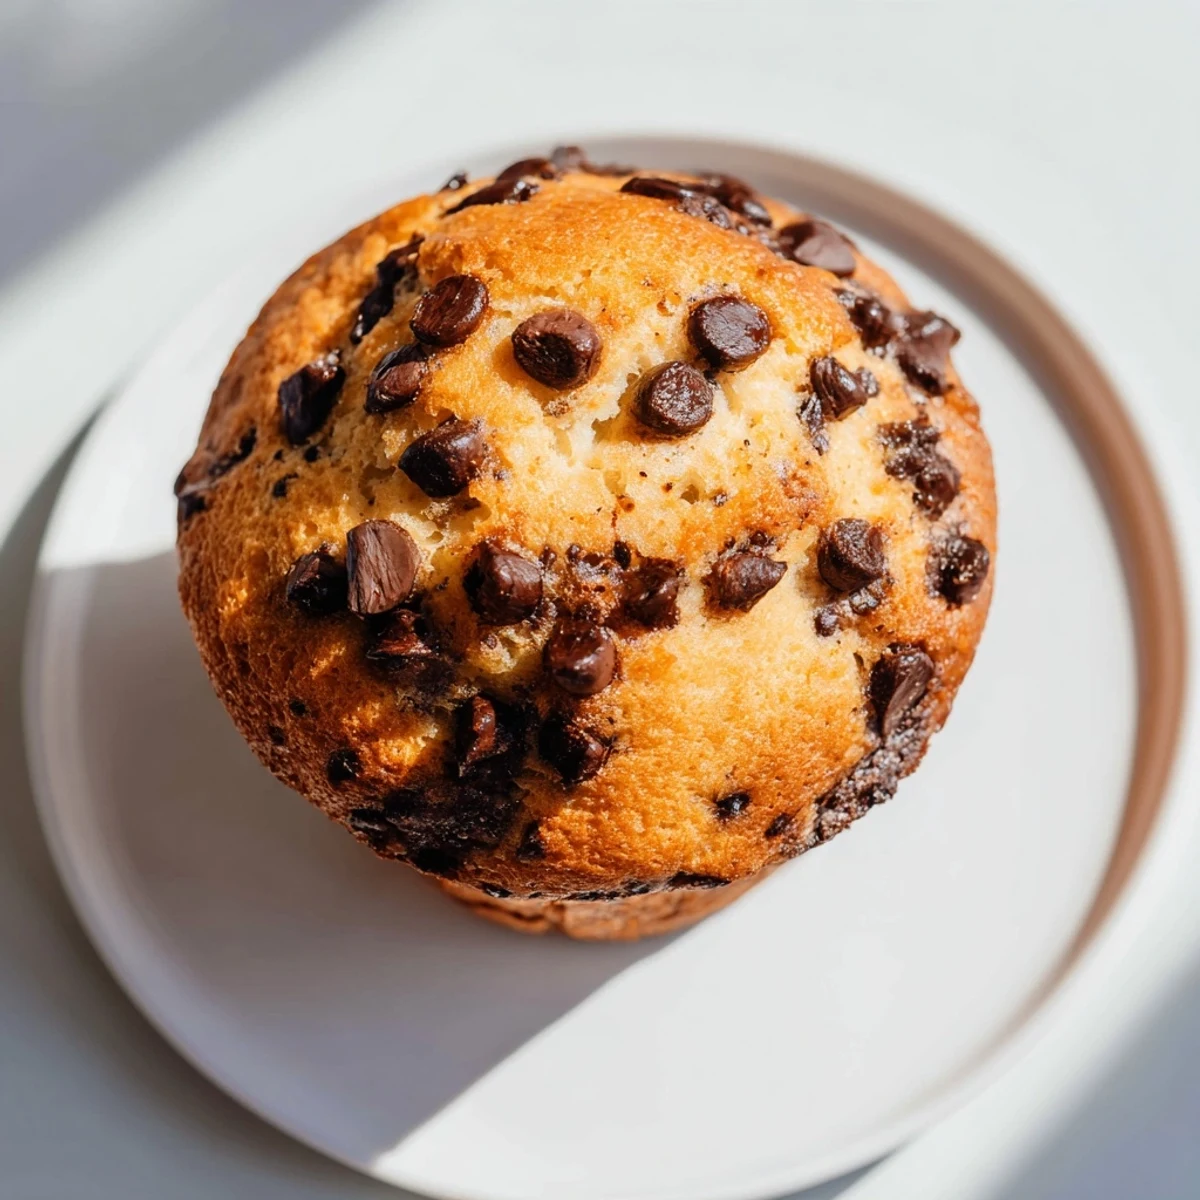
Save These moist chocolate chip muffins bring bakery-quality flavor into your kitchen with minimal effort. Combining a tender crumb with sweet semi-sweet chips, they offer a perfect balance of texture and taste. Made with all-purpose flour, eggs, milk, and vegetable oil, these muffins bake quickly and deliver a warm, comforting treat ideal for breakfast or a snack. Optional add-ins like cinnamon or orange zest can elevate the flavor even more. Enjoy them fresh or store properly for days.
There's something about the smell of chocolate chip muffins baking that stops time in my kitchen. My mom used to make them on Sunday mornings when I was growing up, and I'd wake up to that warm, buttery aroma drifting upstairs. Years later, I tried recreating her recipe and realized my version was denser, greasier—a total flop. But then I figured out her secret: she barely mixed the batter, letting those little lumps stay put, and baked them hot enough so the edges crisped while the centers stayed tender.
I made these for a friend's book club once, bringing them still warm in a paper bag. She bit into one and went completely quiet—the kind of quiet that means something just clicked. She asked for the recipe right there, and I realized it wasn't because they were fancy; it was because they tasted like comfort and effort at the same time.
Ingredients
- All-purpose flour (2 cups): The foundation that needs to stay dry and airy; measure by spooning into your measuring cup, then level it off, because scooping directly creates dense muffins.
- Granulated sugar (3/4 cup): Sweetness that dissolves into the batter, but don't skip this step even if you're tempted to cut back—it's what gives muffins their tender crumb.
- Baking powder and baking soda (2 tsp and 1/2 tsp): These are your leavening agents; check that your baking powder isn't stale by mixing it with water and watching for immediate bubbles.
- Salt (1/4 tsp): A small amount that amplifies chocolate flavor without making anything salty—this is nonnegotiable.
- Eggs (2 large): They bind everything together and add richness; room temperature eggs mix more smoothly into wet ingredients.
- Whole milk (1 cup): Creates moisture and tender texture; if you only have buttermilk, use it straight—it'll make them slightly tangy and even better.
- Vegetable oil (1/2 cup): Oil keeps muffins moist longer than butter would; it also produces a finer, more delicate crumb structure.
- Pure vanilla extract (1 tsp): The difference between tasting like a bakery muffin and tasting homemade in a disappointing way—buy the good stuff.
- Semi-sweet chocolate chips (1 1/2 cups): The whole reason you're here; I learned the hard way that melted chocolate chips disappear into the batter, so keep them chunky and whole.
Instructions
- Heat your oven and prep the tin:
- Turn the oven to 375°F and give it a real moment to warm up—don't skip this or your muffins will bake unevenly. Line your muffin tin with paper liners or give each cup a light spray of nonstick, because there's nothing worse than discovering your beautiful muffin is now stuck to the bottom of the tin.
- Mix your dry ingredients:
- In a large bowl, whisk the flour, sugar, baking powder, baking soda, and salt until they're evenly combined. You're looking for a uniform mixture with no streaks of flour; this ensures even baking.
- Combine the wet ingredients:
- In another bowl, whisk together the eggs, milk, oil, and vanilla until it's smooth and homogeneous. Don't use an electric mixer here; whisking by hand is faster and gives you better control.
- Bring it all together:
- Pour the wet mixture into the dry ingredients and gently stir with a spatula until just combined—lumps are your friend here. Overmixing develops the gluten and creates tough, rubbery muffins, so stop stirring while you still see flour streaks; they'll hydrate as the batter sits.
- Fold in the chocolate:
- Gently fold in the chocolate chips, saving a small handful to sprinkle on top. The reserved chips will catch the heat and create those gorgeous chocolate peaks on top of each muffin.
- Fill the muffin cups:
- Divide the batter evenly among the cups until each is about 3/4 full; I use an ice cream scoop to keep things consistent. Top each one with a few of those reserved chocolate chips.
- Bake until golden:
- Bake for 18 to 20 minutes—the exact time depends on your oven, so start checking at 17 minutes. A toothpick should come out clean or with just a few moist crumbs; if it comes out wet with batter, they need another minute.
- Cool and serve:
- Let them sit in the tin for 5 minutes to firm up, then turn them out onto a wire rack. They taste best when they're still warm and the chocolate is slightly melty.
 Save
Save I once brought a batch of these to a potluck where everyone else brought store-bought desserts, and somehow my simple muffins were gone first. That moment taught me that homemade doesn't need to be complicated—it just needs to taste like someone cared enough to preheat the oven.
Flavor Variations to Explore
The base recipe is perfect on its own, but it also welcomes gentle additions. A pinch of cinnamon or nutmeg brings warmth without overpowering the chocolate, while a teaspoon of orange zest creates a subtle brightness that makes people ask what they're tasting. I've also folded in a handful of crushed pretzels for a salty-sweet contrast, and once added a tablespoon of espresso powder to deepen the chocolate flavor until it was almost mysterious.
Storage and Keeping Your Muffins Fresh
Fresh muffins are best enjoyed within a day, but they keep beautifully in an airtight container for up to three days at room temperature. I've learned that storing them in a sealed bag traps steam and keeps them moist; if you leave them uncovered, they dry out by the second day. You can also freeze baked muffins for up to two months, and then thaw them at room temperature or warm them gently in the oven for that just-baked taste.
Make-Ahead Strategies and Morning Magic
If you're thinking about baking these in advance, know that you can mix your dry ingredients the night before and store them in a sealed container; then just whisk the wet ingredients in the morning and fold everything together. Some bakers even freeze unbaked muffin batter in their liners, then add a few extra minutes to the baking time, which means you can wake up to the smell of fresh muffins without any morning stress. Serve them warm with butter melting into the crevices, or slice and toast them the next day if you somehow have leftovers.
- Paper liners make cleanup effortless and help muffins bake evenly on the sides.
- A muffin scoop ensures every cup gets the same amount of batter, so they bake at the same rate.
- If your oven runs hot, lower the temperature to 350°F and add a couple extra minutes to prevent over-browning.
 Save
Save These muffins have a way of turning an ordinary morning into something a little bit special. Every time you pull a batch from the oven, you're making something that tastes homemade because it actually is—and that matters more than you'd think.
Questions & Answers
- → What gives these muffins their moist texture?
-
The combination of whole milk and vegetable oil helps retain moisture, creating a soft and tender crumb.
- → Can I add any flavor variations?
-
Yes, adding a pinch of cinnamon or a teaspoon of orange zest to the batter enhances the flavor beautifully.
- → How do I know when the muffins are done baking?
-
Insert a toothpick into the center; it should come out clean or with a few moist crumbs when fully baked.
- → Are these muffins suitable for vegetarians?
-
Yes, they contain no meat products and use eggs and dairy, making them vegetarian-friendly.
- → Can I substitute the flour to make these healthier?
-
Replacing half of the all-purpose flour with whole wheat flour gives a heartier texture and adds fiber.
