 Save
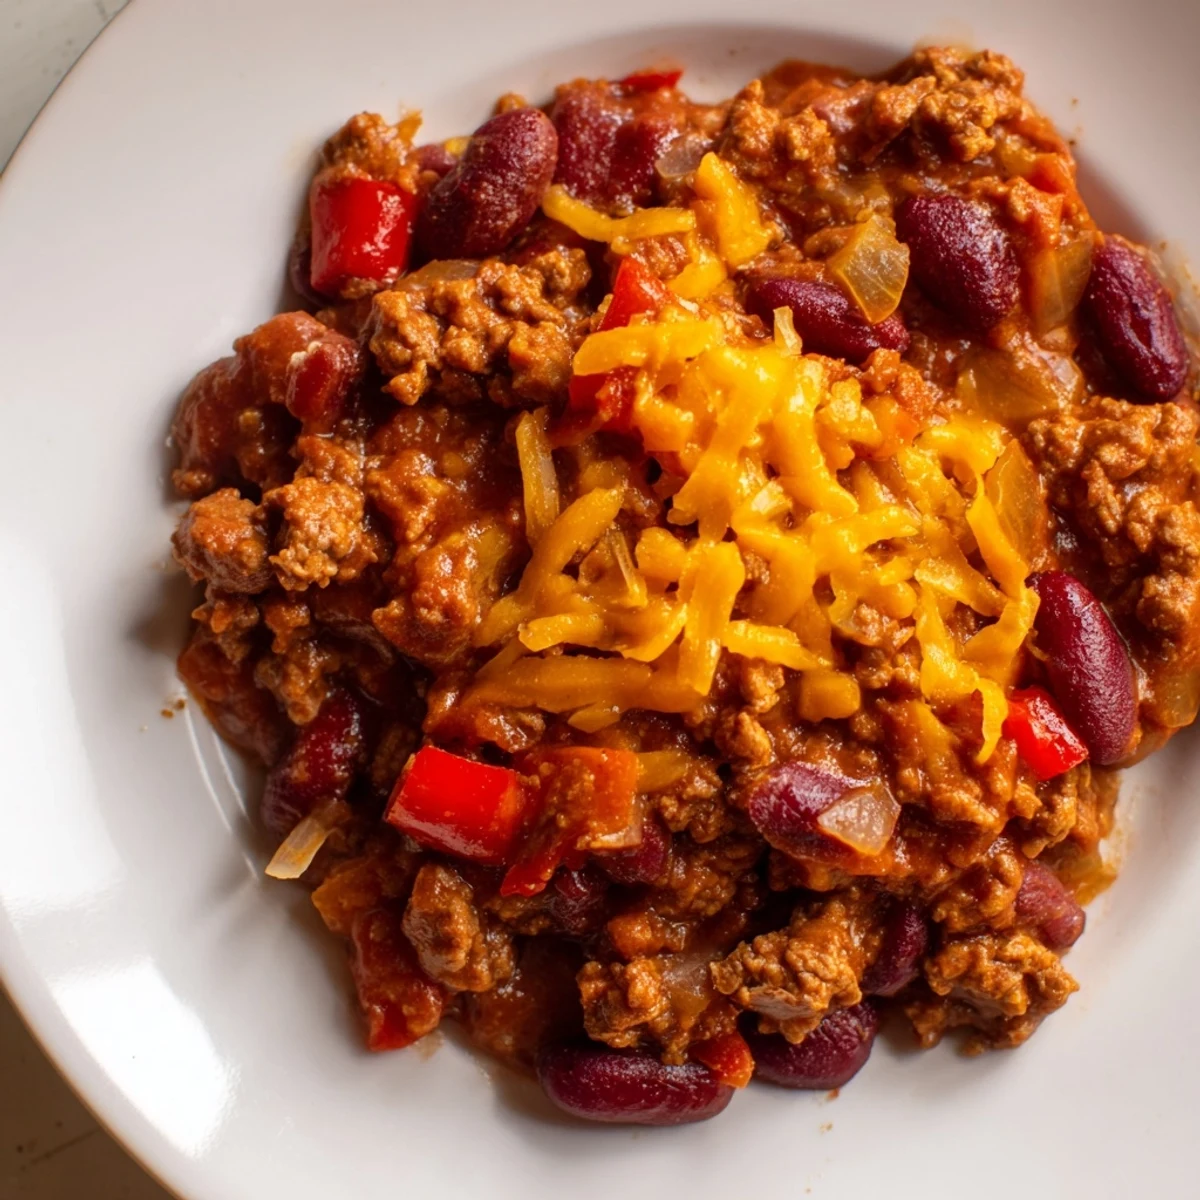
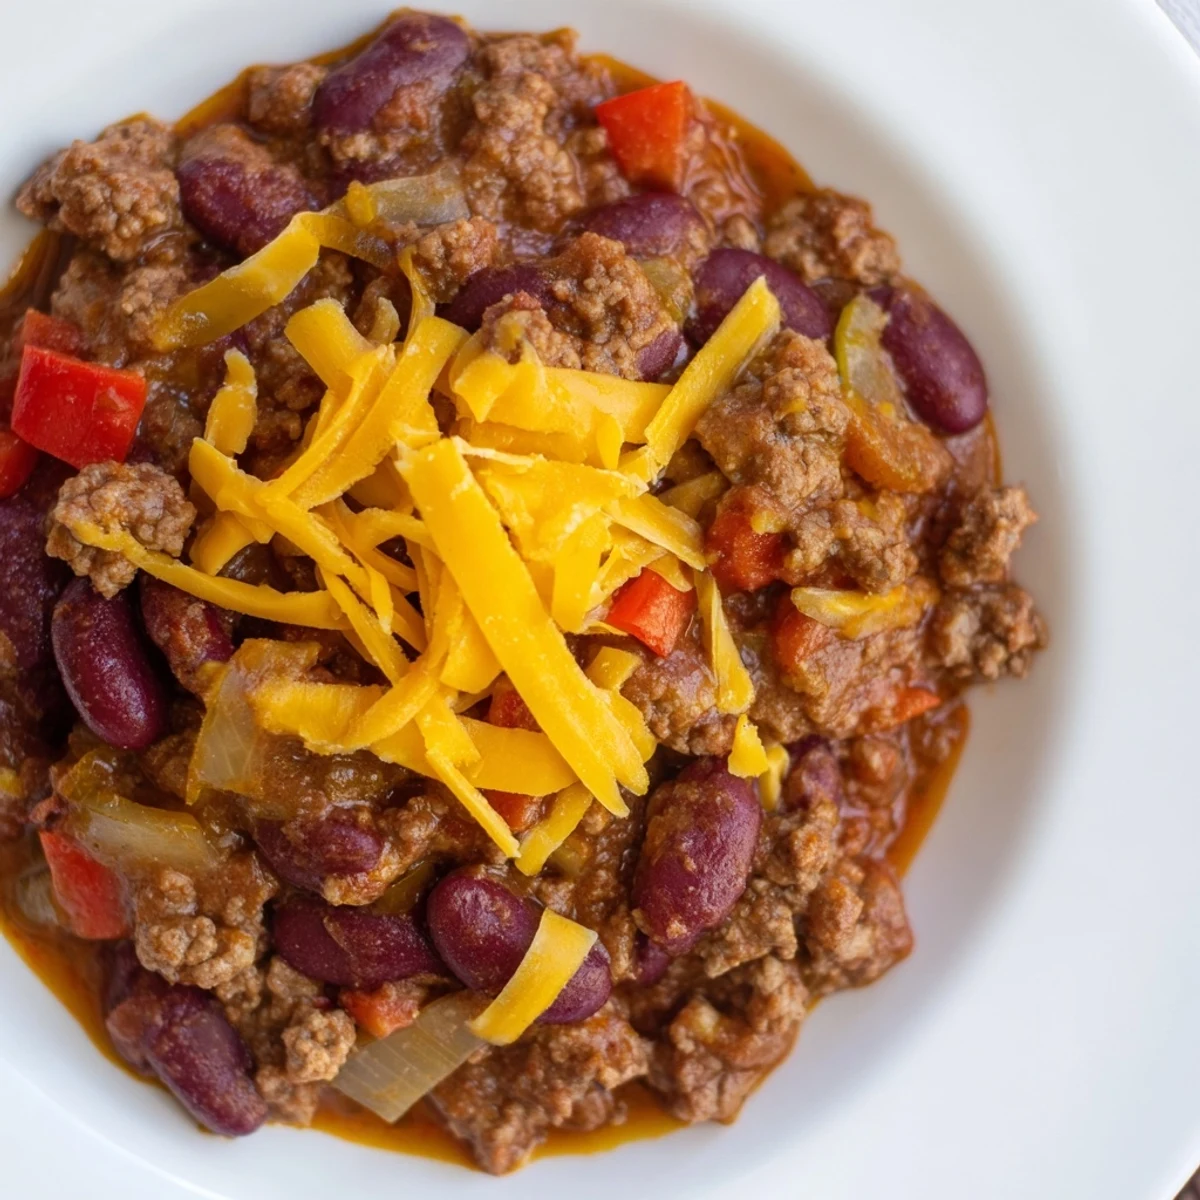
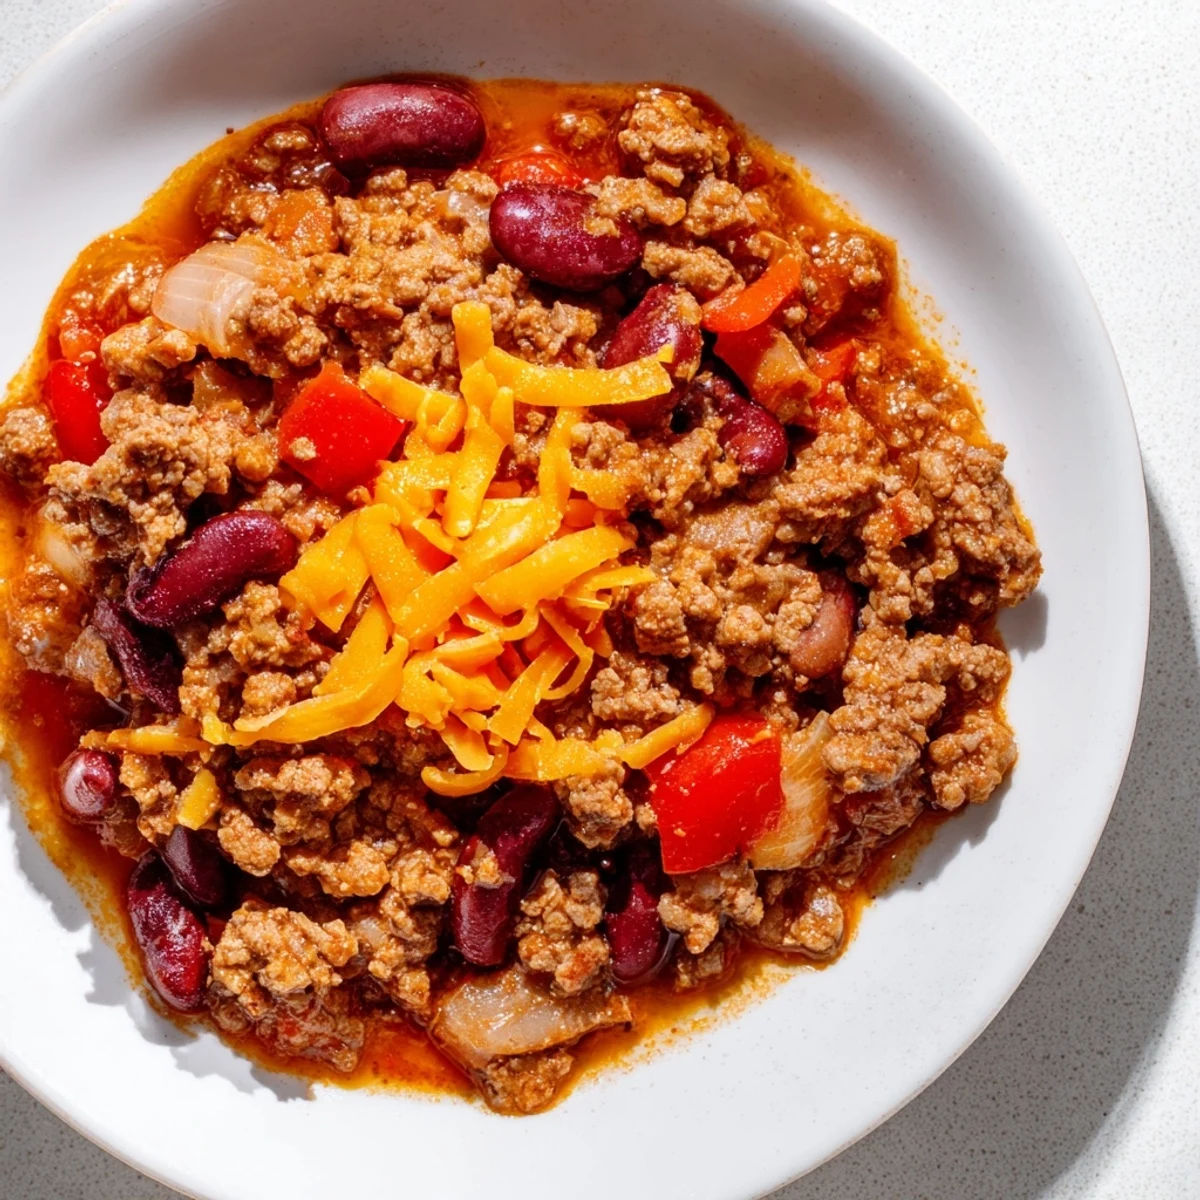
Save This chili combines browned ground beef with diced onion, bell pepper, and garlic, simmered alongside crushed tomatoes, kidney beans, and aromatic spices like chili powder, cumin, and smoked paprika. The slow simmer melds flavors deeply, while a topping of shredded cheddar cheese adds a creamy, melty finish. Optional garnishes like green onions and sour cream enhance the textures and richness. Ideal for a satisfying, gluten-free main dish enjoyed any time of year.
The first snowfall of the season had just started when my roommate walked in with a massive bag of groceries and announced we were making chili that night. I'd always thought of chili as something from a can, something you ate at cheap football watch parties, but she insisted this version would change my mind completely. The way our entire tiny apartment filled with those warm spices and bubbling tomatoes made me understand why people talk about comfort food like it's a hug in a bowl.
That same roommate taught me that chili is never truly finished until someone reaches for the cheese. We'd invite people over with zero notice, knowing we could double this recipe and everyone would leave full and happy. There's something about standing over a bubbling pot while friends gather in the kitchen, glasses of wine in hand, that makes cooking feel less like work and more like hosting without the pressure.
Ingredients
- 1 lb ground beef: I've learned that 85/15 blend gives you enough fat to carry all those spices without needing to drain much, but leaner works if you prefer to skim the fat off later
- 1 medium onion: Finely chopped so they practically dissolve into the chili, creating that sweet base that balances the heat
- 1 red bell pepper: Adds a subtle sweetness and bright color that makes the final bowl look restaurant-worthy
- 2 cloves garlic: Minced fresh, never jarred, because the difference in aroma hits you the moment it hits the hot pot
- 2 cans kidney beans: Drained and rinsed thoroughly to remove that metallic canned taste, plus they hold their shape better during long simmering
- 1 can crushed tomatoes: The backbone of the whole dish, creating that rich, hearty body that makes chili feel substantial
- 2 tbsp tomato paste: Concentrated umami that deepens the color and adds a slight sweetness to balance the spices
- 2 tbsp chili powder: Not as spicy as it sounds, this provides that classic chili flavor without necessarily bringing serious heat
- 1 tsp ground cumin: Essential for that earthy, slightly smoky flavor that makes chili taste like chili
- 1 tsp smoked paprika: My secret ingredient for adding depth without actually smoking anything for hours
- 1/2 tsp cayenne pepper: Optional but recommended if you like that gentle warmth in the back of your throat
- 1 tsp dried oregano: Adds an herbal brightness that cuts through the richness of the beef and tomatoes
- 1 tsp salt and 1/2 tsp black pepper: Essential for bringing all the flavors together, though I always taste at the end since some tomato products are saltier than others
- 1 cup beef broth: Use a good quality one since it reduces down and concentrates in flavor
- 1 cup shredded cheddar cheese: Sharp cheddar creates that perfect melty contrast against the hot, slightly spicy chili
- Sliced green onions and sour cream: Not strictly necessary, but they add those fresh and cooling elements that make each bite feel complete
Instructions
- Brown the beef base:
- Cook the ground beef in a large pot or Dutch oven over medium-high heat, breaking it apart with a wooden spoon until no pink remains, about 5 minutes. I used to rush this step, but taking the time to get those brown bits on the bottom of the pan adds so much flavor later.
- Sauté the aromatics:
- Add the onion, red bell pepper, and garlic directly into the pot with the beef. Cook for 4 to 5 minutes until the vegetables soften and your kitchen starts smelling incredible, stirring occasionally to prevent the garlic from burning.
- Bloom the spices:
- Stir in the chili powder, cumin, smoked paprika, cayenne pepper, oregano, salt, and black pepper. Let them cook for just 1 minute until fragrant, waking up the spices in the hot fat so they release their full potential.
- Add the tomato base:
- Mix in the tomato paste first, stirring until it darkens slightly and coats everything, then pour in the crushed tomatoes and beef broth. The mixture will seem thick at first, but that's exactly what you want before the long simmer.
- Simmer to perfection:
- Add the kidney beans, stir everything together, then reduce heat to low, cover, and let it simmer for 45 minutes. Stir occasionally, and if it gets too thick, add a splash more broth or water.
- Final seasoning:
- Taste the chili and adjust the salt or heat level as needed. This is when I often add a pinch more cayenne or a squeeze of lime if it needs brightness.
- Finish and serve:
- Ladle the hot chili into bowls and top generously with shredded cheddar cheese while it's still steaming so the cheese melts into every spoonful. Green onions and a dollop of sour cream on top make it feel like you put real effort into dinner.
 Save
Save Last winter, my neighbor texted at 7 PM asking what smelled so good, and I ended up sending her home with a container of this chili. She texted the next day saying her husband claimed it was the best he'd ever had, and now whenever I make a batch, I automatically set aside a portion for them.
Make It Your Own
I've started adding a diced jalapeño with the bell pepper when I want extra heat, and sometimes I'll throw in a square of dark chocolate at the end. That chocolate trick sounds weird until you taste how it deepens all the flavors and makes the chili taste like it simmered all day, even when you threw it together in under an hour.
Serving Suggestions
Cornbread is the classic pairing, but I've also served this over baked potatoes, inside tortillas for burritos, or even over cooked rice for a heartier meal. My dad eats his with saltine crackers crumbled on top, while my sister swears by a slice of buttered sourdough to soak up every last drop.
Storage and Make-Ahead Tips
This chili freezes beautifully and I always keep a few portions in the freezer for nights when cooking feels impossible. It keeps in the refrigerator for up to five days and honestly tastes better on day two or three as all the flavors continue to meld together.
- Let the chili cool completely before transferring to airtight containers to prevent condensation from making it watery when reheated
- When freezing, leave about an inch of space at the top of the container since liquids expand as they freeze
- Reheat gently over low heat, adding a splash of broth or water if it's thicker than you like
 Save
Save Every time I make this now, I think back to that snowy night and how something so simple brought us all together. Good food does that sometimes, and this chili has become my go-to for whenever life needs a little comfort.
