 Save
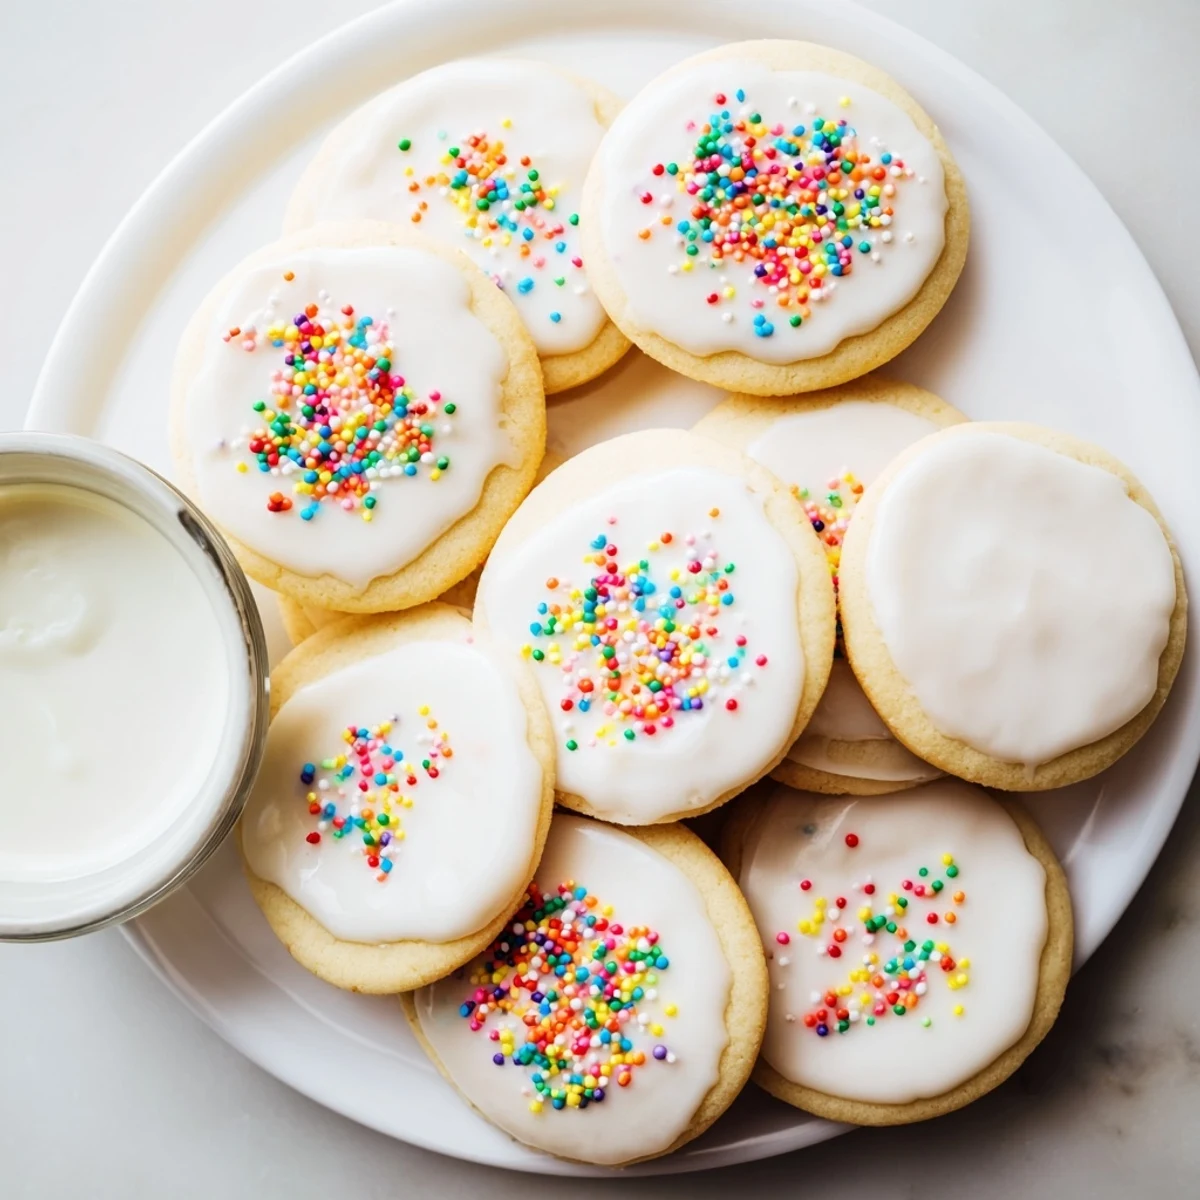
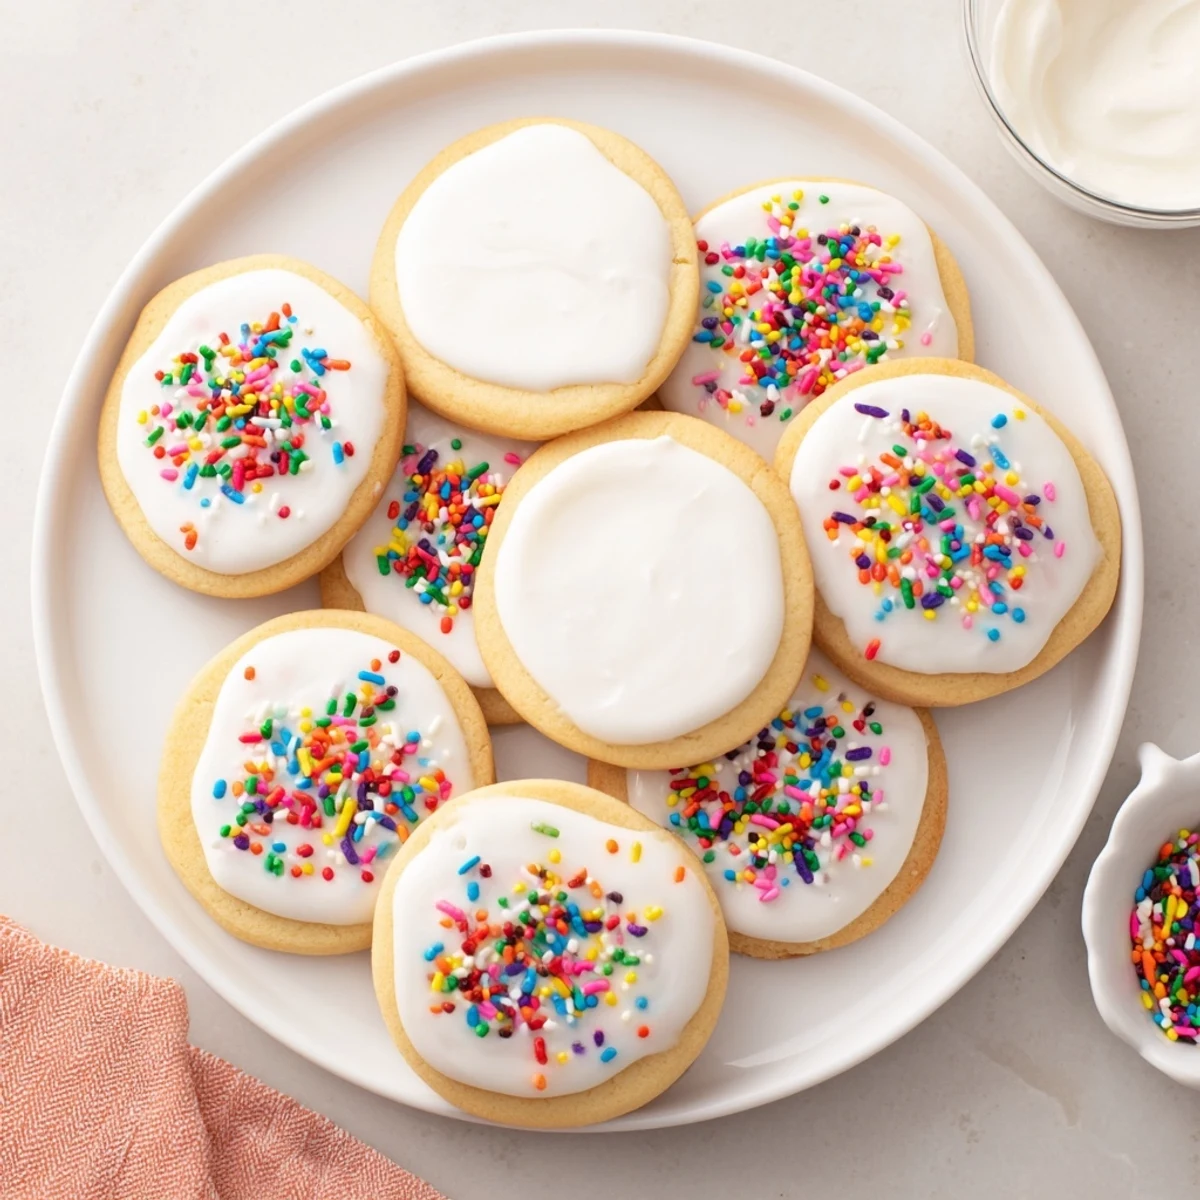
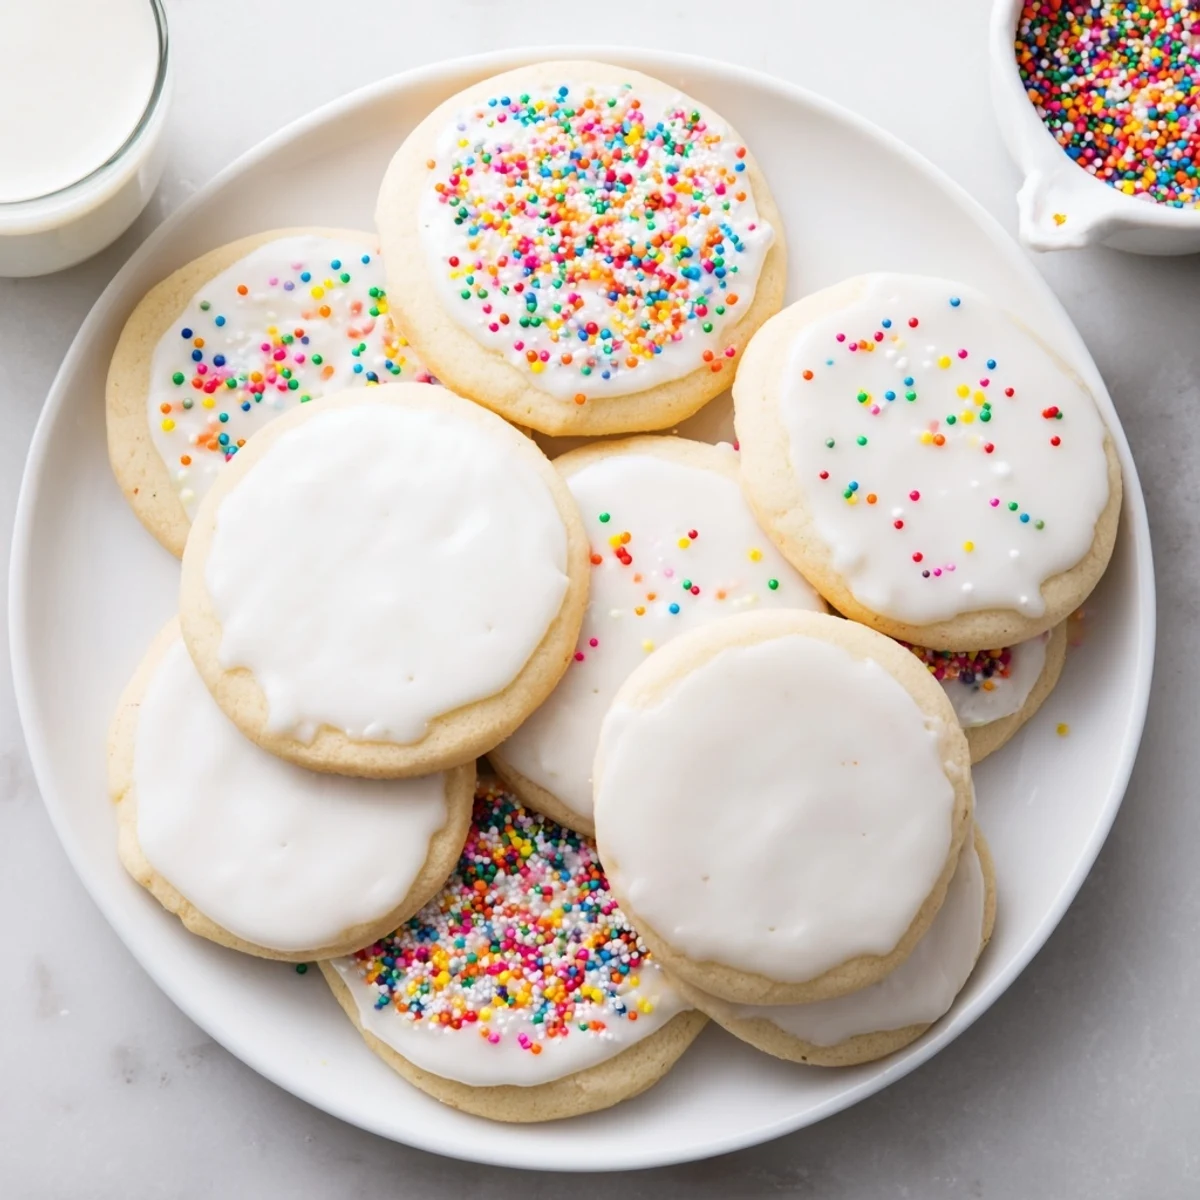
Save This simple icing creates a professional finish on homemade sugar cookies, drying to a smooth, firm surface that's perfect for stacking, gifting, or serving. The combination of powdered sugar, milk, and corn syrup produces a glossy consistency that spreads effortlessly yet holds its shape once set.
Customize with food coloring for any occasion—whether it's holiday shapes, birthday treats, or everyday baking. The base recipe makes about one cup, enough to decorate two dozen cookies with colorful designs.
Mix, tint, and apply using your preferred method: dip, spread with a knife, or pipe intricate details. Let dry for four hours for a completely set finish that won't smudge or stick.
The kitchen counter was covered in speckled cardboard trays from our local bakery, and I kept wondering why their sugar cookies had that perfect glass-like finish while mine always looked dull and streaky. It took a failed batch and some frustrated googling before I finally understood the secret was corn syrup, not fancy techniques or expensive tools.
My niece was over for cookie decorating day, and we made three separate bowls in different colors. She decided to dip her entire cookie face-first into the blue icing bowl, creating what she called a 'cookie pool party.' We both laughed so hard we had to sit on the floor, and honestly, that chaotic afternoon became one of my favorite kitchen memories.
Ingredients
- 2 cups powdered sugar (240 g): Sifting first prevents those tiny lumpy bumps that ruin a smooth finish
- 2-3 tablespoons milk: Start with less and add gradually to control the thickness
- 1 tablespoon light corn syrup: This is the magic ingredient that creates that professional glossy look
- 1/2 teaspoon vanilla extract: Use the real stuff, the artificial stuff tastes noticeably flat
- Food coloring: Gel colors work best without thinning your icing
- Sprinkles: Add them while the icing is still wet or they will not stick
Instructions
- Mix the base:
- Whisk powdered sugar, 2 tablespoons milk, corn syrup, and vanilla until completely smooth and glossy
- Adjust consistency:
- Add more milk 1/2 teaspoon at a time until it pours slowly off your whisk like warm honey
- Add color if using:
- Divide into small bowls and stir in food coloring drop by drop
- Decorate cookies:
- Dip edges, spread with a knife, or pipe designs onto completely cooled cookies
- Let it set:
- Leave cookies undisturbed for 4 hours or until icing feels dry and firm to the touch
 Save
Save Last Christmas I made fifty decorated cookies for a gift exchange, and people kept asking where I bought them. Watching my friends carefully select their favorites like they were choosing jewelry made every minute of mixing and stirring feel absolutely worth it.
Getting the Right Consistency
Think of warm honey as your target texture. If you lift your whisk and the icing drips off in a ribbon that disappears back into the bowl within about 10 seconds, you have it perfect. Thinner icing spreads beautifully but runs off the edges, while thicker icing holds its shape but shows every stroke mark.
Storing and Troubleshooting
Leftover icing keeps in the refrigerator for a week, though it will separate and need stirring. If your decorated cookies feel sticky after drying, the air might be too humid or the icing was too thick. A thin layer added second can fix patchy spots once the first layer is completely dry.
Flavor Variations
Swap vanilla for almond, lemon, orange, or peppermint extract depending on your cookie flavor. A tiny pinch of salt cuts the extreme sweetness, and adding a teaspoon of melted white chocolate makes it incredibly rich and glossy.
- Try maple extract with brown sugar cookies
- Coconut extract pairs beautifully with lime zest
- Coffee extract transforms plain sugar cookies into something special
 Save
Save There is something deeply satisfying about pulling out a container of decorated cookies from the pantry, each one still perfectly smooth and bright from days ago. These little frosted moments are worth saving.
Questions & Answers
- → How long does the icing take to dry completely?
-
Allow decorated cookies to dry at room temperature for at least 4 hours. The icing will set firm and smooth, perfect for stacking or storing. Humidity may extend drying time slightly.
- → Can I make this icing ahead of time?
-
Yes! Store leftover icing in an airtight container in the refrigerator for up to 1 week. Before using, bring to room temperature and stir well. Add a few drops of milk if it has thickened.
- → What's the purpose of corn syrup in this recipe?
-
Corn syrup creates the glossy finish and helps the icing dry smoothly without cracking. It also contributes to the firm, set texture once fully dried. For an even shinier appearance, increase to 1.5 tablespoons.
- → Can I use water instead of milk?
-
Yes, water works as a substitute for milk. However, milk adds a subtle richness and helps the icing set slightly firmer. Non-dairy milk alternatives also work well.
- → How do I adjust consistency for different decorating techniques?
-
For flooding or dipping, keep the icing thick but pourable. Add milk 1/2 teaspoon at a time to reach desired consistency. For piping detailed designs, stir in additional powdered sugar until thick enough to hold its shape.
- → Is this icing suitable for other types of cookies?
-
Absolutely! This versatile icing works beautifully on any cutout cookie variety, including gingerbread, shortbread, or vanilla butter cookies. The smooth, glossy finish complements any flavor profile.
