 Save
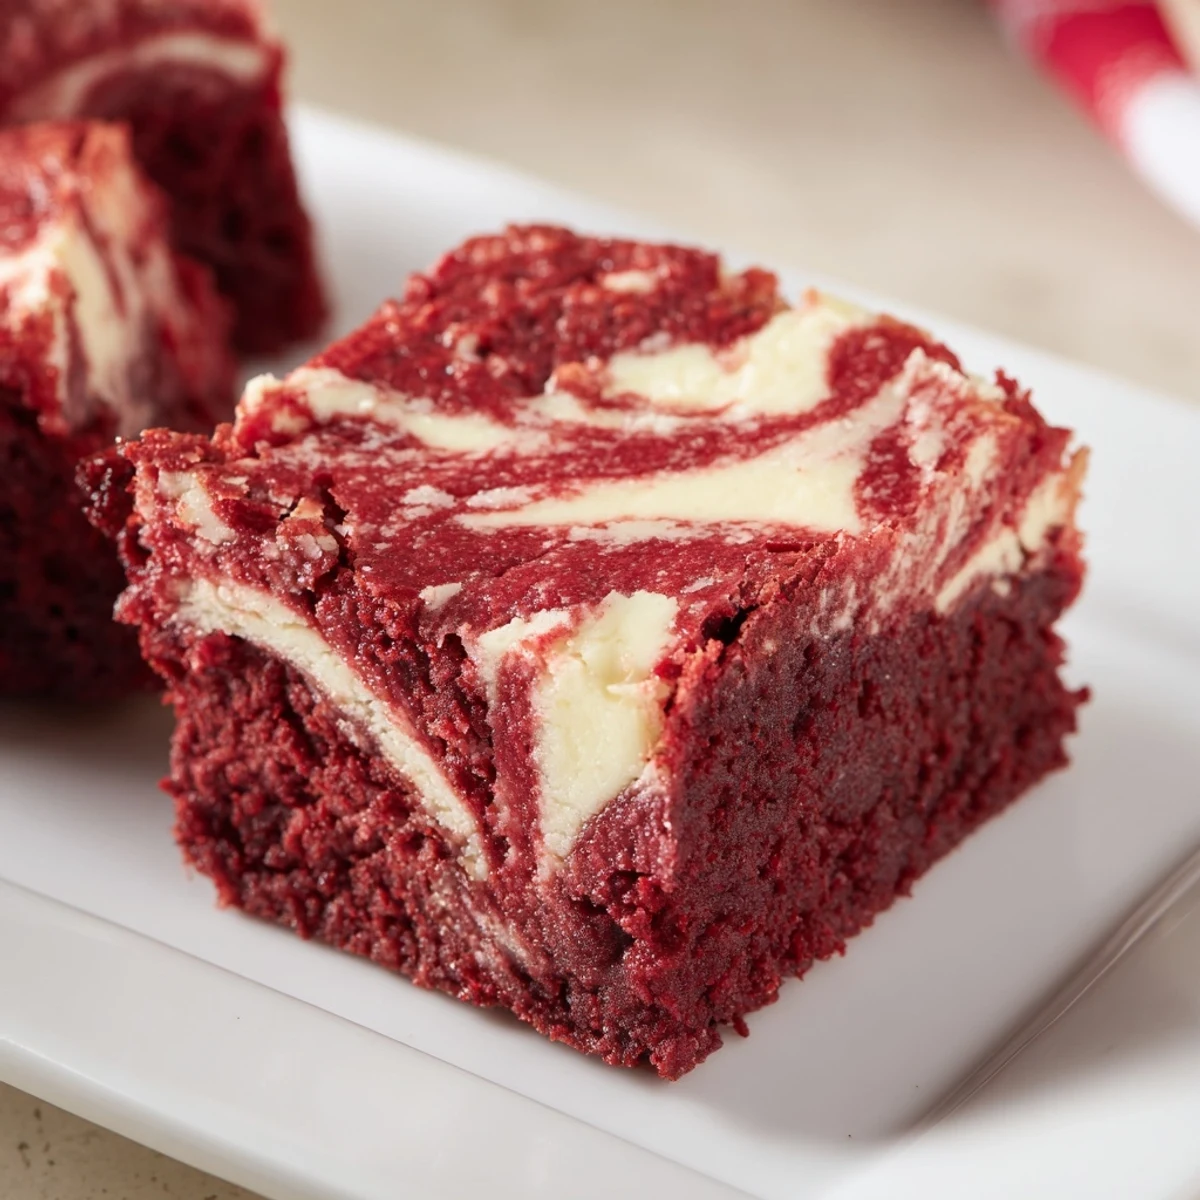
Save These stunning red velvet brownies feature a fudgy chocolate base swirled with creamy cheesecake filling. The marbled appearance creates visual appeal while the combination delivers rich chocolate flavors balanced by tangy cream cheese.
Baking yields a slightly crisp edge with a moist, dense center. The cream cheese layer adds a luxurious creaminess that perfectly complements the cocoa-infused red velvet batter. Each bite offers the classic red velvet taste with an indulgent cheesecake twist.
The kitchen counter was covered in flour, and my sister was watching with raised eyebrows as I added yet more red food coloring to the bowl. She had never understood my obsession with red velvet anything, but there was something magical about transforming ordinary chocolate into something so dramatically vibrant. These brownies happened by accident one rainy afternoon when I could not decide between baking cheesecake or brownies, so I just did both.
My roommate walked in right as I was swirling the batters together and immediately asked what bakery I had visited. The marble pattern on top makes these look so impressive, and serving them warm with a scoop of vanilla ice cream has become my go-to dessert for dinner parties. People always ask for the recipe before they even finish their first square.
Ingredients
- Unsalted butter: Melted butter creates that dense fudgy texture we want in the brownie layer and helps the red color really pop
- Granulated sugar: Sugar does double duty here sweetening both layers while creating that gorgeous crackly top on the brownie portion
- Large eggs: Room temperature eggs incorporate better and help bind both layers together without overmixing
- Vanilla extract: Do not skip this even with the cocoa powder because vanilla bridges the flavors between chocolate and cheesecake
- Red food coloring: Gel coloring works best for that deep red hue without adding extra liquid to the batter
- All-purpose flour: Sifting the flour prevents clumps and ensures a smooth tender crumb in the brownie base
- Unsweetened cocoa powder: Dutch process cocoa gives a richer chocolate flavor that stands up to the bold coloring
- Salt: Just a pinch enhances the chocolate flavor and balances the sweetness of both layers
- Cream cheese: Make sure it is completely softened to avoid lumps in your cheesecake swirl
- Cream cheese sugar: This smaller amount sweetens the tangy cream cheese without making it overly sweet
Instructions
- Preheat and prepare your pan:
- Set your oven to 350°F (175°C) and line an 8x8 inch pan with parchment paper letting the ends overhang like handles for easy removal later
- Make the red velvet batter:
- Whisk the melted butter and sugar until smooth then add eggs vanilla and food coloring until combined
- Add the dry ingredients:
- Sift in flour cocoa powder and salt folding gently until just combined to keep the brownies tender
- Reserve some batter:
- Set aside 1/4 cup of the red velvet batter then spread the rest evenly in your prepared pan
- Prepare the cheesecake layer:
- Beat softened cream cheese with sugar until smooth then add egg and vanilla mixing until creamy and lump free
- Layer the batters:
- Pour the cheesecake mixture over the brownie batter smoothing it into an even layer
- Create the swirl:
- Drop spoonfuls of reserved red velvet batter on top and use a knife to gently marble the two layers together being careful not to over swirl
- Bake to perfection:
- Bake for 33 to 36 minutes until the center is just set and a toothpick comes out with a few moist crumbs
- Cool completely:
- Let the brownies cool completely in the pan on a wire rack before lifting them out and cutting into squares
 Save
Save The first time I made these for my moms birthday she took one bite and declared them better than any bakery version she had ever tried. Now they are her most requested dessert for every family gathering and I always double the recipe because they disappear so quickly.
Getting The Perfect Swirl
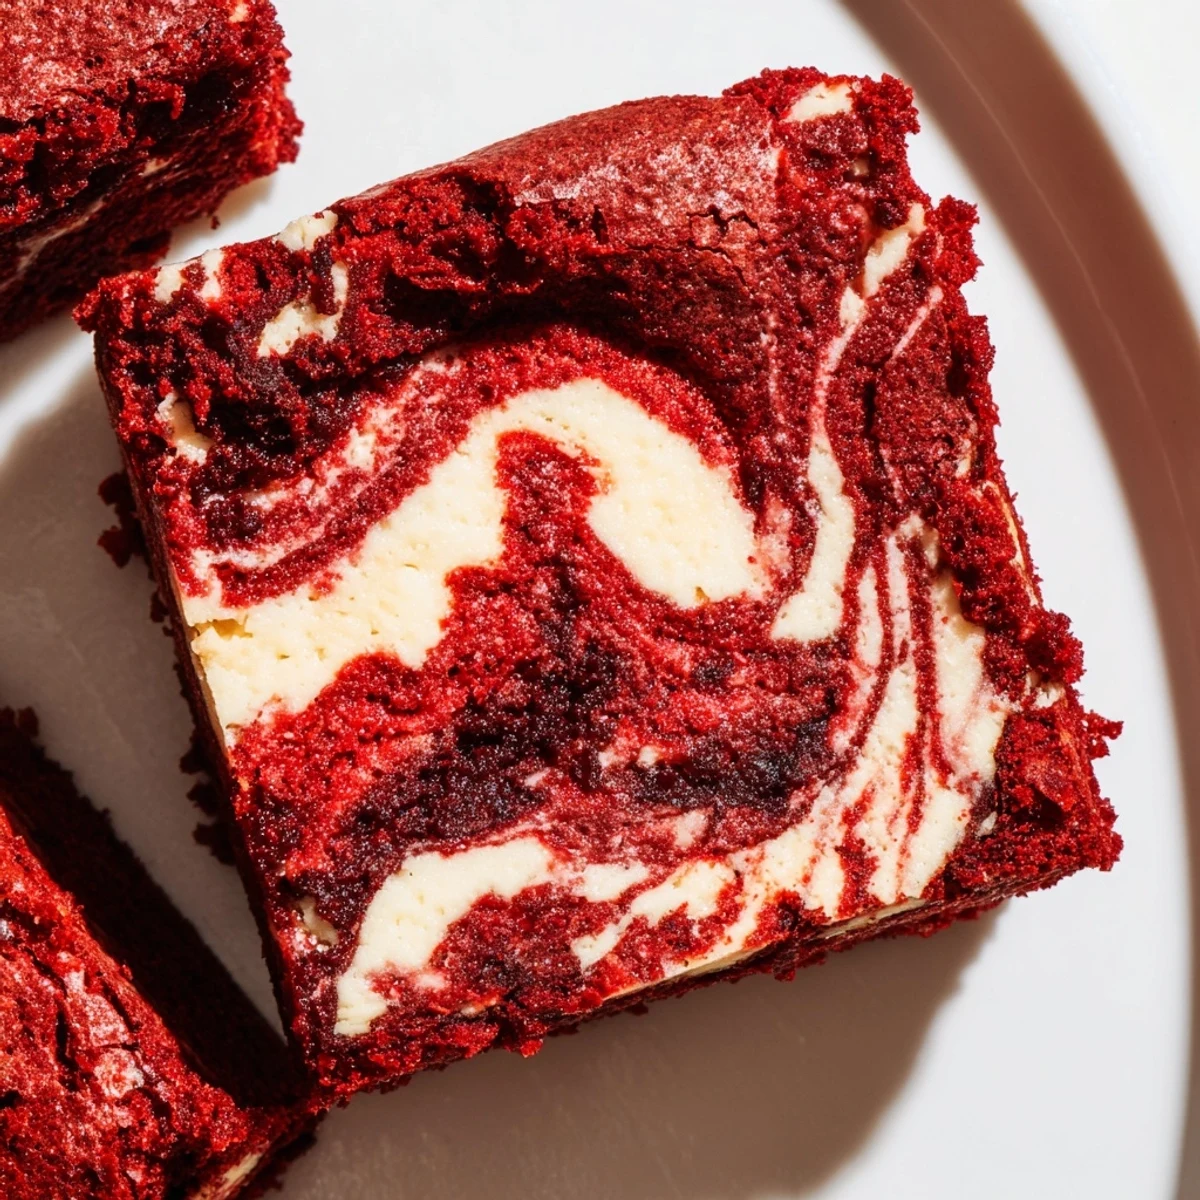
The swirling technique is easier than it looks but there is a trick to making those beautiful marble patterns. Run your knife through the batters in a figure eight motion just two or three times then stop because too much swirling muddles the colors together.
Room Temperature Matters
I learned the hard way that cold cream cheese creates tiny lumps that never fully disappear no matter how long you mix. Set your cream cheese out on the counter for at least an hour before you start baking for the silkiest smooth cheesecake layer possible.
Serving And Storage
These brownies actually taste better the next day after the flavors have had time to meld together in the refrigerator. Store them in an airtight container and serve them chilled for the firmest texture or let them sit at room temperature for about 30 minutes for a softer fudgy bite.
- Use a clean knife wiped between cuts for the neatest squares
- These freeze beautifully for up to three months if you wrap them well
- Try adding white chocolate chips to the brownie batter for extra richness
 Save
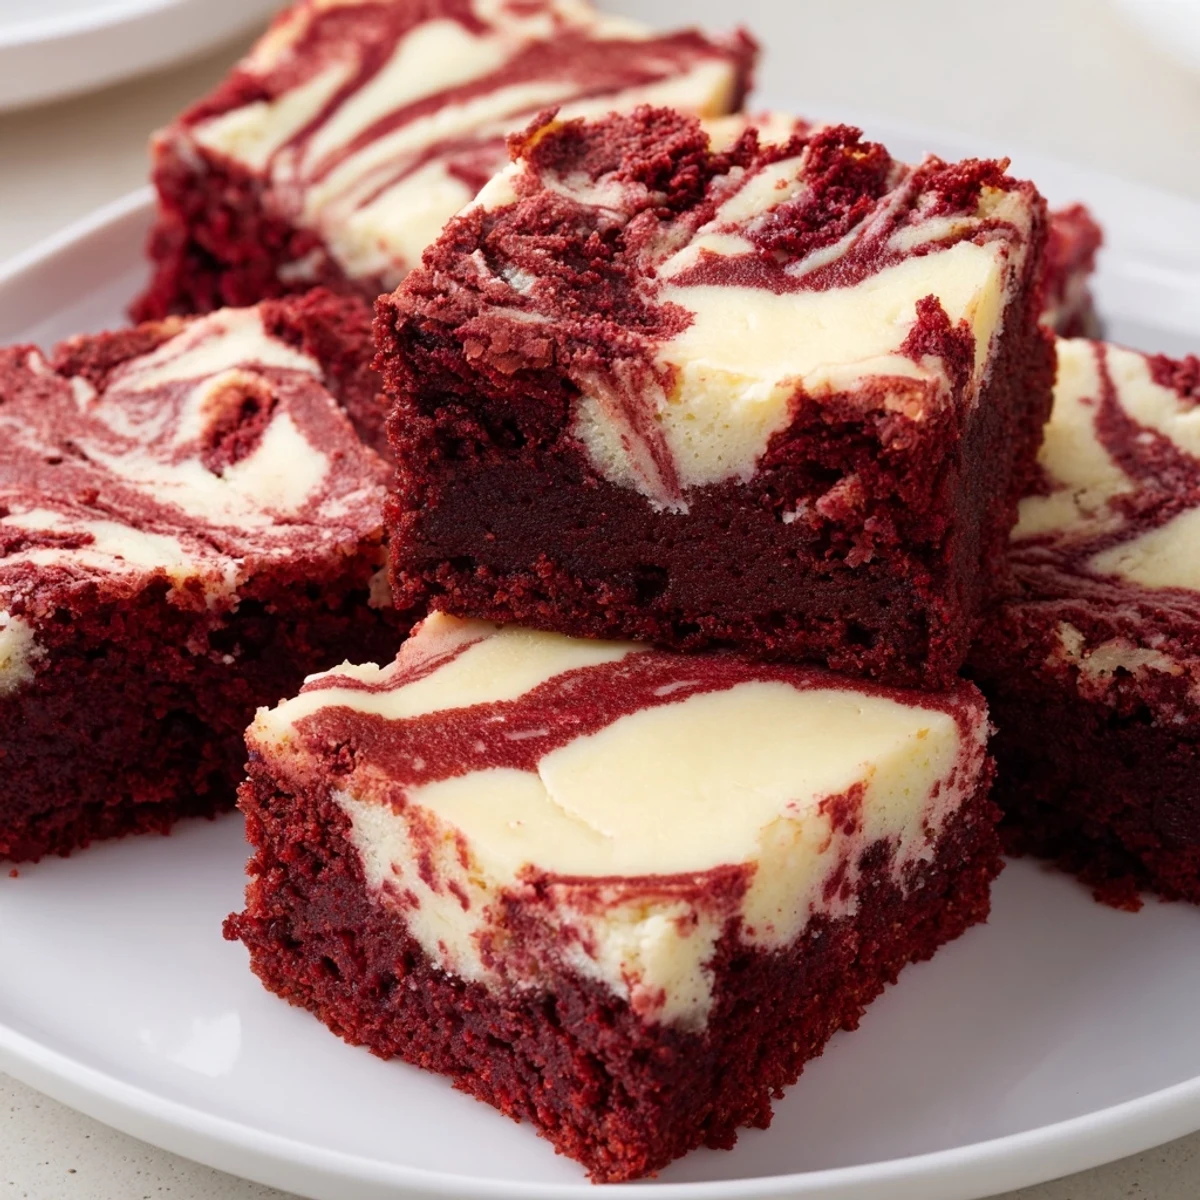
Save There is something so satisfying about cutting into these and seeing that perfect marble pattern reveal itself. Hope your kitchen is filled with the same wonderful chocolate cream cheese aroma that always makes my family come running.
Questions & Answers
- → How do I know when these are done baking?
-
Insert a toothpick into the center—it should come out with a few moist crumbs but not wet batter. The edges should be set while the center has a slight jiggle. This ensures a fudgy texture rather than dry.
- → Can I make these ahead of time?
-
Absolutely. These actually taste better after chilling overnight. The flavors develop and the texture becomes firmer, making them easier to cut cleanly. Store in the refrigerator for up to 5 days.
- → Why did my swirls blend together too much?
-
Over-swirling causes the layers to mix completely. Use just 3-4 gentle figure-eight motions with a knife or skewer. The goal is marbling, not fully combining the batters.
- → Can I use natural food coloring?
-
Beet juice or raspberry purée can work, though the color may be less vibrant. You'll need about 2 tablespoons natural coloring to achieve similar results. The flavor remains unaffected.
- → Should I serve these chilled or room temperature?
-
Both ways work beautifully. Chilled offers a firmer, more cheesecake-like texture, while room temperature creates a softer, fudgier bite. Let chilled brownies sit for 15 minutes before serving.
