 Save
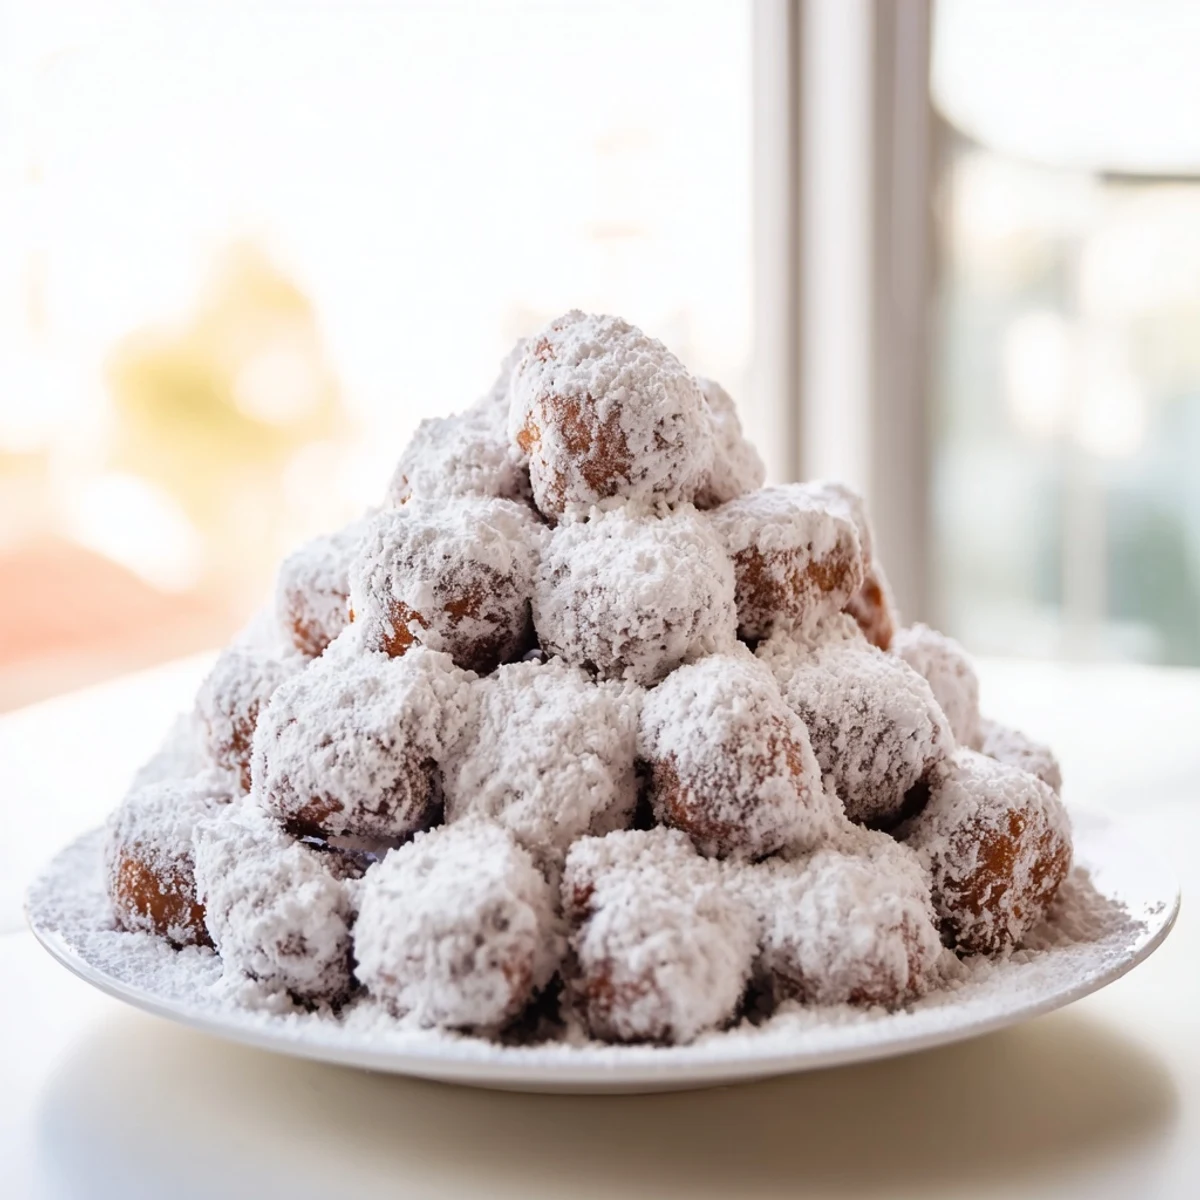
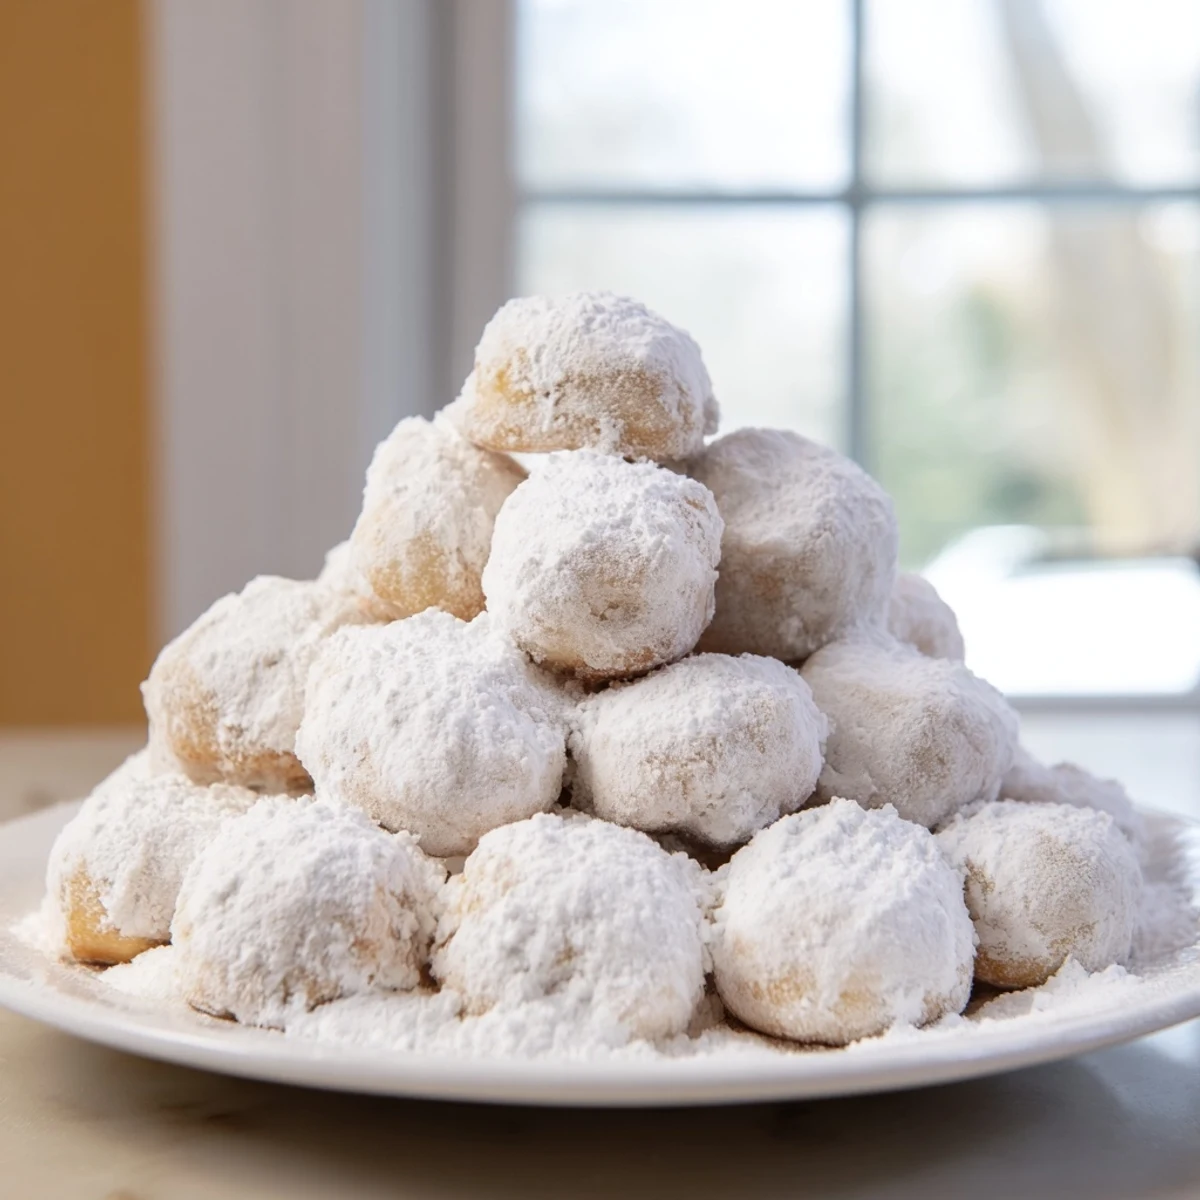
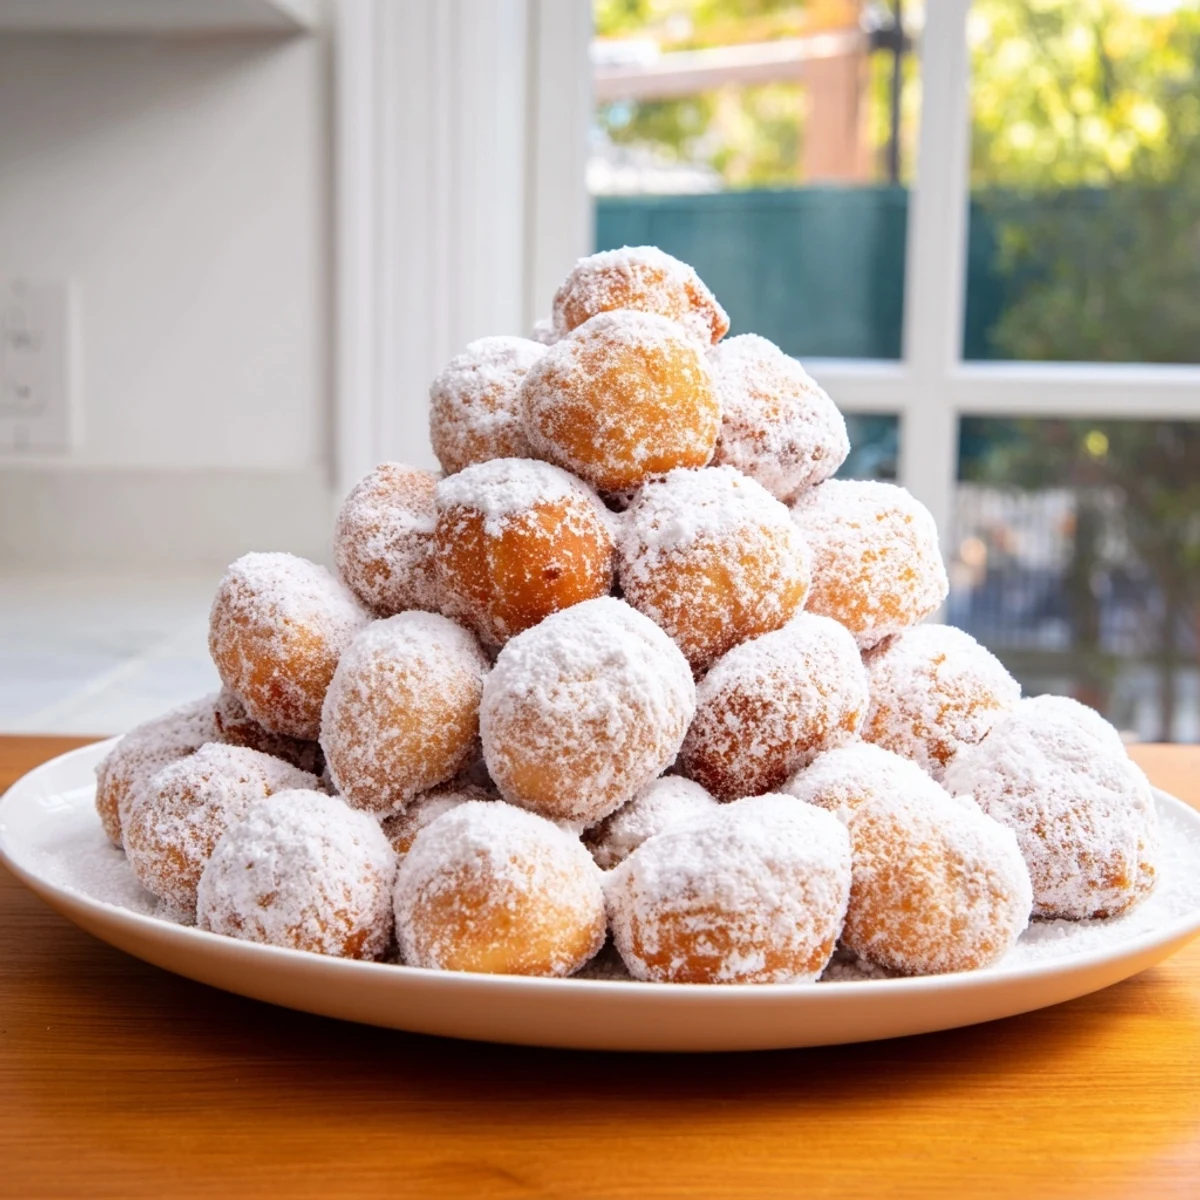
Save This delightful dessert features soft, pillowy donut holes gently fried to golden perfection. They are generously dusted with a fine layer of powdered sugar to add sweetness and visual appeal. The donut holes are artfully arranged in a mountainous shape on a platter, creating a whimsical presentation. Accompanying the donut holes are several dipping sauces including chocolate, raspberry jam, and vanilla custard or caramel, adding variety and depth of flavor. This treat is perfect for sharing and indulging in different taste combinations.
The batter combines flour, sugar, baking powder, nutmeg, eggs, milk, butter, and vanilla extract for a light, flavorful bite. Frying at the right oil temperature ensures a crisp exterior while keeping the inside soft. Freshly fried donut holes are rolled in powdered sugar for an irresistible finish. Ideal for desserts, snack platters, or festive gatherings.
I'll never forget the morning my niece convinced me to pile donut holes into a mountain for her birthday breakfast. What started as a silly idea turned into the centerpiece everyone wanted to recreate. There's something magical about transforming simple fried dough into a showstopper that makes people smile before they even take a bite.
The first time I made these, I was skeptical about frying at home. But once I got the oil temperature right and watched those first few balls turn perfectly golden, I understood why my grandmother always said homemade donut holes were worth the effort. The house smelled like a bakery for hours.
Ingredients
- All-purpose flour: The foundation that gives these their soft, pillowy texture. I always spoon it into the measuring cup and level it off so they don't turn out dense.
- Granulated sugar: Just enough sweetness in the dough itself, since the powdered sugar coating adds plenty more. You want balance, not a sugar bomb.
- Baking powder: This is what makes them puff up so beautifully in the hot oil. Fresh baking powder makes a real difference here.
- Salt: Don't skip it. That little bit enhances every other flavor and keeps things from tasting flat.
- Ground nutmeg: The secret ingredient that makes people ask what makes these taste so good. It's subtle but essential.
- Eggs: Room temperature eggs mix in more smoothly. I learned this after getting lumpy batter one too many times.
- Whole milk: The richness matters here. I tried it with low-fat once and immediately went back to whole milk.
- Unsalted butter, melted: Adds tenderness and flavor. Let it cool slightly before mixing so it doesn't cook the eggs.
- Pure vanilla extract: Real vanilla makes these smell like a hug. The imitation stuff just isn't the same.
- Vegetable oil for frying: I use a neutral oil with a high smoke point. Peanut oil works beautifully if you have it.
- Powdered sugar: For that classic donut shop coating. I keep extra on hand because it disappears quickly.
Instructions
- Mix the Dry Foundation:
- Whisk together your flour, granulated sugar, baking powder, salt, and nutmeg in a large bowl. I like to really whisk it well so the nutmeg distributes evenly and you don't get surprise spice pockets.
- Blend the Wet Ingredients:
- In another bowl, whisk your eggs until they're a bit frothy, then add the milk, melted butter, and vanilla. The butter should be melted but not hot enough to scramble the eggs. I learned that lesson the hard way.
- Bring It All Together:
- Pour the wet mixture into the dry ingredients and fold gently with a spatula just until everything is moistened. You'll see some lumps and that's exactly what you want. Overmixing makes them tough instead of tender.
- Heat Your Oil Just Right:
- Pour about 2 inches of oil into a heavy pot and heat it to 350°F. This temperature is crucial. I clip a thermometer to the side of the pot and watch it like a hawk. Too hot and they burn outside while staying raw inside, too cool and they absorb oil like sponges.
- The Frying Dance:
- Using a small cookie scoop or two spoons, drop tablespoon-sized portions of batter into the oil. Don't crowd them or the temperature drops. They'll sink first, then bob up and start turning golden. Flip them gently with a slotted spoon so they brown evenly, about 2 to 3 minutes per side. You'll know they're done when they're deep golden and sound hollow when tapped.
- Drain and Coat While Warm:
- Lift them out with your slotted spoon and let them drain on a wire rack for just a minute. While they're still warm, roll them through powdered sugar in a bowl. The heat helps the sugar stick in that perfect bakery-style coating.
- Build Your Mountain:
- Start with a base layer on your platter and pile them up into a cone shape. It's more stable than it looks. Place your dipping sauces in small bowls around the base like you're setting up camp around a delicious summit.
 Save
Save These became our New Year's Day tradition after my sister brought them to a brunch five years ago. Now the kids wake up asking if it's donut mountain day yet. It's funny how a simple pile of fried dough can become the thing everyone looks forward to all year.
Keeping Them at Their Best
Fresh is always best with these, but life happens. If you need to make them a few hours ahead, keep them at room temperature uncovered so they don't get soggy. When you're ready to serve, pop them in a 300°F oven for about 5 minutes to warm them back up, then dust with fresh powdered sugar. They won't be quite as perfect as straight from the fryer, but they'll still disappear fast.
Playing With Flavors
Once you've nailed the basic recipe, this becomes your playground. I've stirred in orange zest and served them with chocolate sauce, added cinnamon to the batter for a churro vibe, even folded in tiny chocolate chips for my daughter's birthday. The dipping sauces are where you can really have fun. Raspberry jam warmed with a splash of water, salted caramel, lemon curd, even Nutella thinned with a bit of cream.
When You're Short on Time
I've learned a few shortcuts over the years that don't sacrifice too much quality. You can make the batter up to an hour ahead and keep it in the fridge, just let it sit out for 10 minutes before frying. The dipping sauces can be store-bought, nobody judges. Sometimes I'll set out just one really good sauce instead of three, and it's still a hit.
- Get all your ingredients measured and ready before you start heating the oil. Once it's hot, everything moves fast.
- Use a cookie scoop for consistently sized donut holes that cook evenly. My random spoon drops were all over the place at first.
- Have your powdered sugar in a wide, shallow bowl for easy rolling. A paper bag works too if you want to shake them, but rolling gives better coverage.
 Save
Save There's something about gathering around a mountain of warm donut holes that makes everyone relax and reach for seconds. I hope these become your excuse to slow down and share something sweet with people you love.
Questions & Answers
- → What oil is best for frying the donut holes?
-
Use vegetable oil heated to 350°F (175°C) to ensure even frying and a crispy exterior without absorbing excess oil.
- → Can I add flavors to the donut hole batter?
-
Yes, adding citrus zest or cinnamon to the batter can provide a pleasant twist to the classic flavor.
- → How should the donut holes be stored after cooking?
-
They are best enjoyed fresh but can be reheated briefly in the oven to restore warmth and texture.
- → What dipping sauces complement these donut holes well?
-
Chocolate sauce, raspberry jam, vanilla custard, or caramel sauce are excellent choices that enhance the donut holes' sweetness.
- → Is it possible to make these donut holes gluten-free?
-
Yes, substituting all-purpose flour with a gluten-free flour blend works well without compromising texture significantly.
