 Save
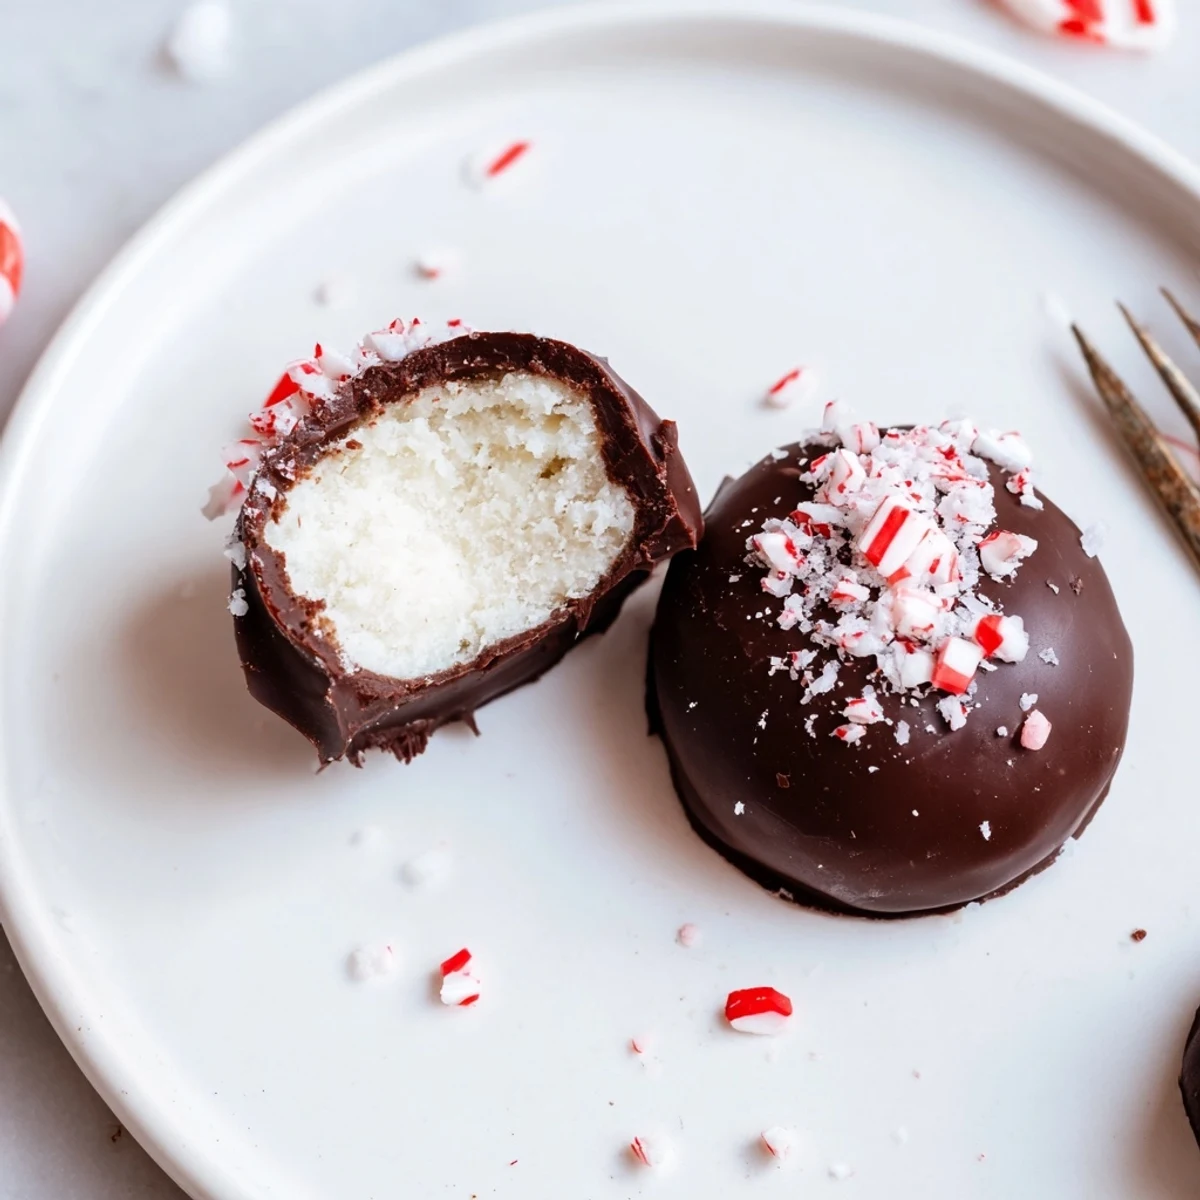
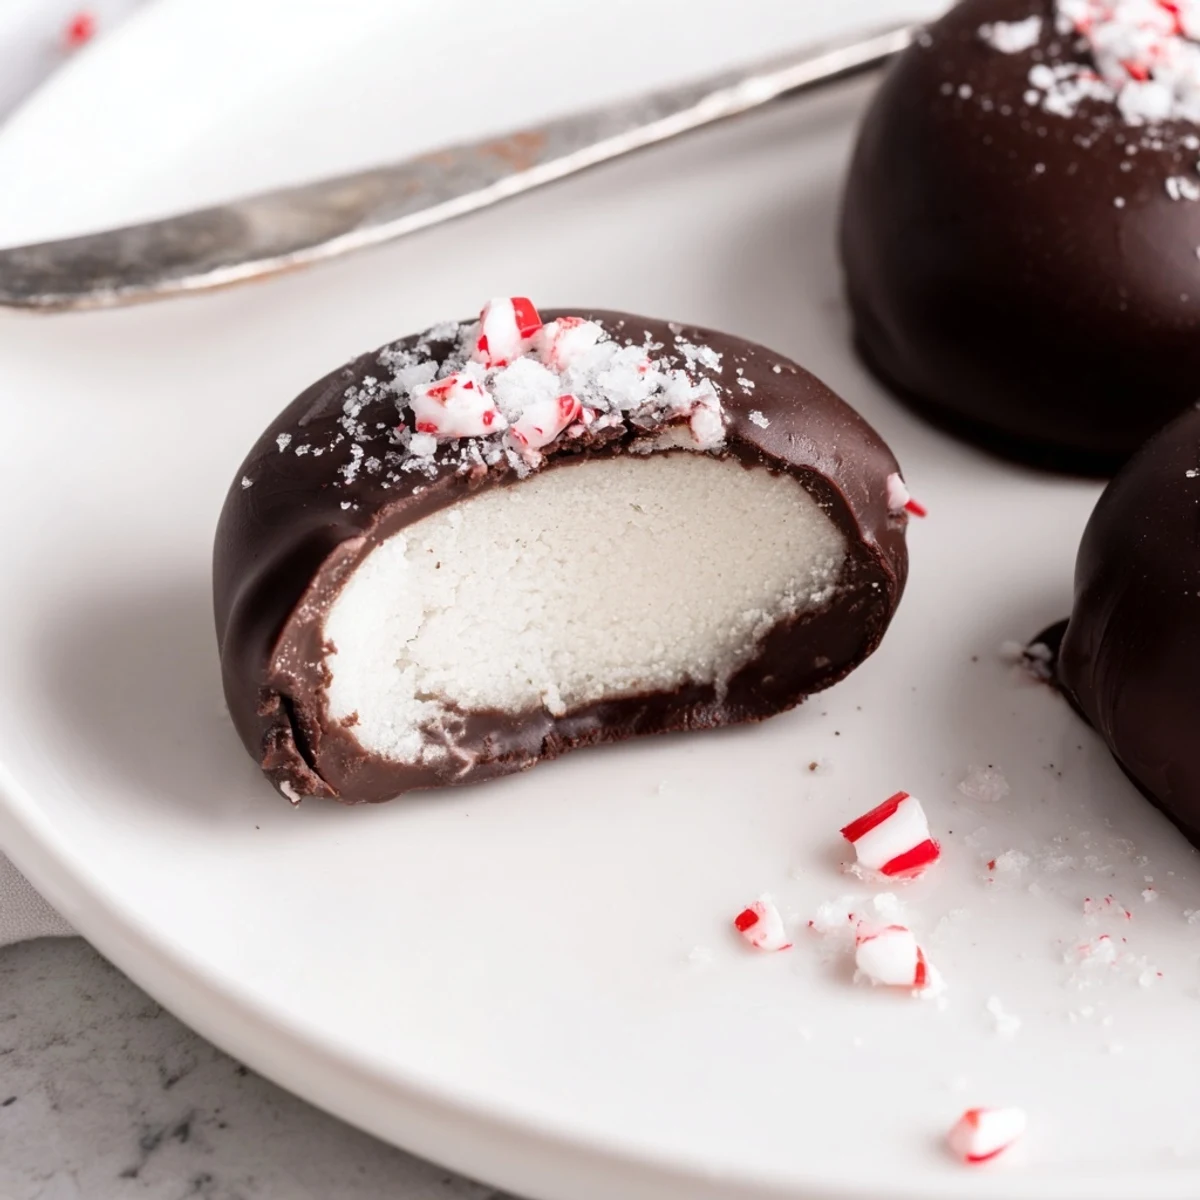
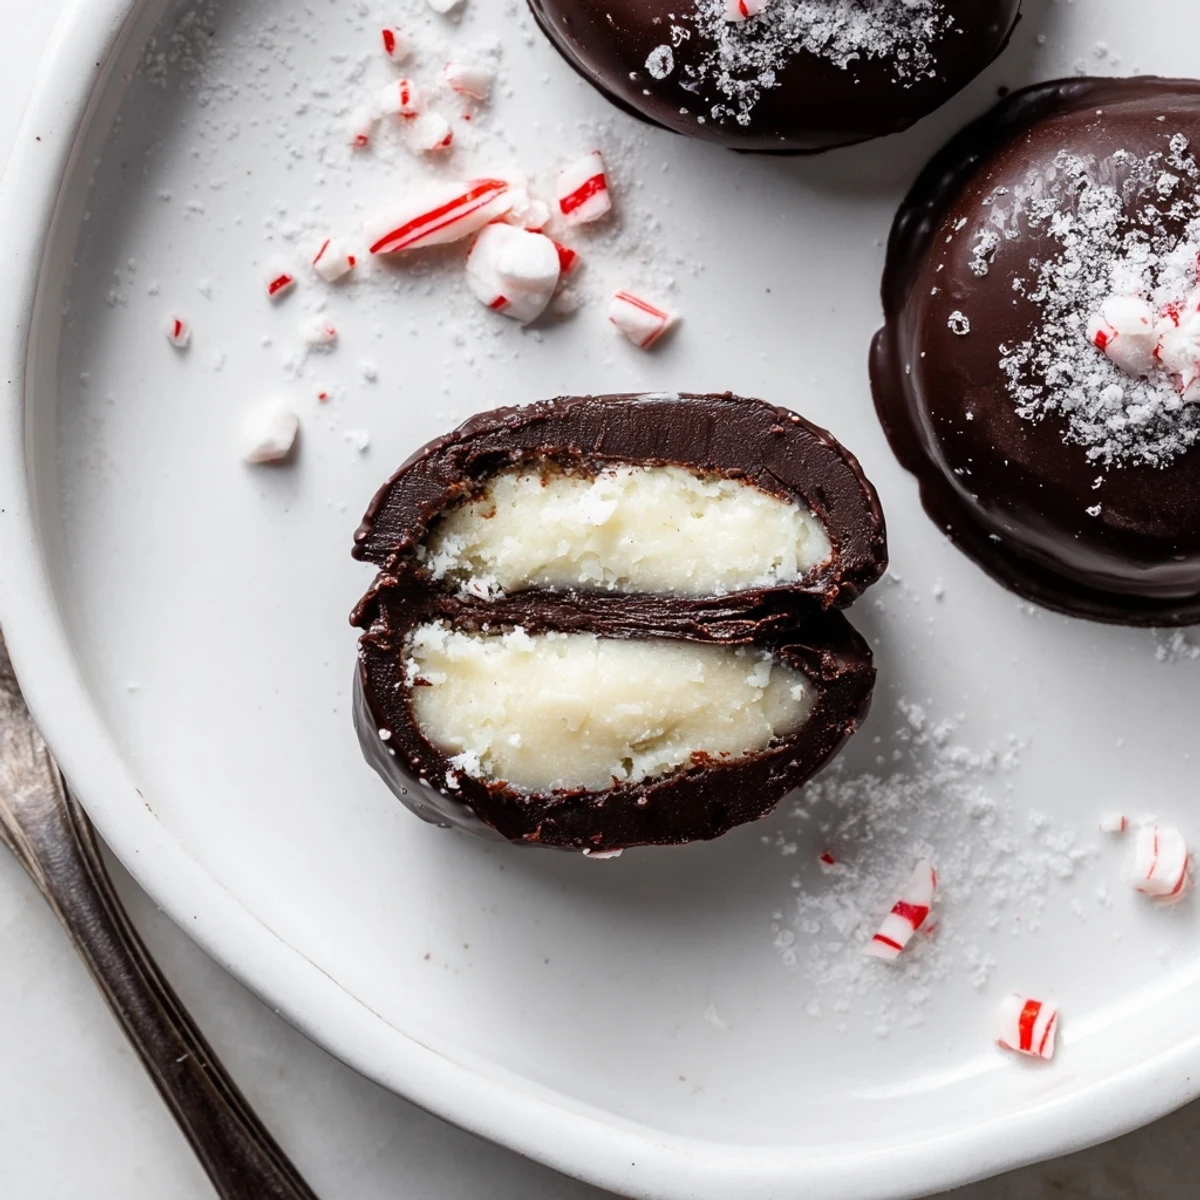
Save Bright peppermint centers are made by beating sifted powdered sugar with softened butter, peppermint extract, a touch of cream and salt into a smooth, pliable dough. Shape into discs, freeze until firm, then dip in melted dark chocolate (add a little coconut oil for shine). Return to parchment, chill until set, and finish with crushed candy or flaky sea salt. Store chilled up to two weeks; swap dairy for vegan alternatives if desired.
The first time the sharp scent of peppermint drifted through my kitchen, I laughed out loud—my dog’s nose wrinkled in confusion, and suddenly it felt like winter, even though it was late September. Crafting peppermint patties at home isn’t something I’d planned; it just happened on a quiet afternoon when I needed something cool and chocolatey. There’s something soothing about sifting powdered sugar, with the fine mist settling over everything like edible snow. Take it from me: homemade versions have a charm (and snap) you’ll never find tucked in a store-bought box.
One chilly Friday, I made these for friends coming over after a movie—it turned into a mini assembly line, everyone dunking patties and sneaking tastes. We ended up with chocolate fingerprints on our mugs and the sort of laughter that lingers. There’s a special pride in handing someone a glossy, cooling treat still chilled from your fridge.
Ingredients
- Powdered sugar: Make sure to sift it—the light texture helps the mint filling stay creamy and smooth rather than gritty.
- Unsalted butter: Softened butter gives the filling just the right richness and helps it hold together without overpowering the mint.
- Peppermint extract: Go for pure extract; imitation versions can taste a little medicinal, as I learned the hard way one year.
- Heavy cream: Just a splash keeps the filling supple and easy to mold into discs—don’t skip it unless you’re subbing in coconut cream for a dairy-free twist.
- Salt: A pinch is all! It subtly balances sweetness and brings out the coolness of the mint.
- Dark chocolate (60–70% cocoa): Good chocolate matters—the snap when you bite in is worth it, and darker varieties never make the centers too sweet.
- Coconut oil (optional): If your chocolate seems thick, add this for a smooth dip and a mellow shine.
Instructions
- Make the mint dough:
- Beat the powdered sugar, butter, peppermint extract, cream, and salt in a bowl until it comes together—cool and stiff, like play dough after a snowstorm. If it sticks to your fingers, add a bit more powdered sugar until you can pinch off a piece cleanly.
- Shape and set:
- Roll the mixture into balls (I use about two teaspoons per), then squish each into a thick disc. Arrange them on parchment paper, trying to keep them roughly the same size—it’s okay if they look homemade.
- Chill for dipping:
- Slide the trays into the freezer for at least 20 minutes; the firmer they are, the easier the next step will be. Don’t skip this or you’ll end up with sticky mess in the chocolate.
- Melt the chocolate:
- Simmer water in a small pot, set a bowl with chopped chocolate and coconut oil on top, and stir as the slivers melt into a glossy puddle. Try not to let any water sneak in, or your chocolate can seize up.
- Dip the patties:
- Drop each frozen disc into the chocolate, lift with a fork, and let the excess drip back—gentle taps help. Place coated patties back on parchment, and if you’re feeling fancy, sprinkle bits of crushed peppermint or sea salt before the chocolate sets.
- Final chill:
- Transfer back to the fridge and chill for 15 minutes, just until the chocolate snaps firm. They’ll be ready to eat (or gift!) as soon as they’re set.
 Save
Save There’s something quietly delightful about opening your fridge and seeing a tray of glossy mint patties, each one made by hand. The first time I gave a whole batch away at work, the empty container came back full of enthusiastic scribbled notes—one colleague asked if I could start bringing them in every Monday.
Easy Ways to Dress Them Up
Sometimes, I press a fork across the top of each patty just before the chocolate sets—those ridges catch a flicker of light and make them look extra special. Crushed peppermint candy or finely grated chocolate dust make sweet, crunchy toppings, especially for parties. Tiny flecks of flaky sea salt melt on your tongue and balance the sweetness better than you’d think.
Swaps and Shortcuts
For a vegan batch, I swap in plant-based butter and coconut cream without any trouble—you’d never guess the difference. If I’m short on time, I use pre-chopped chocolate or even chips and melt them gently, just pausing to stir so nothing scorches. Don’t be afraid to experiment with the flavor—adding a few drops of vanilla alongside peppermint gives the filling a dreamy softness.
Troubleshooting Peppermint Patties
On a humid day, I’ve found the patties can sweat once chilled, making the chocolate sticky. Working in small batches (keep half in the freezer while dipping) helps a lot, and if the chocolate starts to thicken, just warm it briefly again. Never rush the dipping—give each one space to set and you’ll end up with candy shop worthy results.
- If your filling is sticky, add powdered sugar a spoonful at a time.
- A silicone mat keeps the finished patties from sticking if you’re out of parchment.
- Store the finished treats in a single layer with parchment between for best texture.
 Save
Save These peppermint patties have a special way of disappearing fast—sharing them is half the fun. Here’s hoping they bring a cool lift and a smile to your kitchen, too.
Questions & Answers
- → How do I prevent the filling from becoming too sticky?
-
Gradually add more sifted powdered sugar while beating until the mixture is smooth and holds its shape; chilling the mixture briefly makes shaping easier.
- → What’s the best way to melt dark chocolate without seizing?
-
Melt over a gentle simmer using a double-boiler, stir constantly, and remove from heat before fully smooth; a teaspoon of coconut oil helps gloss and fluidity.
- → Can I freeze the patties for longer storage?
-
Yes—freeze the shaped discs before coating, then after chocolate sets transfer to an airtight container and freeze up to 2 months; thaw in the fridge before serving.
- → How can I make them dairy-free or vegan?
-
Substitute dairy-free margarine or vegan butter and use coconut cream or a plant-based cream; check chocolate labels for dairy-free certification.
- → Why do some coatings develop a dull finish?
-
Dullness often results from rapid temperature changes or moisture; tempering chocolate or adding a small amount of coconut oil and cooling slowly improves shine.
- → What toppings work best before the chocolate sets?
-
Sprinkle crushed peppermint candy, finely chopped candy cane, or flaky sea salt for contrast and visual appeal; add immediately after dipping so they adhere.
