 Save
Save This moist blueberry cobbler transforms frozen berries into a bubbling, juicy filling topped with a tender golden biscuit. The simple batter comes together quickly and bakes into a luscious dessert perfect for any season.
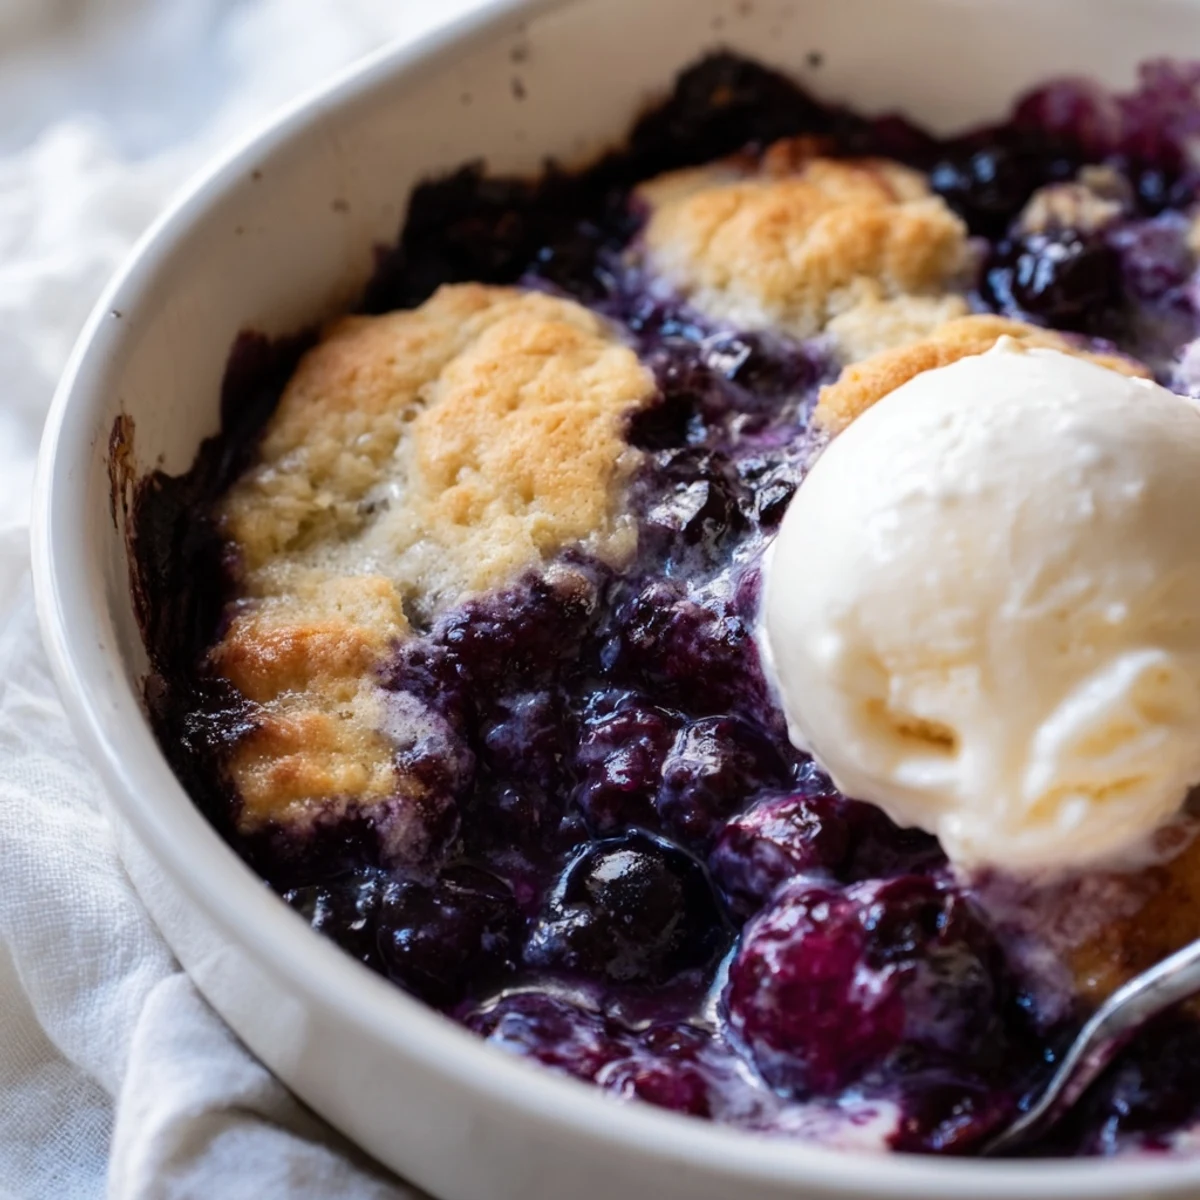
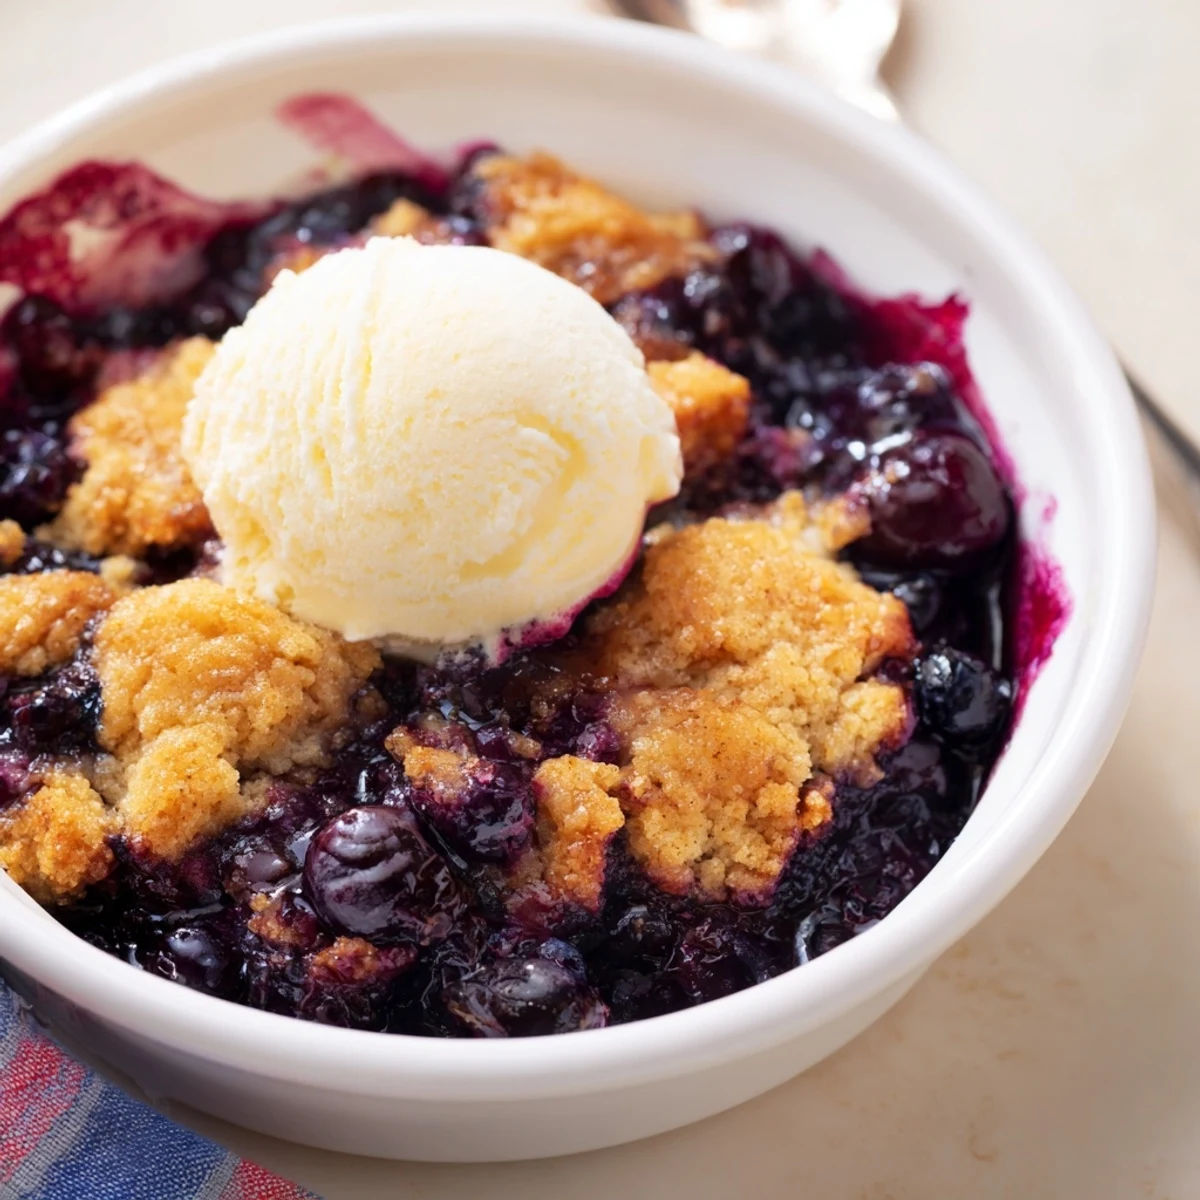
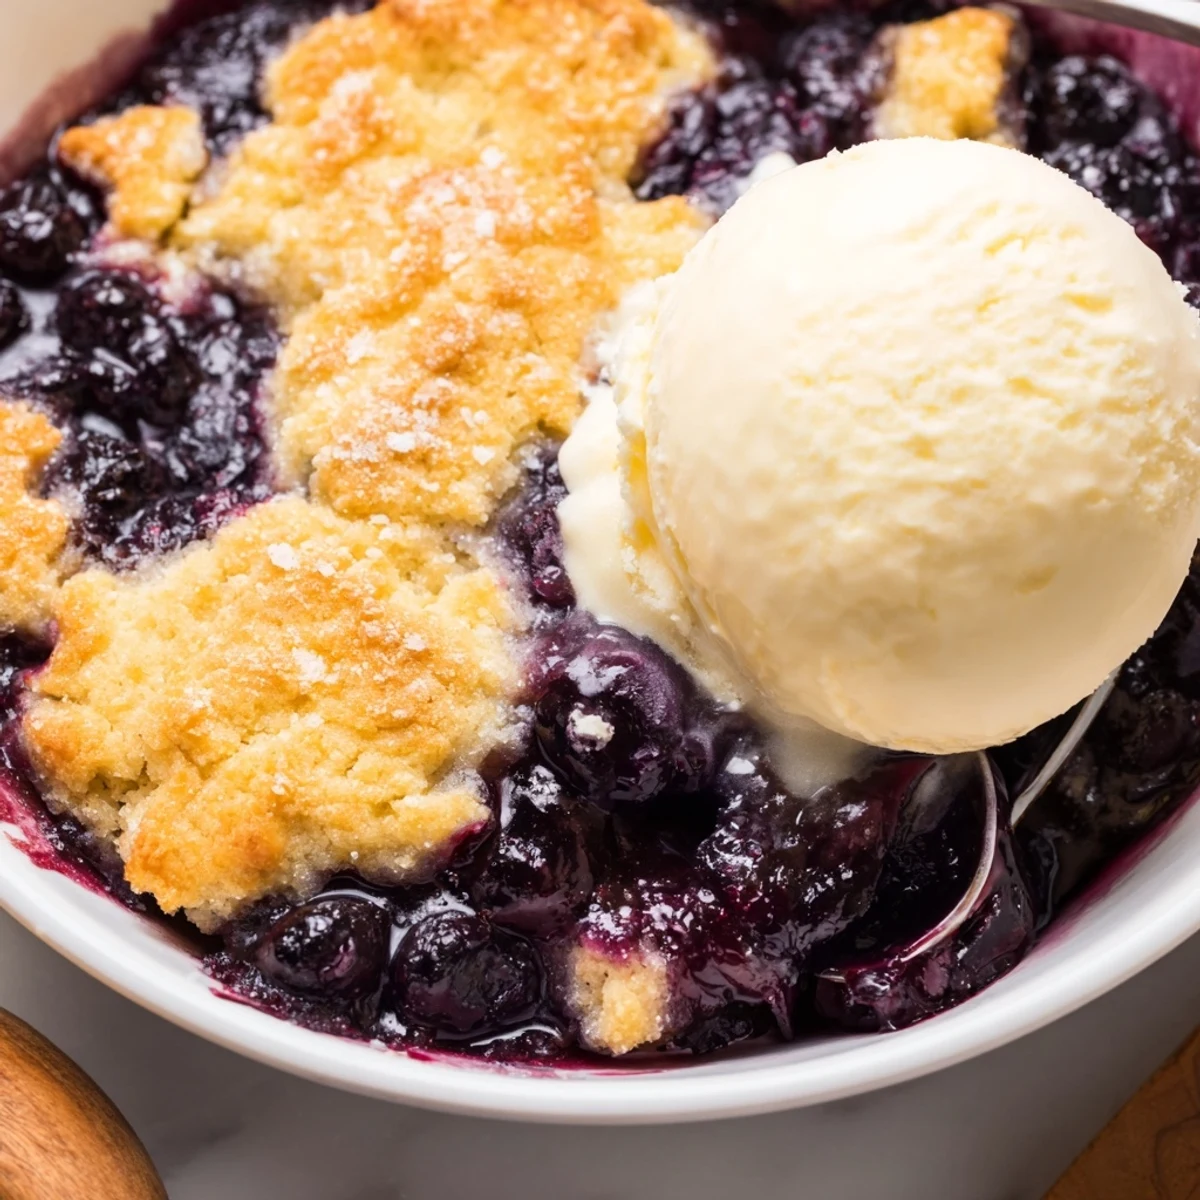
Frozen blueberries work beautifully here—no thawing required. The cornstarch thickens the fruit juices as they bubble, while the buttery topping bakes up golden and moist. Serve it warm from the oven with vanilla ice cream for the ultimate comfort treat.
Prep takes just 15 minutes, then let the oven do the work. The result is a homey, satisfying dessert that feeds six people effortlessly. Leftovers reheat beautifully for an easy weekday dessert.
The first time I made blueberry cobbler, it was February and I was craving something that felt like summer. I grabbed a bag of frozen blueberries from the back of my freezer, not expecting much, but the way those berries bubbled up through the golden topping changed everything. Now it is my go-to when I need comfort fast, no thawing required.
Last summer, my neighbor texted me at 7 PM asking if she could come over with her kids. I had frozen berries and basic pantry staples, so I threw this together while the kids played in the yard. When they walked through the door, the whole house smelled like cinnamon and butter, and she asked for the recipe before she even took her first bite.
Ingredients
- 5 cups frozen blueberries: Do not thaw them first or the filling will become too watery
- 3/4 cup granulated sugar: Adjust slightly depending on how sweet your berries are
- 2 tablespoons cornstarch: This thickens the fruit juices as they bake
- 1 tablespoon lemon juice: Brightens the flavor and balances the sweetness
- 1/2 teaspoon ground cinnamon: Optional but adds warmth
- Pinch of salt: Enhances the overall fruit flavor
- 1 1/2 cups all-purpose flour: Provides structure for the biscuit topping
- 1/2 cup granulated sugar: Sweetens the biscuit dough
- 1 1/2 teaspoons baking powder: Helps the topping rise and become tender
- 1/2 teaspoon baking soda: Works with the baking powder for lift
- 1/4 teaspoon salt: Balances the sweetness in the topping
- 1/2 cup unsalted butter, melted and slightly cooled: Creates a rich, moist texture
- 2/3 cup whole milk: Makes the batter tender and adds richness
- 1 teaspoon vanilla extract: Adds classic dessert flavor
Instructions
- Preheat your oven:
- Set it to 375 degrees Fahrenheit and lightly grease a 9 by 9 inch baking dish with butter or cooking spray.
- Prepare the berry filling:
- In a large bowl, toss the frozen blueberries with sugar, cornstarch, lemon juice, cinnamon if using, and a pinch of salt. Spread the mixture evenly in the prepared baking dish.
- Mix the dry ingredients:
- In another bowl, whisk together the flour, sugar, baking powder, baking soda, and salt until well combined.
- Combine the wet ingredients:
- Stir in the melted butter, milk, and vanilla extract until just combined. The batter will be thick and that is exactly right.
- Add the topping:
- Drop spoonfuls of the batter evenly over the blueberry mixture, covering most of the surface but leaving some gaps for the fruit to bubble through.
- Bake until golden:
- Bake for 40 to 45 minutes until the topping is golden brown and cooked through and the berries are bubbling around the edges.
- Let it rest:
- Allow the cobbler to cool for at least 15 minutes before serving. This helps the filling set slightly so it is not too runny.
 Save
Save My sister-in-law told me she had never made cobbler because it seemed complicated, so I walked her through this recipe over the phone while she made it for her book club. She texted me afterward saying they licked the dish clean and she felt like a domestic goddess, which honestly is the highest compliment I can imagine.
Making It Your Own
Sometimes I throw in a handful of frozen raspberries or blackberries with the blueberries for a mixed berry version. The colors look stunning when it bakes and the tartness of raspberries cuts through the sweet biscuit topping beautifully.
Serving Suggestions
While vanilla ice cream is classic, I have also served this with a dollop of Greek yogurt for breakfast or with a drizzle of heavy cream when I am feeling indulgent. The contrast between hot fruit and cold cream is absolute magic.
Storage and Make Ahead Tips
You can assemble the entire cobbler up to eight hours before baking and keep it covered in the refrigerator. Just add five extra minutes to the baking time if it is cold going into the oven.
- Sprinkle coarse sugar over the topping right before baking for extra crunch
- Substitute half the blueberries with peaches in summer for a stone fruit twist
- Use plant-based milk and vegan butter for a dairy-free version
 Save
Save There is something deeply satisfying about pulling a bubbling golden cobbler out of the oven, especially when it started with a bag of forgotten frozen berries. I hope this becomes your comfort dessert too.
Questions & Answers
- → Do I need to thaw the frozen blueberries first?
-
No, you should add the frozen blueberries directly to the dish without thawing. They'll release their juices and cook perfectly during baking. Thawing first would make the filling too watery.
- → How do I know when the cobbler is done baking?
-
The cobbler is ready when the topping is golden brown and set, and you see the berry filling bubbling up through the gaps. This typically takes 40–45 minutes at 375°F. Insert a toothpick into the topping—it should come out clean or with moist crumbs but not wet batter.
- → Can I use fresh blueberries instead of frozen?
-
Absolutely! Fresh blueberries work wonderfully. You may need slightly less cornstarch since fresh berries release less liquid than frozen. Start with 1 tablespoon instead of 2 and adjust if needed.
- → What's the best way to serve this cobbler?
-
Serve warm for the best experience. The contrast between hot, bubbling fruit and cold vanilla ice cream is exceptional. Whipped cream or a drizzle of heavy cream also work beautifully. Let it cool for at least 15 minutes so the filling sets slightly.
- → Can I make this dairy-free?
-
Yes, simply substitute the whole milk with your favorite plant-based milk (oat, almond, or soy work well) and use vegan butter instead of regular butter. The texture and flavor remain excellent with these swaps.
- → How should I store leftovers?
-
Cover the baking dish tightly with foil or transfer to an airtight container. Refrigerate for up to 4 days. Reheat individual portions in the microwave for 30–60 seconds or warm the entire dish in a 350°F oven until heated through.
