 Save
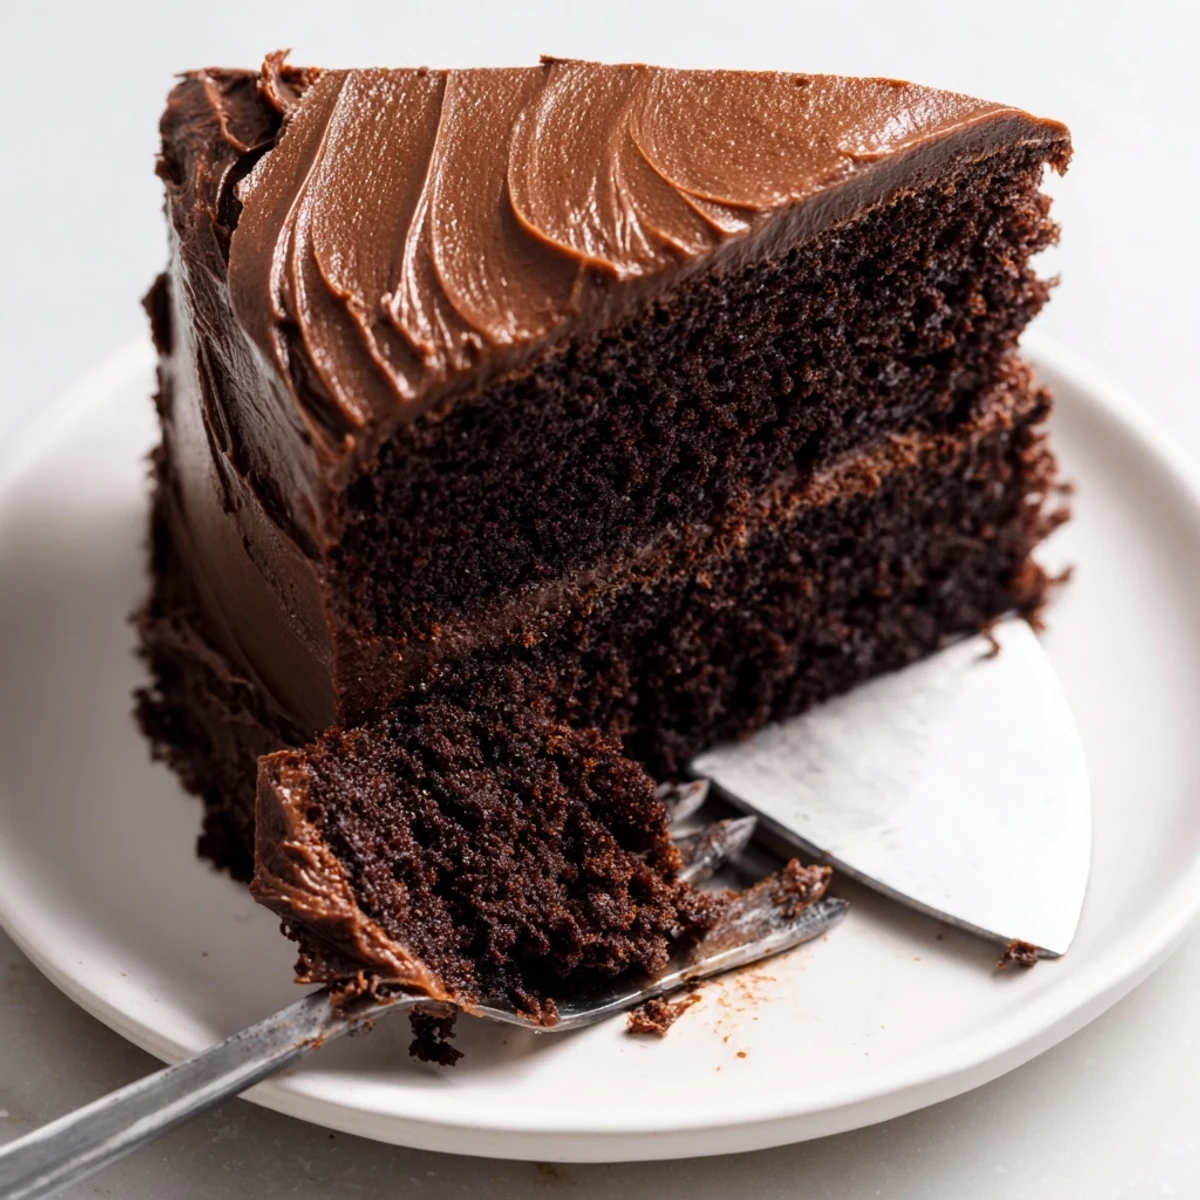
Save This triple-layer chocolate cake delivers the ultimate indulgence with its incredibly moist crumb and velvety cocoa frosting. The batter comes together quickly using pantry staples, while the secret addition of boiling water creates that signature tender texture. Each slice offers the perfect balance of rich chocolate intensity and creamy sweetness.
The buttery frosting spreads beautifully and sets the stage for those iconic swoops and swirls. With 12 generous servings, this stunning centerpiece transforms any celebration into a memorable occasion.
The chocolate cake from Matilda always seemed impossibly perfect, like something that could only exist in a movie. Then my friend Sarah brought one to our monthly movie night, and I understood why Bruce Bogtrotter couldn't stop eating. She revealed that the secret was pouring boiling water into the batter, which somehow creates this impossibly moist crumb that stays fresh for days. Now it's the cake I make whenever I need to remind someone that chocolate can solve almost anything.
I made this for my niece's birthday last year, and she took one bite and whispered that it tasted like magic. Her little brother asked if I had to eat a whole cake to learn how to make it. Now they request it for every celebration, and I've started keeping extra powdered sugar in the pantry just in case.
Ingredients
- 225 g all-purpose flour: Provides the structure, though the boiling water will make this cake unusually tender compared to typical recipes
- 400 g granulated sugar: This amount might seem excessive, but it balances the deep cocoa flavor and creates that perfect crackly crust
- 85 g unsweetened cocoa powder: Dutch process cocoa gives the darkest color and most intense chocolate flavor
- 1½ tsp baking powder and 1½ tsp baking soda: This combination ensures the cake rises properly despite all that liquid from the boiling water
- 1 tsp salt: Crucial for intensifying chocolate flavor, never skip it in chocolate desserts
- 2 large eggs: Must be at room temperature to emulsify properly with the oil and create a smooth batter
- 240 ml whole milk: The fat content creates richness, though you can swap half for sour cream as noted below
- 120 ml vegetable oil: Oil keeps the cake moist longer than butter would, which is key for that signature texture
- 2 tsp pure vanilla extract: Use real vanilla, the imitation stuff can't stand up to all this chocolate
- 240 ml boiling water: The magic ingredient that blooms the cocoa and creates that impossibly moist crumb
- 225 g unsalted butter, softened: For the frosting, this needs to be truly soft but not melted or greasy
- 75 g unsweetened cocoa powder: Sift this when adding to butter to prevent lumps in your frosting
- 425 g powdered sugar: Sifting this too makes the frosting impossibly smooth
- 60 ml whole milk: Add gradually to reach your perfect spreading consistency
- 2 tsp pure vanilla extract: The same quality note applies here, this flavor comes through
- Pinch of salt: Just enough to make the chocolate taste more like itself
Instructions
- Get everything ready first:
- Preheat your oven to 175°C and generously grease two 23 cm round cake pans, lining the bottoms with parchment paper for easy release.
- Whisk the dry ingredients together:
- In a large bowl, combine flour, sugar, cocoa powder, baking powder, baking soda, and salt until well blended and no lumps remain.
- Add the wet ingredients:
- Pour in eggs, milk, oil, and vanilla, then beat on medium speed until the batter is completely smooth and no dry streaks show.
- Pour in the boiling water:
- Slowly stir in the boiling water, which will make your batter seem terrifyingly thin, but this is exactly what creates that famous moist texture.
- Bake the layers:
- Divide the batter between your prepared pans and bake for 30 to 35 minutes, until a toothpick comes out clean and the layers have pulled slightly from the edges.
- Cool completely:
- Let the cakes rest in their pans for 10 minutes before turning them out onto wire racks to cool entirely, which prevents the frosting from melting.
- Make the frosting:
- Beat butter until creamy, sift in cocoa powder and mix well, then gradually alternate adding powdered sugar and milk until smooth and spreadable.
- Finish the frosting:
- Add vanilla and salt, beating until fluffy, then adjust consistency with tiny amounts of milk if needed for easy spreading.
- Assemble the cake:
- Place one cooled layer on your serving plate, spread frosting on top, then stack the second layer and cover the top and sides completely.
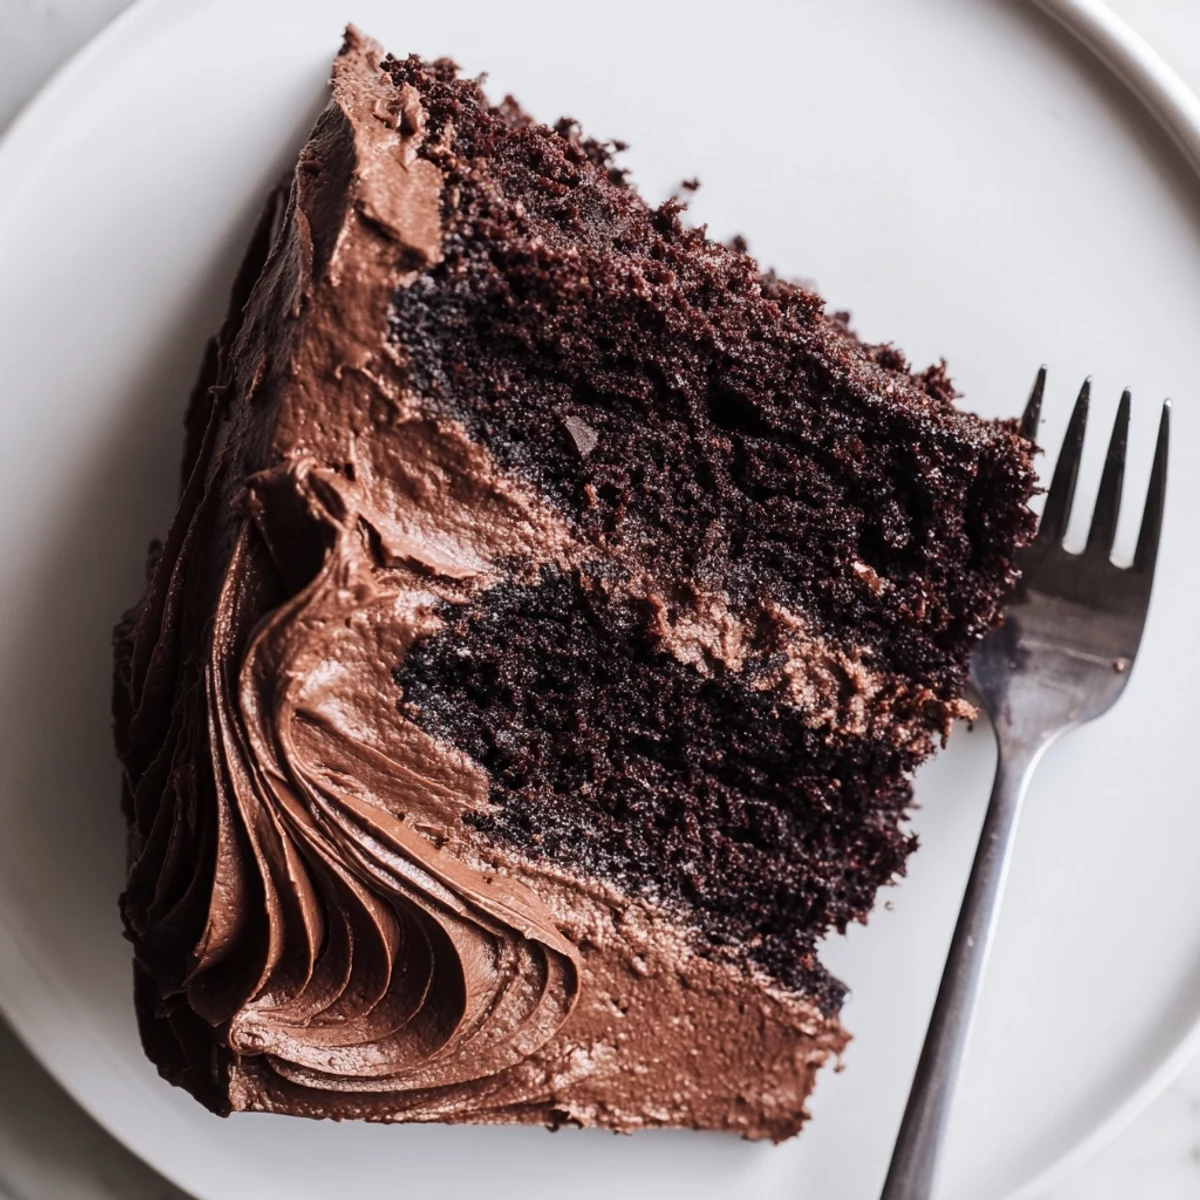
- Create those signature swirls:
- Use an offset spatula to make swoops and swirls all over the cake, replicating that iconic Matilda look that makes it irresistible.
 Save
Save My dad, who claims he doesn't really like sweets, ate three slices when I first made this recipe. He said it reminded him of the chocolate cakes his grandmother used to make, and asked if I'd write down the recipe for him. That's when I knew this one was a keeper.
Making It Ahead
I've learned that the unfrosted cake layers wrap beautifully and freeze for up to a month. Just thaw them at room temperature before frosting, which actually makes serving easier since you can do the decorating the day before you need it. The frosting also keeps in the refrigerator for a week, so you can make both components ahead and assemble when you're ready.
Getting The Right Texture
The thin batter will worry you the first time, but resist the urge to add more flour. That watery consistency is exactly what produces the tender crumb that makes this cake so special. If you've had issues with dry chocolate cakes before, this recipe will feel like a revelation.
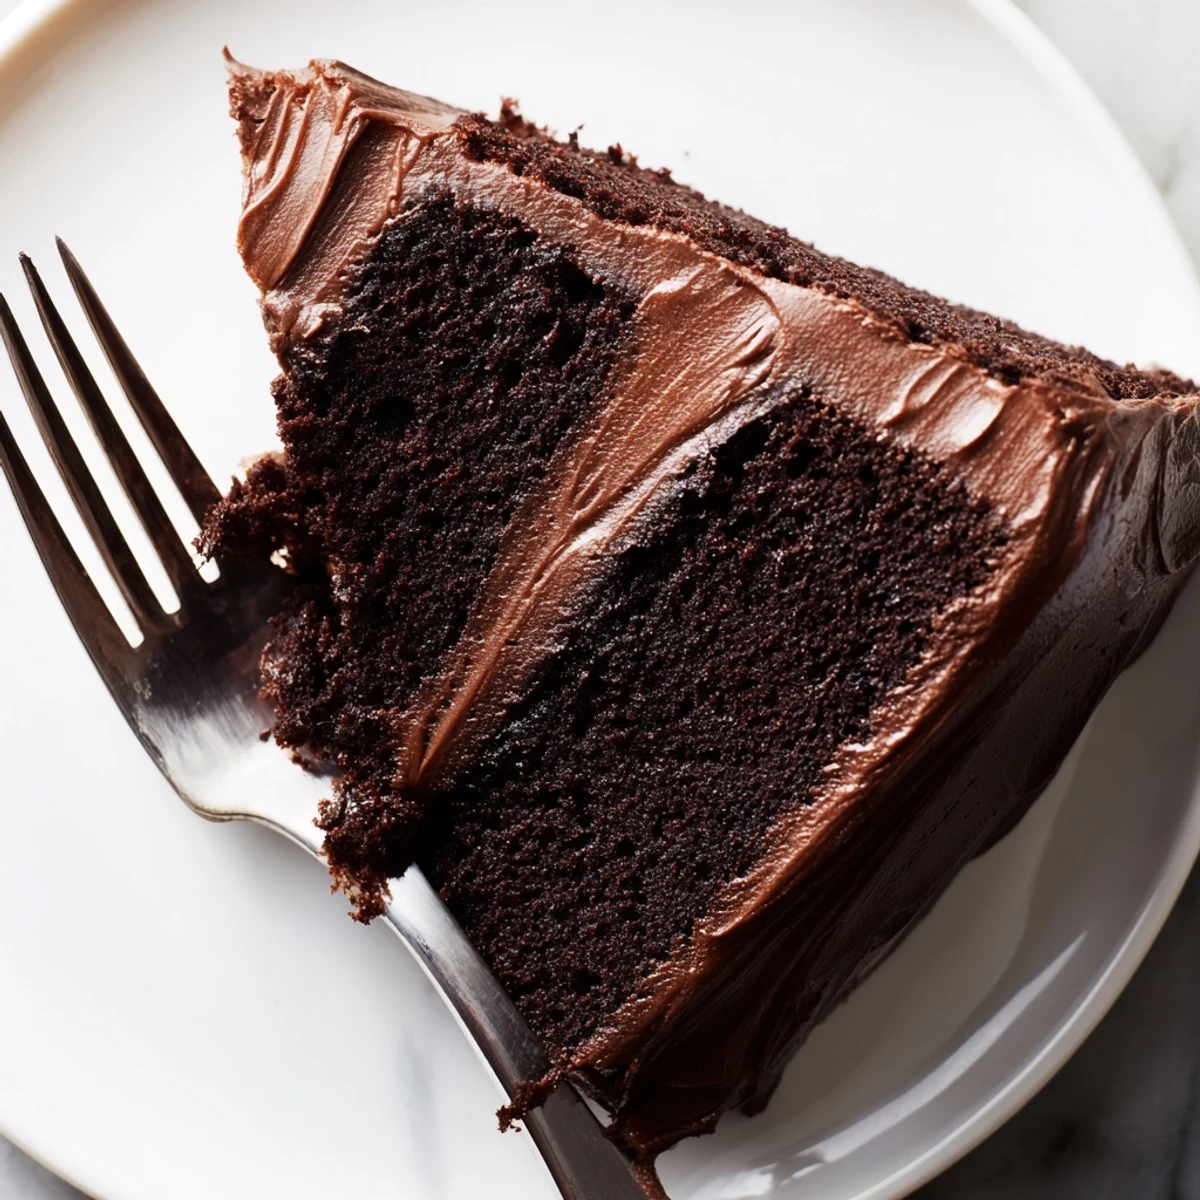
Perfect Frosting Swirls
Creating those Matilda style swoops takes a light touch and room temperature frosting that spreads easily. Work with a small offset spatula and make confident motions rather than tiny corrections.
- Chill your frosted cake for 15 minutes before making final swirls if the frosting feels too soft
- Rotate the cake as you work instead of reaching across it
- Imperfection actually makes it look more authentic and inviting
 Save
Save This cake has become my go to for celebrations, movie nights, and Tuesdays that need chocolate. There's something about that first bite that makes everything feel a little more possible.
Questions & Answers
- → What makes this cake so moist?
-
The combination of boiling water mixed into the batter creates steam during baking, resulting in an incredibly moist and tender crumb that stays fresh for days.
- → Can I make this cake ahead of time?
-
Absolutely. The cake layers can be baked and frozen for up to 3 months. Frost the cake 1-2 days before serving and store at room temperature, covered.
- → How do I achieve the classic Matilda swirls?
-
Use an offset spatula to create sweeping motions through the frosting. Work quickly while the frosting is still slightly pliable, building up dramatic peaks and valleys.
- → Can I substitute the boiling water?
-
Hot coffee works beautifully and intensifies the chocolate flavor. For a non-caffeinated version, hot water or even hot buttermilk produces excellent results.
- → Why does my batter look so thin?
-
A thin batter is completely normal and expected. The high liquid content ensures proper hydration and creates the signature moist texture once baked.
