 Save
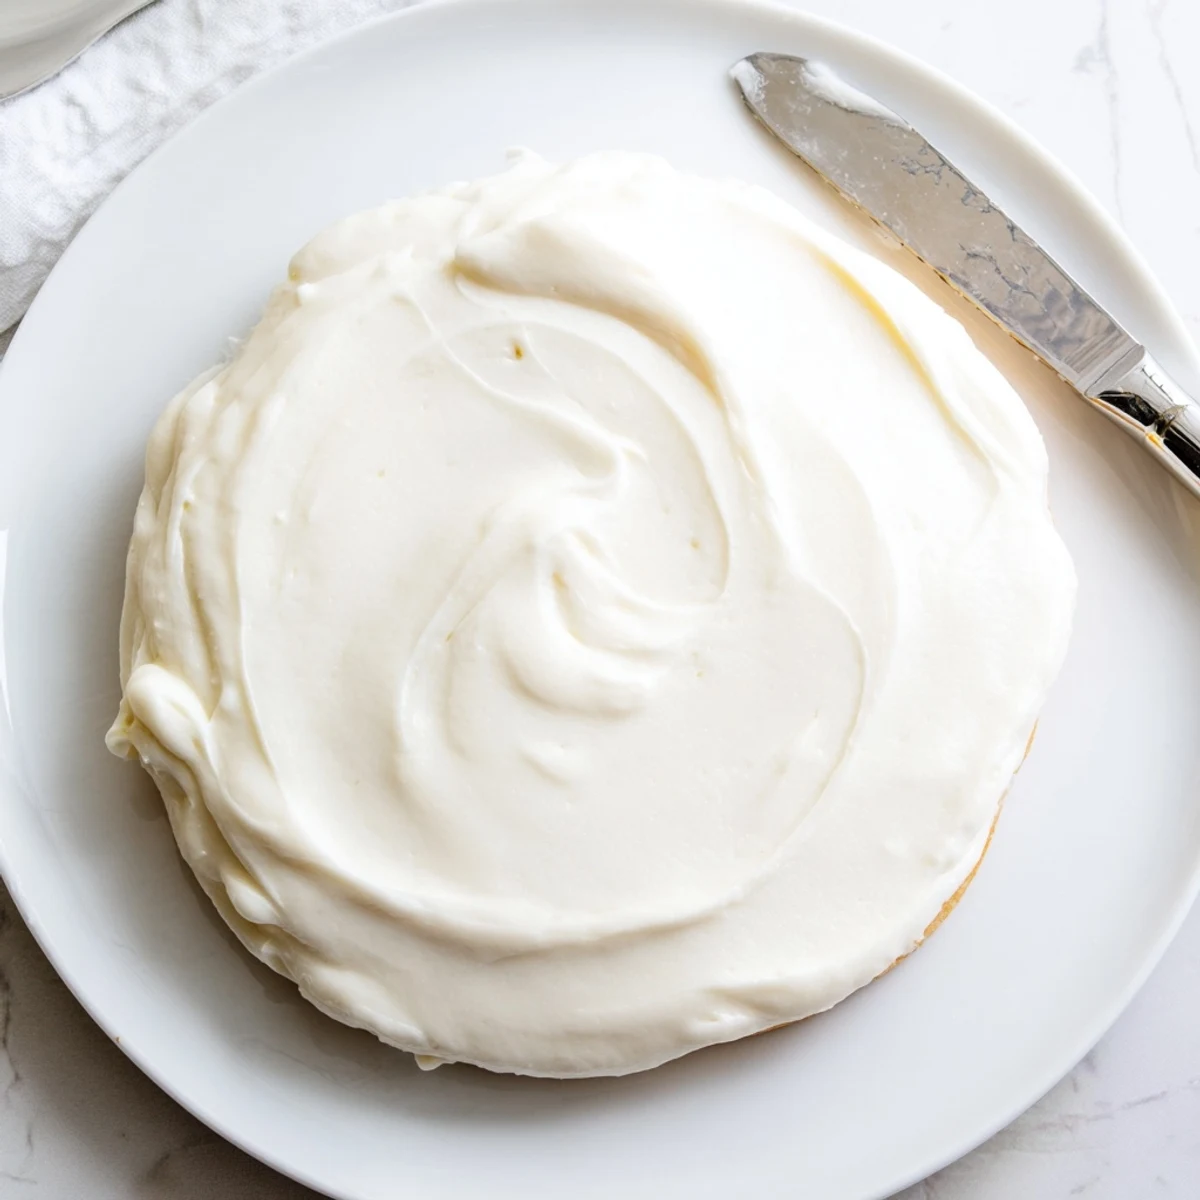
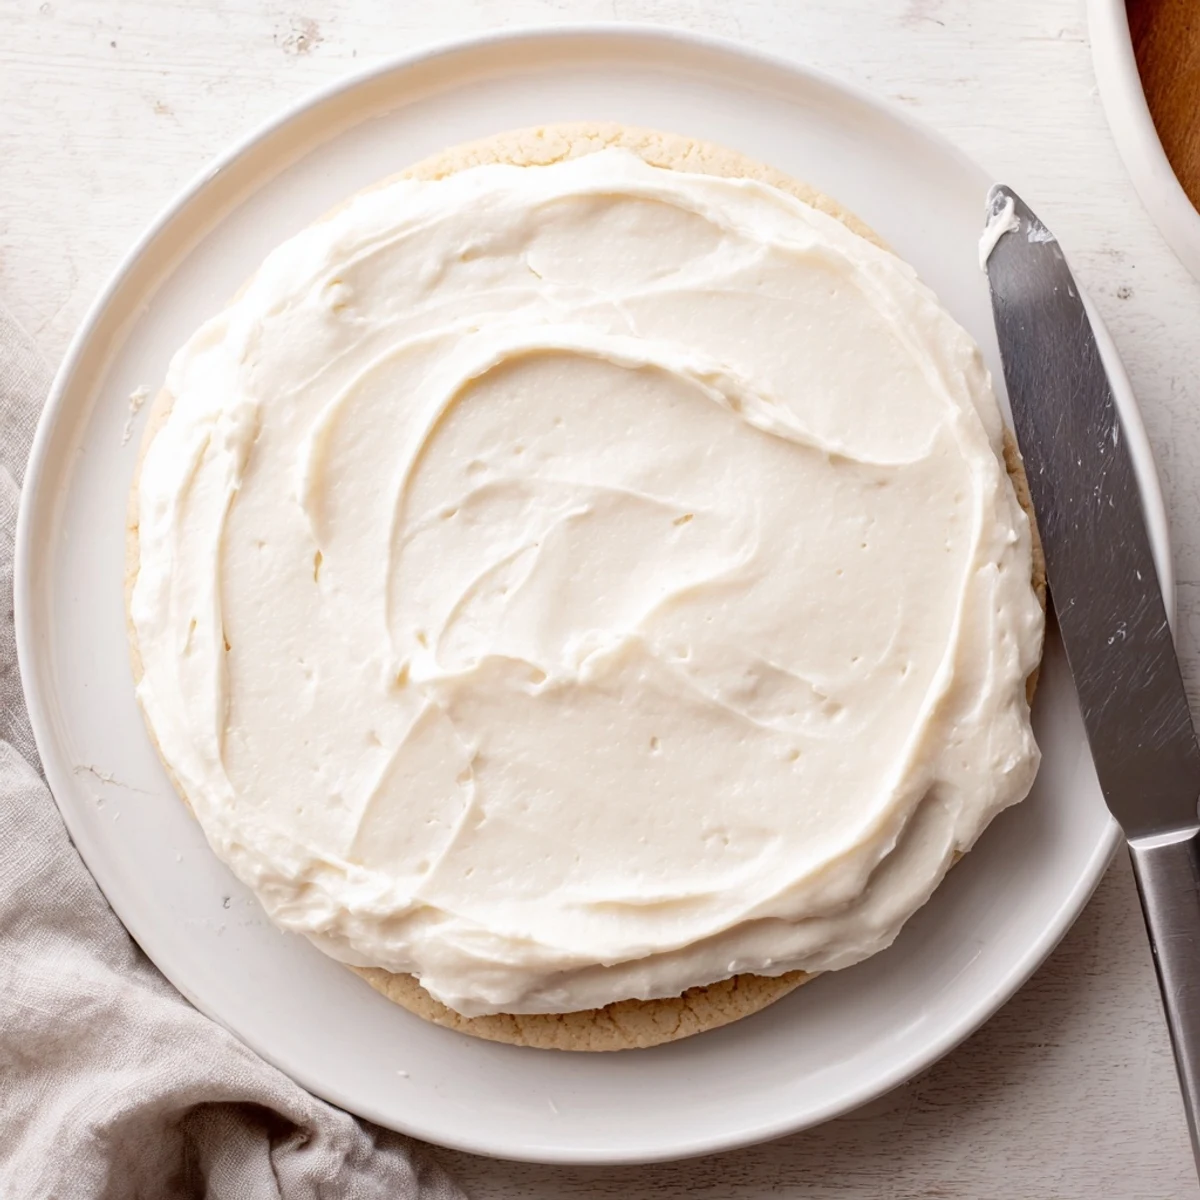
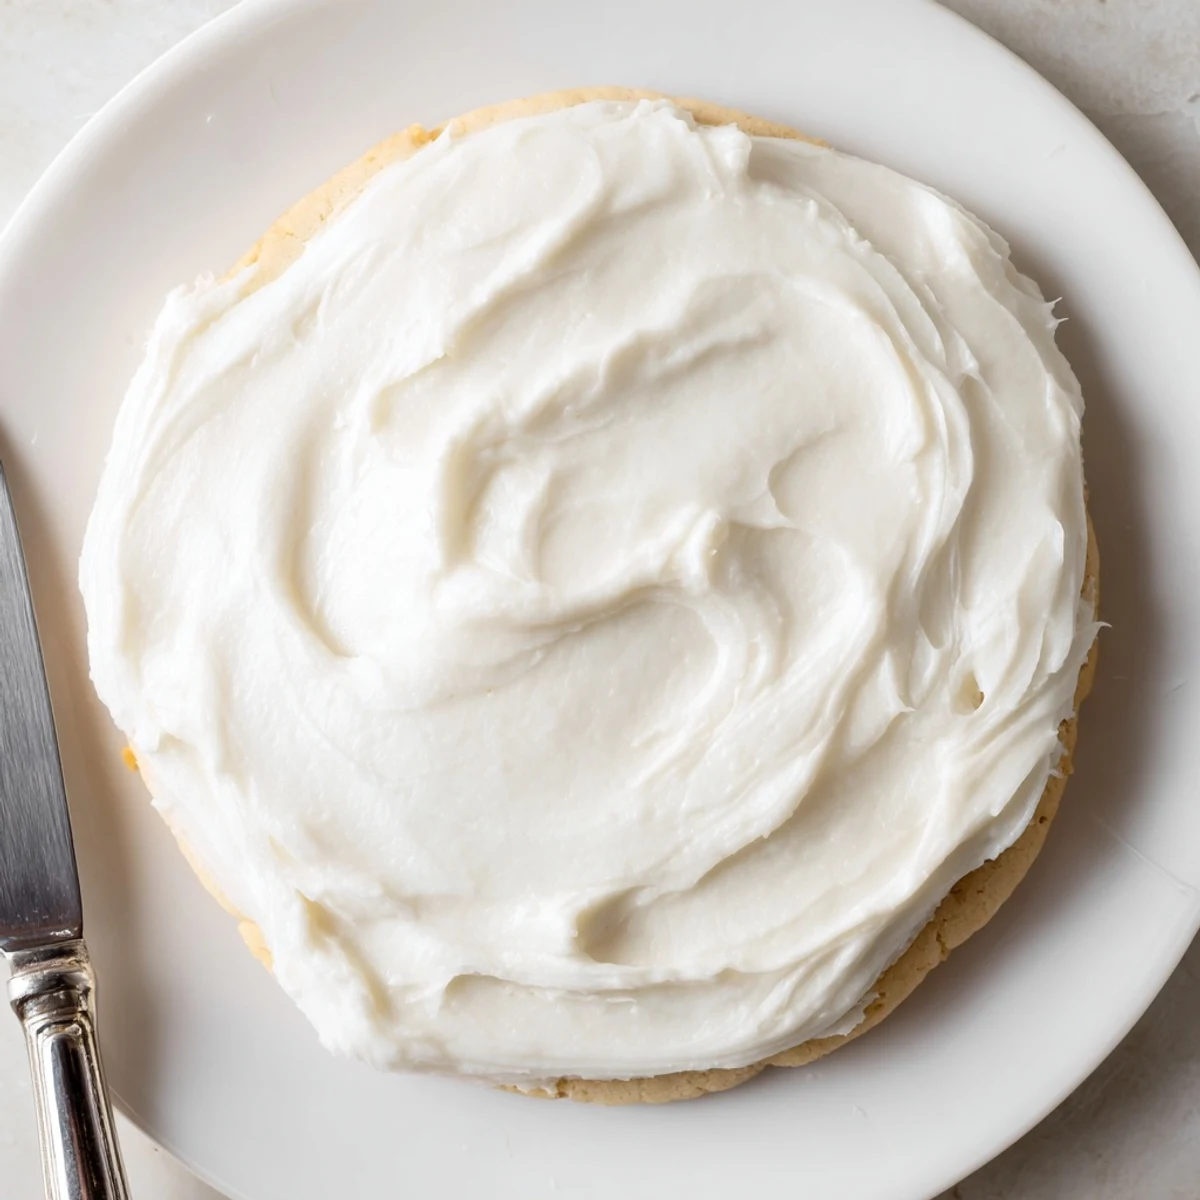
Save Transform basic sugar cookies into decorated masterpieces with this versatile icing. The whipped combination of powdered sugar, butter, milk, and vanilla creates a luxuriously smooth texture that's perfect for spreading or piping. Adjust the liquid to achieve your ideal consistency—thicker for detailed designs, thinner for a delicate glaze. The finish sets to a beautiful soft gloss within an hour, making it practical for gifting or serving. Incorporate almond extract for nutty depth or citrus zest for brightness. Leftovers keep refrigerated for a week, simply rewhip and bring to room temperature before your next decorating session.
The kitchen counter was covered in a sea of pastel-colored cookies, each one adorned with tiny snowflakes and Christmas trees. My five-year-old stood on her tiptoes, apron dusted with powdered sugar, carefully spreading white frosting with determination I'd usually only see in serious chefs. That's when I realized something magical about this recipe—its simplicity lets anyone become an artist, regardless of age or skill.
Last December, I made three double batches in one weekend for a cookie exchange party. By the fourth tray, I'd stopped measuring precisely and started going by feel—that's how forgiving this recipe is. Every single cookie came out flawless, and my friends kept asking which bakery I'd bought them from.
Ingredients
- 2 cups powdered sugar: Sifting first prevents those tiny lumpy bits that ruin an otherwise smooth frosting
- 2–3 tablespoons milk: Whole milk gives the creamiest results, but 2% works perfectly fine
- 2 tablespoons unsalted butter: Softened to room temperature—it should yield slightly when pressed but not be melting
- 1 teaspoon pure vanilla extract: The real stuff matters here since vanilla is the star flavor
- Pinch of salt: Just enough to balance all that sweetness without making it taste savory
Instructions
- Combine the base ingredients:
- Beat the powdered sugar, softened butter, vanilla extract, and salt together until they resemble damp sand with tiny butter lumps throughout.
- Add milk gradually:
- Pour in one tablespoon of milk at a time, beating thoroughly after each addition, until you reach your desired consistency.
- Customize if desired:
- Stir in almond extract or food coloring now, mixing gently to avoid incorporating too much air.
- Frost your cookies:
- Spread or pipe immediately onto completely cooled cookies, then let them sit undisturbed for at least one hour to set properly.
 Save
Save My grandmother used to tell me that the best recipes are the ones that become tradition. This frosting has become ours—every holiday, every birthday, every excuse to make cookies involves pulling out that same mixing bowl.
Getting the Perfect Consistency
After years of making this frosting, I've learned that the perfect consistency depends entirely on what you're planning to do with it. For spreading with a knife or small offset spatula, aim for something similar to creamy peanut butter. It should hold its shape when dolloped but spread easily without tearing the cookie surface.
Color Without Compromise
Gel food coloring is absolutely worth the extra trip to a specialty store or online order. Liquid coloring adds too much moisture, which means you'll need to compensate with more powdered sugar, throwing off the entire texture balance. Start with a toothpick-sized amount of gel—you can always add more, but you can't take it back.
Storage and Make-Ahead Tips
This frosting actually stores surprisingly well, which means you can make it a day or two ahead of your big baking marathon. Keep it in an airtight container at room temperature if using within 24 hours, otherwise refrigerate for up to a week. When you're ready to use it again, let it come to room temperature naturally and give it a quick stir with a fork.
- Never microwave refrigerated frosting—it melts unevenly and creates a strange texture that never quite recovers
- If frosting seems too thick after storing, add milk literally drop by drop
- A sheet of plastic wrap pressed directly onto the surface prevents a crust from forming
 Save
Save There's something deeply satisfying about a recipe that works every single time, no guesswork required. May your kitchen be filled with sprinkles, sticky fingers, and the kind of laughter that only happens when frosting goes exactly where it shouldn't.
Questions & Answers
- → How long does the topping take to set completely?
-
Allow frosted cookies to rest at room temperature for at least one hour. The surface will dry to a soft, touchable finish while remaining creamy underneath. Humidity may extend setting time slightly.
- → Can I make this dairy-free?
-
Substitute the butter with vegan margarine or coconut oil, and replace whole milk with almond, oat, or soy milk. Plant-based versions produce equally smooth results and accept coloring just as well.
- → What's the best way to achieve vibrant colors?
-
Gel food coloring delivers intense hues without thinning your mixture. Add drops gradually until reaching your desired shade. Liquid coloring works but requires slightly less milk to maintain proper consistency.
- → How should I store leftover frosting?
-
Keep unused portions in an airtight container in the refrigerator for up to seven days. Before using again, let it reach room temperature and give it a quick stir or brief whip to restore smooth texture.
- → Why is my mixture too thick or thin?
-
Humidity and measuring methods affect consistency. If too thick, add milk one teaspoon at a time. If too runny, sift in additional powdered sugar gradually until reaching spreadable texture that holds its shape.
