 Save
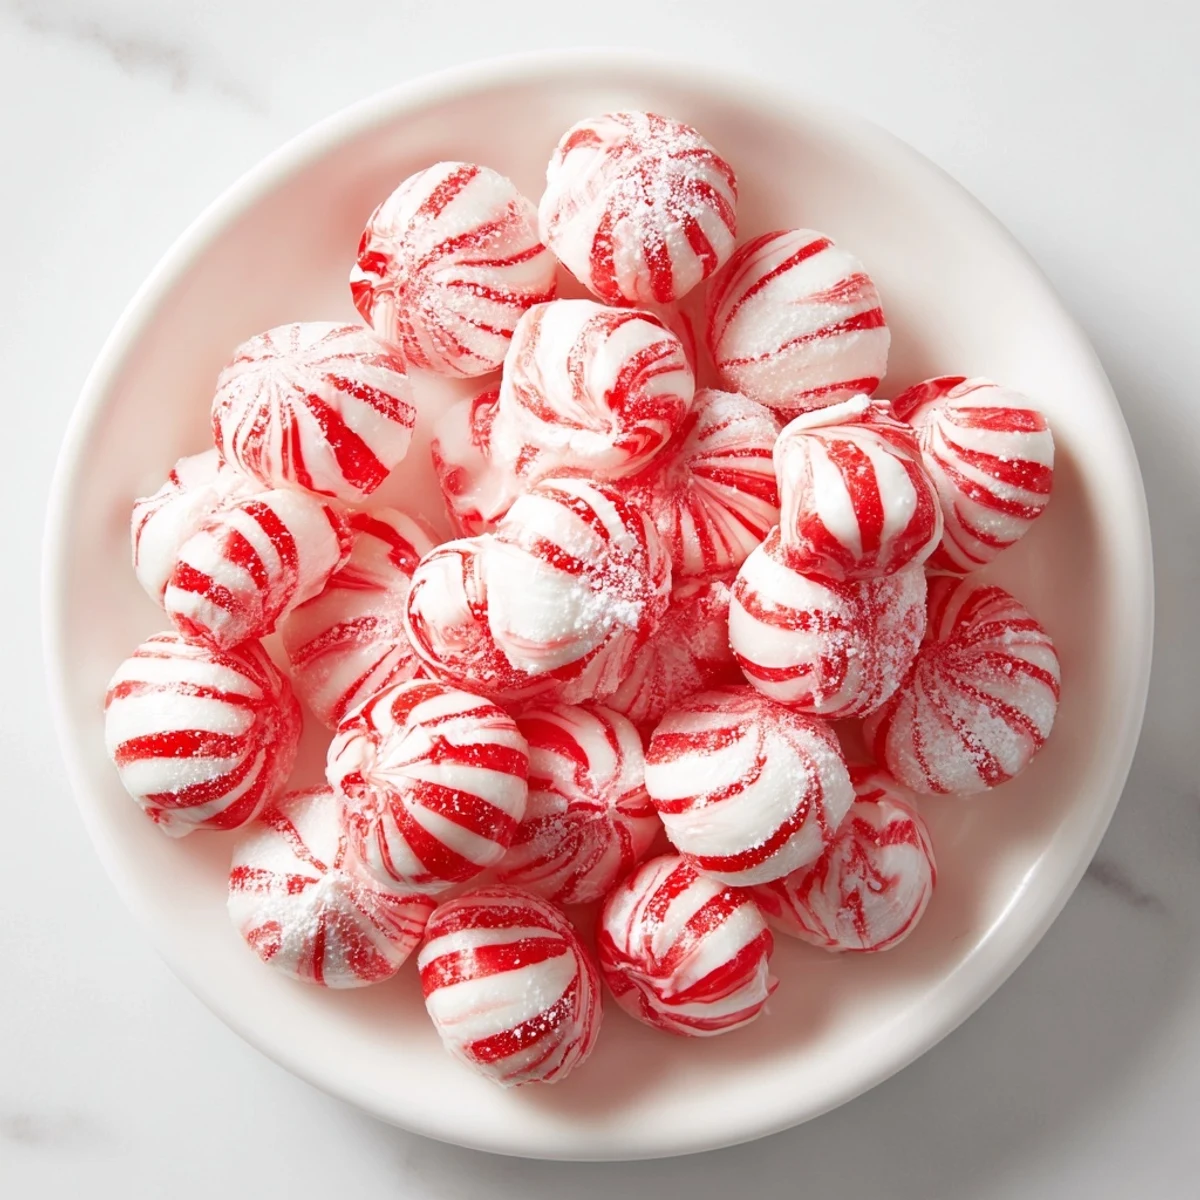
Save These classic peppermint candies deliver a melt-in-your-mouth texture paired with a refreshing peppermint flavor. Made by boiling sugar syrup to the hard crack stage, then infused with peppermint extract and optionally colored, they harden into delightful bite-sized treats. Lightly dusted with powdered sugar to prevent sticking, they make wonderful gifts or sweet snacks. With simple ingredients and straightforward preparation, they offer a charming homemade touch that’s both gluten-free and vegetarian-friendly.
There's something magical about the moment when boiling sugar transforms into glossy hard candy, and my kitchen fills with that sharp peppermint sting. I stumbled into making these drops on a December afternoon when my neighbor brought over a tin of homemade candies, and I became instantly obsessed with recreating them. What started as curiosity turned into a tradition, and now I can't imagine the holidays without a batch cooling on my counter.
I made a batch for my sister's book club one year, and she told me later that people were sneaking them into their bags before leaving. That's when I realized these little drops had become the thing people asked about.
Ingredients
- Granulated sugar (2 cups): The foundation of everything—cheap sugar works just as well as expensive, so don't overthink it.
- Water (1/2 cup): Dissolves the sugar evenly so you get that glass-like texture instead of grainy candy.
- Light corn syrup (1/4 cup): This is the secret that keeps your candy from crystallizing and turning gritty, learned that the hard way the first time.
- Peppermint extract (1/2 teaspoon): Use the real stuff—imitation works but tastes a bit flat by comparison.
- Red food coloring (2-3 drops, optional): Swirl it in for that festive look, or skip it entirely for clear candies that look like gems.
- Powdered sugar (1/4 cup): Dust your baking sheet first, then coat the finished candies to keep them from sticking together.
Instructions
- Prep Your Station:
- Line a baking sheet with parchment and dust it generously with powdered sugar. This isn't optional—hot candy sticks like it's been glued down if you skip this step.
- Combine and Dissolve:
- Mix sugar, water, and corn syrup in a medium saucepan over medium heat, stirring just until the sugar dissolves and everything looks smooth. Once it's dissolved, stop stirring completely.
- Reach the Hard Crack Stage:
- Increase heat and let the mixture bubble away without touching it until your candy thermometer reads 300°F. This takes about 10 minutes, and watching it get darker and more amber is oddly mesmerizing.
- Add the Peppermint:
- Pull the pan off heat immediately, then stir in the peppermint extract and food coloring very quickly and carefully because this syrup is hotter than anything you should ever touch. Mix for just a few seconds—you want to swirl, not fully blend, if you're using color.
- Drop and Cool:
- Using a teaspoon or small scoop, drop walnut-sized mounds onto your prepared sheet, leaving space between each one. They'll spread just a tiny bit as they cool, so give them room to breathe.
- Wait It Out:
- Let them sit undisturbed for 30 minutes to an hour until they've hardened completely and you can lift them cleanly off the parchment without any stickiness.
- Finish with Sugar:
- Toss the cooled candies gently in a bowl of powdered sugar to coat them lightly and prevent them from sticking together when stored.
 Save
Save I remember my mom biting into one of these for the first time and getting that surprised look, like she'd forgotten candy could taste this clean and bright. That's the moment these drops became something I make every single year.
Flavor Play and Variations
Once you've nailed peppermint, the door opens to so many possibilities. I've experimented with lemon extract on a whim one spring and ended up with a batch so zingy that people were reaching for seconds even though they thought they were done with candy for the day. Orange extract brings warmth without being Christmas-specific, and spearmint creates this lighter, less intense version that appeals to people who find regular peppermint overwhelming.
Shaping and Presentation
Silicone molds change the game if you want uniform pieces instead of rustic drops. The drops feel homemade and charming, but molds give you something fancier to gift to people you're trying to impress. I've used heart-shaped molds around Valentine's Day, small round ones for regular batches, and once tried novelty shapes that honestly looked a bit ridiculous but tasted just as good.
Storage and Gifting
Keep these in an airtight container at room temperature, and they'll stay fresh and hard for weeks, though they never last that long in my house. The powdered sugar coating doubles as both insurance against sticking and edible decoration. When you're wrapping them as gifts, layer them in a nice box or tin with crinkled tissue paper, and suddenly you've got something that feels like it came from a fancy candy shop instead of your kitchen.
- Use wax paper between layers if you're stacking them in a container to prevent sugar transfer.
- Avoid the refrigerator because humidity will soften them and make them stick together.
- These make genuinely impressive gifts because homemade candy signals effort in a way store-bought never does.
 Save
Save Making these candy drops is proof that something genuinely delicious doesn't need to be complicated. Every batch reminds me that simple ingredients and a little patience create something worth sharing.
Questions & Answers
- → What temperature should the sugar syrup reach?
-
The sugar syrup should reach 300°F (150°C), known as the hard crack stage, to ensure the candies harden properly.
- → Can I use other flavors besides peppermint?
-
Yes, you can substitute peppermint extract with lemon, orange, or other flavor extracts for variety.
- → Why is powdered sugar used in dusting?
-
Powdered sugar prevents the candies from sticking together once they have cooled and hardened.
- → Is it necessary to use a candy thermometer?
-
Using a candy thermometer helps achieve the precise temperature needed for hard candy texture and prevents undercooking or burning.
- → How can I create a festive appearance for the candies?
-
Swirling red food coloring into the syrup without fully mixing creates a festive marbled effect.
- → Are these candies suitable for vegetarians?
-
Yes, the ingredients are vegetarian-friendly and contain no common allergens.
