 Save
Save This luscious, glossy chocolate syrup comes together quickly using cocoa powder, sugar, water, and vanilla. Simmered to thick perfection, it offers a rich chocolate flavor that enhances ice cream, pancakes, cakes, or fresh fruit. The syrup cools to a smooth texture that's easy to drizzle or pour, with options to intensify flavor using espresso or dark cocoa. Store refrigerated for up to two weeks, ready to elevate your favorite treats with a decadent chocolate finish.
I'll never forget the first time I made homemade chocolate syrup from scratch. It was a lazy Sunday morning, and my daughter asked why the store-bought kind tasted nothing like the chocolate I described from my childhood. That simple question led me to my kitchen with just cocoa powder, sugar, and water—and within minutes, I'd created something so silky and rich that she actually asked for seconds on her pancakes. Now, this five-minute syrup is what I reach for whenever I want that authentic chocolate moment, the kind that transforms a simple bowl of ice cream into something special.
I remember bringing a small jar of this syrup to a potluck dinner, and watching my friend's face light up when she drizzled it over her vanilla ice cream. She kept asking what bakery I'd bought it from, and I loved being able to tell her it came straight from my kitchen. That's when I realized this simple syrup wasn't just a topping—it was a small gesture of care that somehow made everything taste better.
Ingredients
- Unsweetened cocoa powder, 1/2 cup: This is your foundation, delivering pure chocolate flavor without added sugar. I learned the hard way that Dutch-processed cocoa gives a deeper, more sophisticated taste than natural cocoa—it's worth seeking out if you want that bakery-quality richness.
- Granulated sugar, 1 cup: The sweetness that balances the cocoa's intensity. Don't skip it or reduce it—the sugar is what transforms bitter cocoa into that glossy, luxurious syrup you're craving.
- Water, 1/2 cup: Seems simple, but this is what creates that pourable, glossy texture. Cold water at the start, warm heat as it cooks—this partnership is everything.
- Salt, 1/8 teaspoon: Just a whisper, but it amplifies the chocolate flavor in a way that makes people wonder what your secret is.
- Vanilla extract, 1 teaspoon: Added at the end, this brings warmth and complexity that makes the chocolate taste even more chocolate-like—it's the finishing touch that matters.
Instructions
- Gather and dry-mix your chocolate base:
- Pour the cocoa powder, sugar, and salt into a medium saucepan. Use a whisk to combine them thoroughly, breaking up any cocoa clumps. You'll want everything completely blended before adding water—this prevents lumps from forming and ensures silky results.
- Create the smooth paste:
- Slowly add the water while whisking constantly. This is meditative, almost therapeutic work. Watch as the dry ingredients transform into a smooth, glossy paste. There should be no streaks of cocoa powder remaining—patience here pays off in texture.
- Bring it to a gentle boil:
- Move the saucepan to medium heat and keep stirring constantly. You're looking for the mixture to gradually warm until tiny bubbles begin breaking the surface. This usually takes about 3 to 4 minutes. The room will smell incredible—that's your signal you're on the right track.
- Simmer until it thickens:
- Once it reaches a gentle boil, reduce the heat to low and let it simmer for 2 to 3 minutes, stirring frequently. You'll notice the syrup becoming slightly thicker and more luxurious. Trust your instincts—when it coats the back of a spoon just slightly, it's ready.
- Finish with vanilla:
- Remove from heat and stir in the vanilla extract. This final addition brings everything together, adding a warmth that makes the chocolate taste complete and complex.
- Cool and observe the magic:
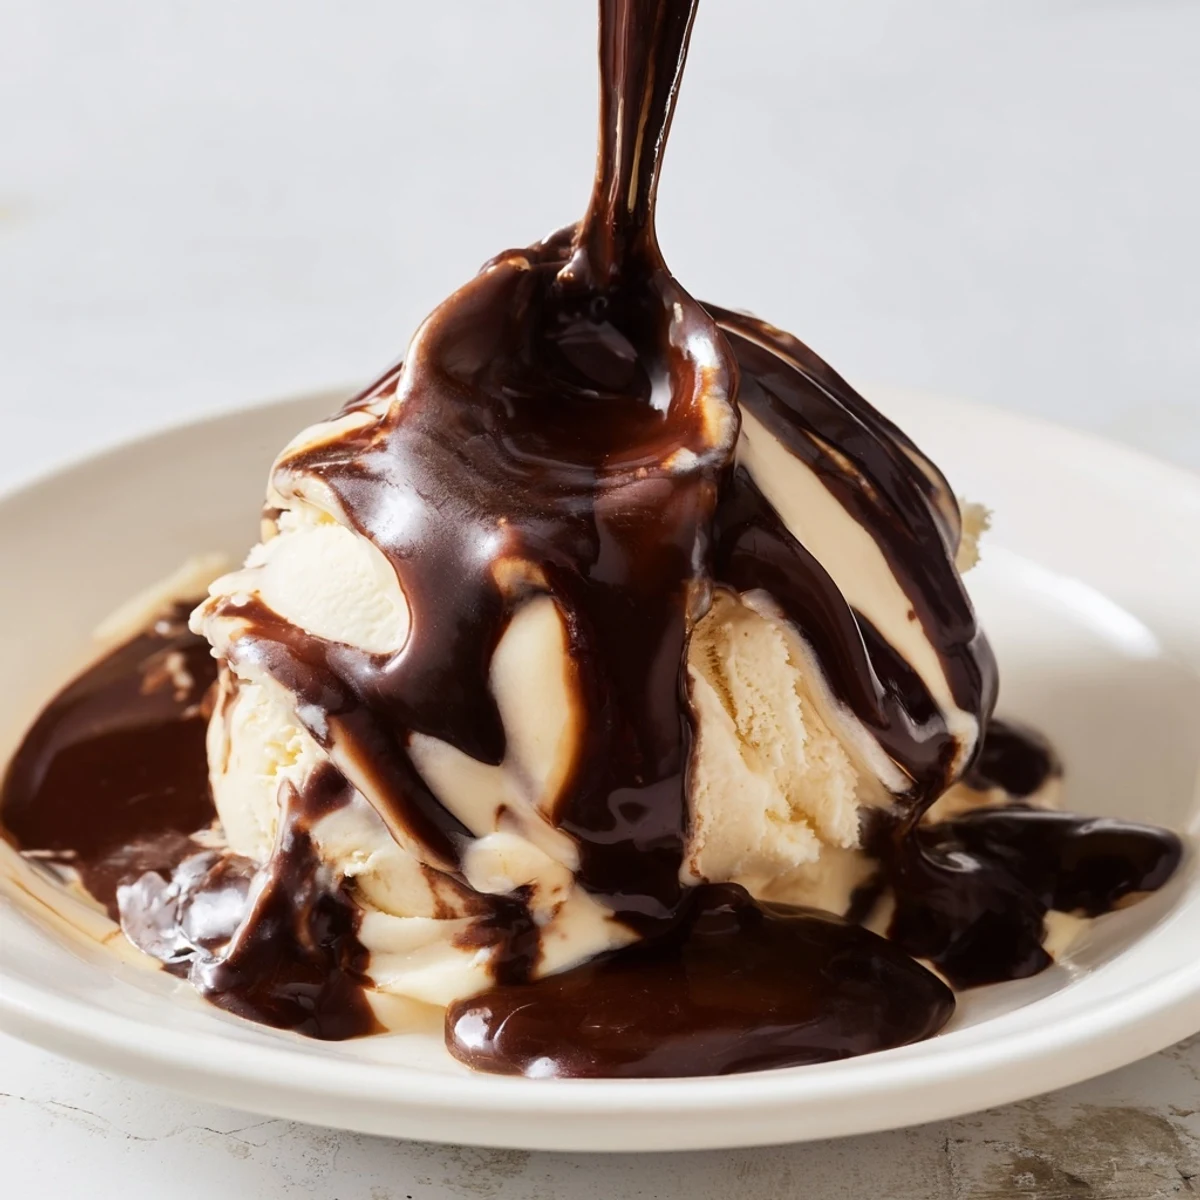
- Let the syrup rest at room temperature for a few minutes. As it cools, it will thicken further—this is normal and beautiful. The syrup continues its transformation even after you've stopped cooking, becoming more glossy and pourable.
 Save
Save I once made this syrup for a dinner party and poured it warm over vanilla ice cream just as guests arrived. Watching their faces as they tasted the homemade version—that moment when good food becomes a memory—that's what this syrup does. It elevates the ordinary into something worth remembering.
Flavor Variations Worth Trying
Once you've mastered the basic version, your kitchen becomes a laboratory for chocolate exploration. The beauty of this recipe is how adaptable it is to your mood and cravings. A tablespoon of brewed espresso or strong coffee stirred in at the end creates a syrup that tastes like a sophisticated mocha—I use this version when I want to feel a little fancy while eating dessert. If you're drawn to darker, more intense chocolate flavors, swap out half the regular cocoa powder for Dutch-processed cocoa, which has a deeper, almost mysterious quality. Some evenings, I add a pinch of cinnamon or cayenne pepper, just enough to create an intriguing warmth that lingers on your tongue without announcing itself.
Storage and Keeping Your Syrup Fresh
There's something satisfying about having a jar of homemade chocolate syrup ready in your refrigerator, waiting for the moment you need it. Pour your cooled syrup into a clean glass jar or squeeze bottle—I prefer squeeze bottles because they let you control exactly how much syrup reaches your dessert. Refrigerated, this syrup keeps beautifully for up to two weeks, though I've rarely had a jar last that long in my house. If the syrup hardens in the refrigerator, warm it gently in a water bath or microwave in short bursts, stirring between each interval until it returns to drizzling consistency.
Serving Ideas and Kitchen Creativity
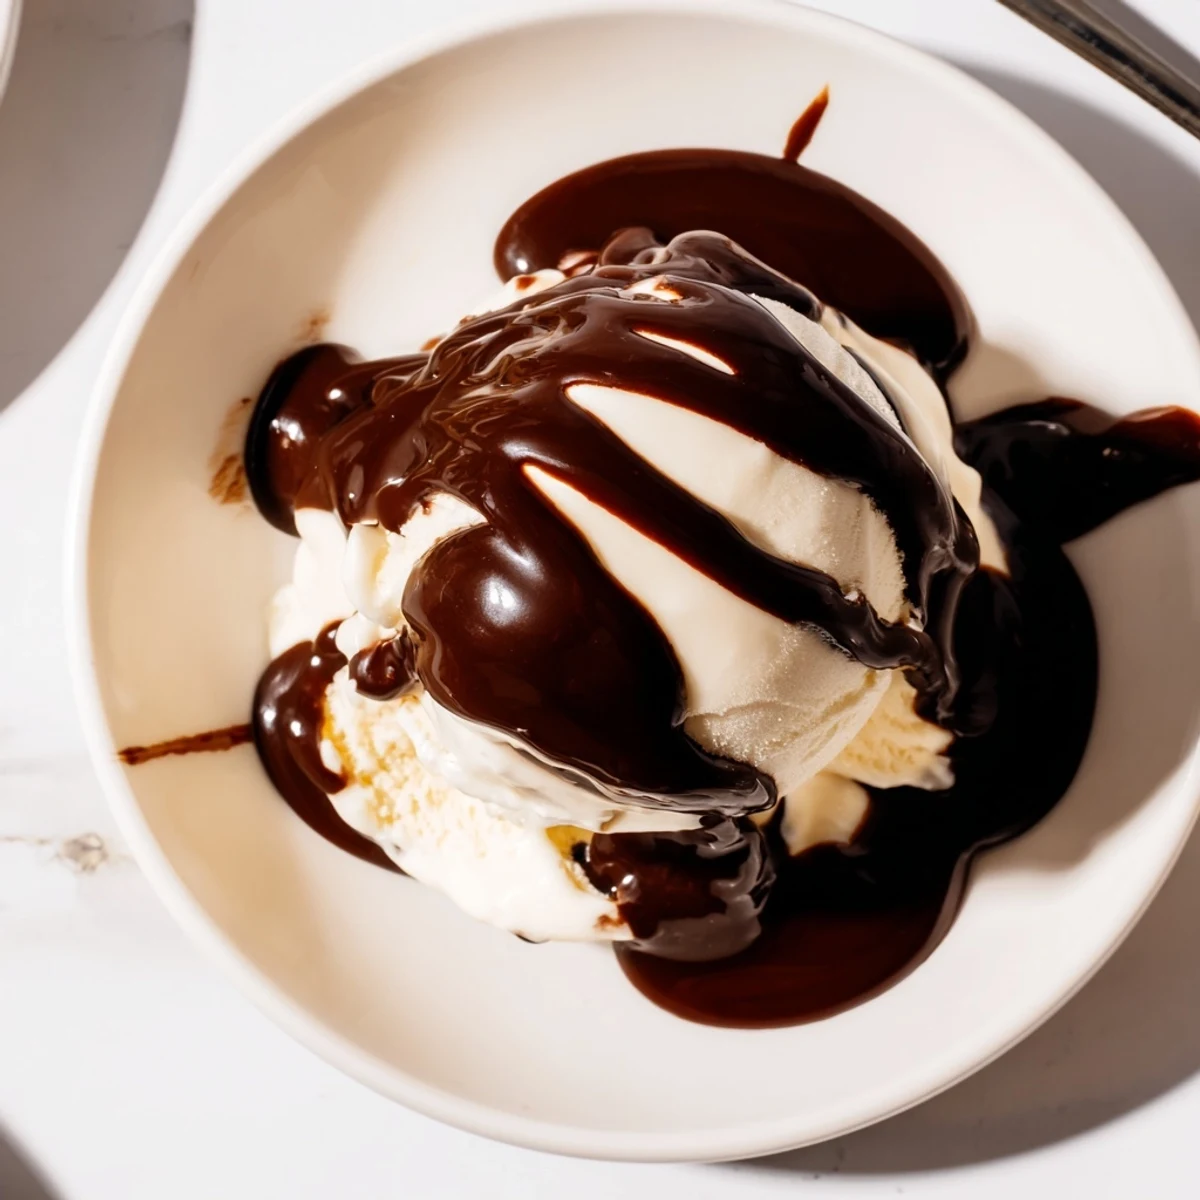
The magic of this syrup is how it transforms simple things into moments worth savoring. Drizzle it over a bowl of vanilla ice cream, and suddenly you have a dessert that tastes like the ones from your favorite ice cream parlor. Swirl it into Greek yogurt for a breakfast that feels indulgent. Pour it over fresh strawberries or pancakes, stir it into cold milk for homemade chocolate milk that tastes nothing like the instant version, or even use it to top cheesecake or brownies. I've even discovered that a spoonful stirred into hot coffee creates a syrup-sweetened mocha that costs a fraction of what you'd pay at a café. This syrup gives you permission to be creative in your own kitchen, to discover your own favorite way to use it.
- Try layering it with whipped cream and pound cake for an impromptu dessert
- Stir a spoonful into oatmeal for chocolate-flavored mornings
- Drizzle over fresh banana slices for a simple, satisfying snack
 Save
Save This syrup is proof that the best things don't need to be complicated. In ten minutes, you create something that brings joy to every bowl of ice cream, every stack of pancakes, every moment that needs a little sweetness.
Questions & Answers
- → What is the best cocoa powder to use?
-
Use unsweetened cocoa powder for a balanced chocolate flavor; dark cocoa powder enhances richness.
- → Can I add espresso to the syrup?
-
Yes, adding a tablespoon of espresso or strong coffee boosts the depth of chocolate taste.
- → How thick does the syrup get when cooled?
-
The syrup thickens to a smooth, pourable consistency that clings nicely to desserts without running off.
- → How should I store leftover syrup?
-
Keep it refrigerated in a sealed jar or bottle for up to two weeks to maintain freshness.
- → Is this syrup suitable for special diets?
-
Yes, it’s vegetarian, gluten-free, and nut-free, making it a versatile topping option.
