 Save
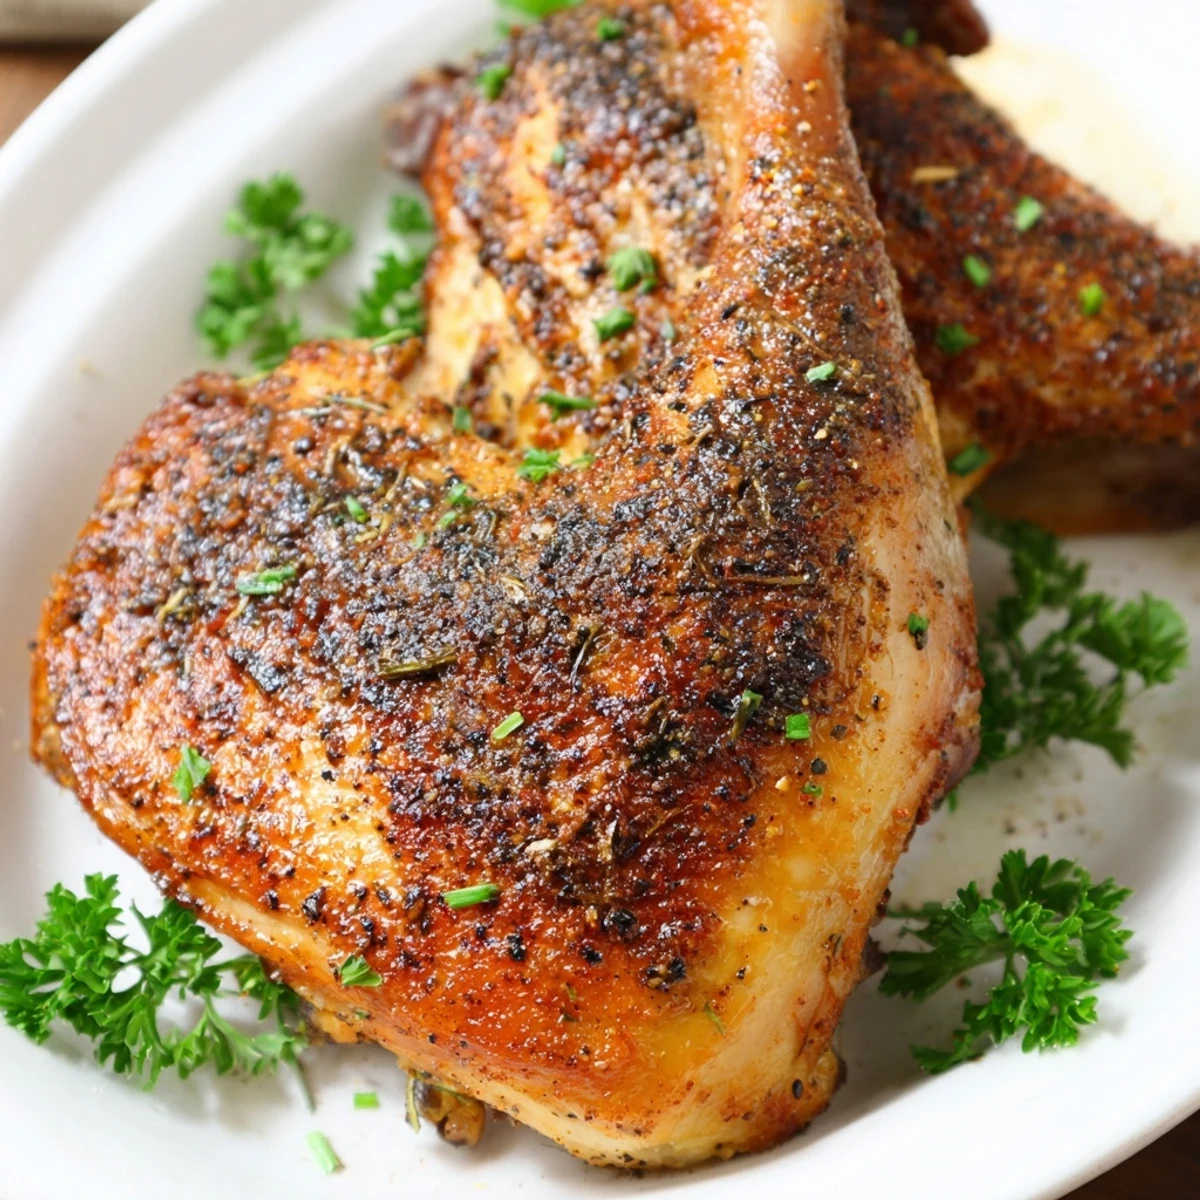
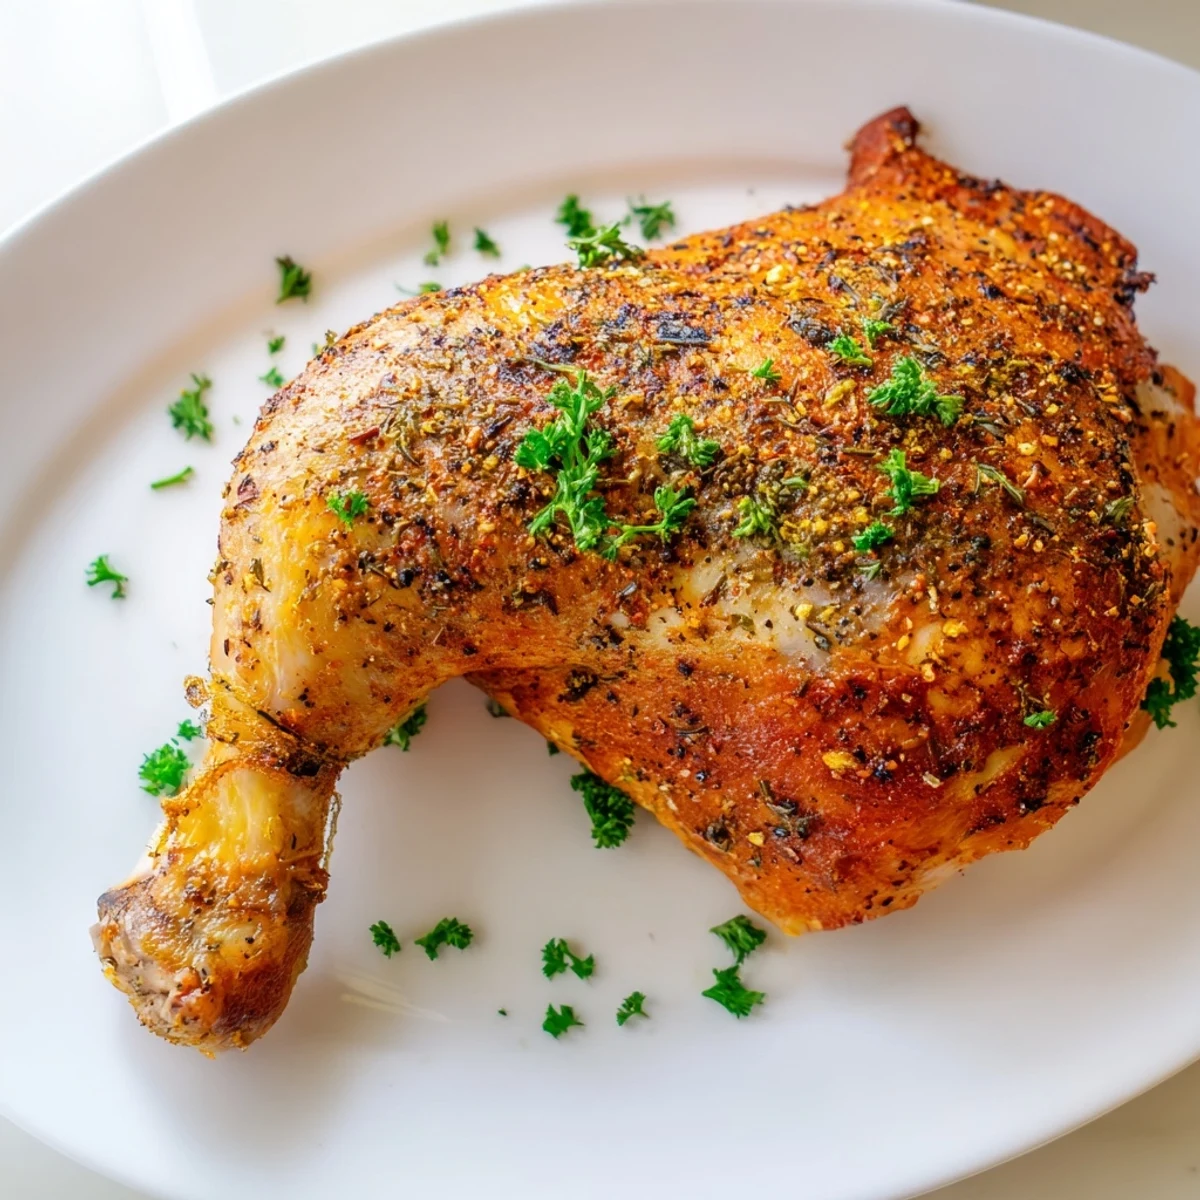
Save These chicken leg quarters deliver perfectly crispy skin alongside tender, juicy meat. A simple blend of garlic, paprika, and herbs creates a flavorful coating that roasts beautifully at high heat. The wire rack method ensures maximum crispiness while rendering excess fat. Perfect for weeknight dinners or meal prep, these quarters reheat beautifully and stay moist for days.
The smell of roasting chicken still takes me back to my first apartment, where I learned that high heat and patience transform humble leg quarters into something extraordinary. My roommate would hover near the oven, asking every five minutes if it was done yet. Now I know that crispy skin needs its own sweet time, and the waiting is half the magic.
I once made this for a dinner party during a snowstorm, and my friend Sarah actually stood over the baking sheet, picking at the skin while we waited for the sides to finish. That crispy, seasoned exterior has a way of making people forget their manners in the best possible way.
Ingredients
- Chicken leg quarters: These economical cuts are secretly the most forgiving part of the chicken, staying moist even if you lose track of time
- Olive oil: Helps the seasoning cling to the skin and encourages that gorgeous golden browning we all want
- Kosher salt: Essential for seasoning the meat beneath the skin, not just the surface
- Garlic powder: Offers mellow, even garlic flavor without the risk of burnt fresh garlic pieces
- Paprika: Smoked adds depth, sweet brings color, either way it contributes to that beautiful reddish brown finish
- Dried thyme and oregano: Classic herbs that bridge the gap between comfort food and something a little more thoughtful
- Chili powder: Just a whisper of warmth that makes people ask what that secret flavor is
- Fresh parsley and lemon: The finishing touches that make the dish feel complete and restaurant worthy
Instructions
- Get your oven ready:
- Crank it to 425°F and set up a wire rack on a foil lined baking sheet, that rack is the unsung hero of crispy skin everywhere
- Mix your magic dust:
- Combine all the seasonings with the olive oil until it forms a paste that will coat every inch of the chicken
- Prep like you mean it:
- Pat those chicken pieces absolutely dry, water is the enemy of crispiness and you want to give yourself every advantage
- Season generously:
- Rub that seasoning mixture all over, getting under the skin where you can, because flavor that stays on the surface is flavor wasted
- Roast until irresistible:
- Let the oven do its work for 40 to 50 minutes, until the skin is deeply golden and crispy and a thermometer hits 175°F
- Rest briefly:
- Give the chicken five minutes to relax, which lets the juices redistribute instead of running all over your cutting board
 Save
Save My niece used to call this the crunch chicken and would request it for every birthday dinner. Something about that first bite through the crispy skin into the juicy meat makes people feel cared for in a way that fancy food never quite achieves.
The Broiler Secret
When the chicken is done but the skin is not quite crispy enough for your standards, slide it under the broiler for just two minutes. Stand there the entire time, because broilers go from perfect to burned faster than you can say take it out. This final blast of heat is what makes restaurant chicken seem so impossibly crisp.
Serving Strategies
A simple green salad with a bright vinaigrette cuts through the richness beautifully. Mashed potatoes feel like overkill to me, but roasted vegetables cooked on the same pan catch all those delicious chicken drippings. The key is having something fresh and acidic to balance the deep savory flavors.
Leftover Wisdom
This chicken actually reheats better than almost any other protein, especially if you revive it in a hot oven rather than the microwave. The skin may not be as crispy as day one, but the meat stays incredibly moist. I have been known to eat cold leftovers straight from the refrigerator for breakfast.
- Store leftovers in the refrigerator for up to three days in an airtight container
- Reheat at 375°F for about 15 minutes to recrisp the skin as much as possible
- Shred leftover chicken for salads, tacos, or sandwich fillings all week long
 Save
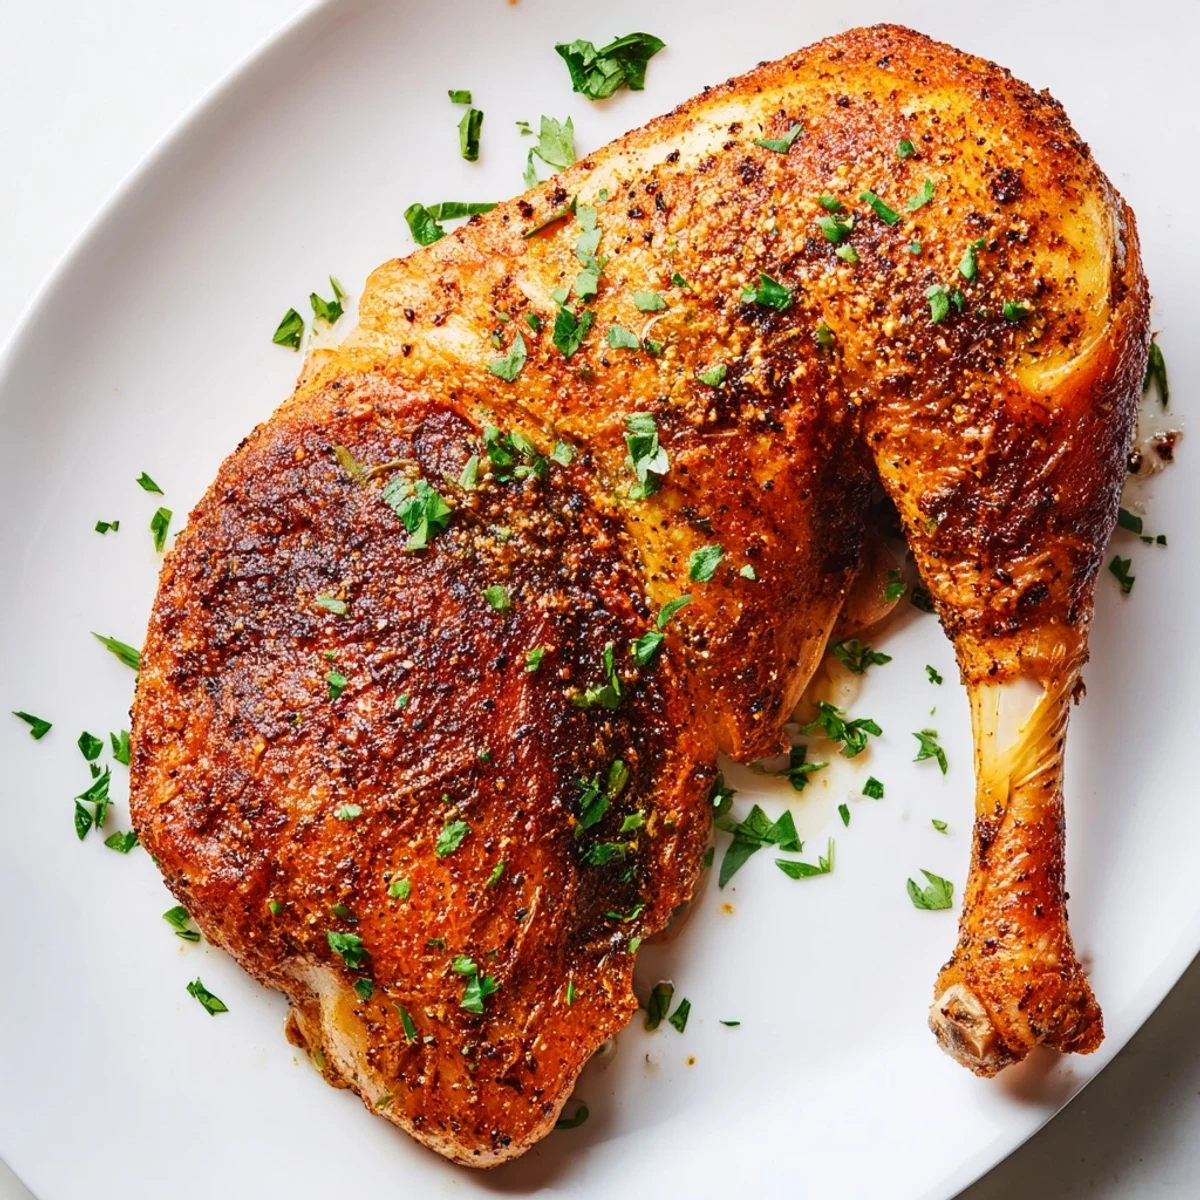
Save There is something deeply satisfying about a recipe this uncomplicated delivering such consistently beautiful results. Crispy, juicy, and always the first thing to disappear from the table.
Questions & Answers
- → How do I get the crispiest skin on baked chicken quarters?
-
Pat the chicken completely dry before seasoning, use a wire rack to elevate the meat, and roast at 425°F. The hot air circulation renders fat and crisps the skin evenly. For extra crunch, broil for 2-3 minutes at the end, watching closely.
- → What temperature should chicken leg quarters reach?
-
Chicken leg quarters should reach 175°F (80°C) at the thickest part, away from the bone. Dark meat benefits from slightly higher temperatures than breast meat, resulting in tender texture and fully cooked connective tissue.
- → Can I use boneless chicken pieces instead?
-
Boneless thighs or breasts work but require less time—about 25-30 minutes at the same temperature. The skin won't crisp quite as dramatically without the bone structure, but the seasoning still delivers excellent flavor.
- → How long should chicken rest after roasting?
-
Let the quarters rest for 5 minutes before serving. This brief period allows juices to redistribute throughout the meat rather than spilling onto the cutting board, ensuring each bite remains moist and flavorful.
- → What sides pair well with roasted chicken quarters?
-
Mashed potatoes with gravy, roasted root vegetables, green beans with almonds, or a crisp garden salad complement the rich flavors. For lighter fare, serve with steamed broccoli or cauliflower rice.
- → Can I season the chicken ahead of time?
-
Absolutely. Apply the seasoning up to 24 hours in advance and refrigerate. The extended marinating time deepens flavor penetration, especially under the skin. Just bring the chicken to room temperature for 20 minutes before roasting for even cooking.
